Managing buckets
Buckets in our S3-compatible API are designed to store and retrieve any amount of data from anywhere.
Each bucket serves as a container for objects (such as files), providing a way to organize and control access to your data.
These buckets are designed for enhanced security and data resilience. They can be used for various purposes, primarily focusing on data backup and archiving (e.g., storing database backups or long-term archives) and secure file storage. Unlike traditional S3 buckets, our S3 compatible API does not support static website hosting, prioritizing instead on providing a highly secure and resilient storage solution. This ensures that your sensitive data is protected with advanced security measures while maintaining the familiar interface for managing your storage needs.
Continuity kits are stored in buckets.
Shall you delete the bucket associated with the Continuity Kit, you will delete the kit itself!
Each Continuity Kit has one bucket. A bucket might exist without being a Continuity Kit.
Buckets listing
In the left menu, click on Data Explorer
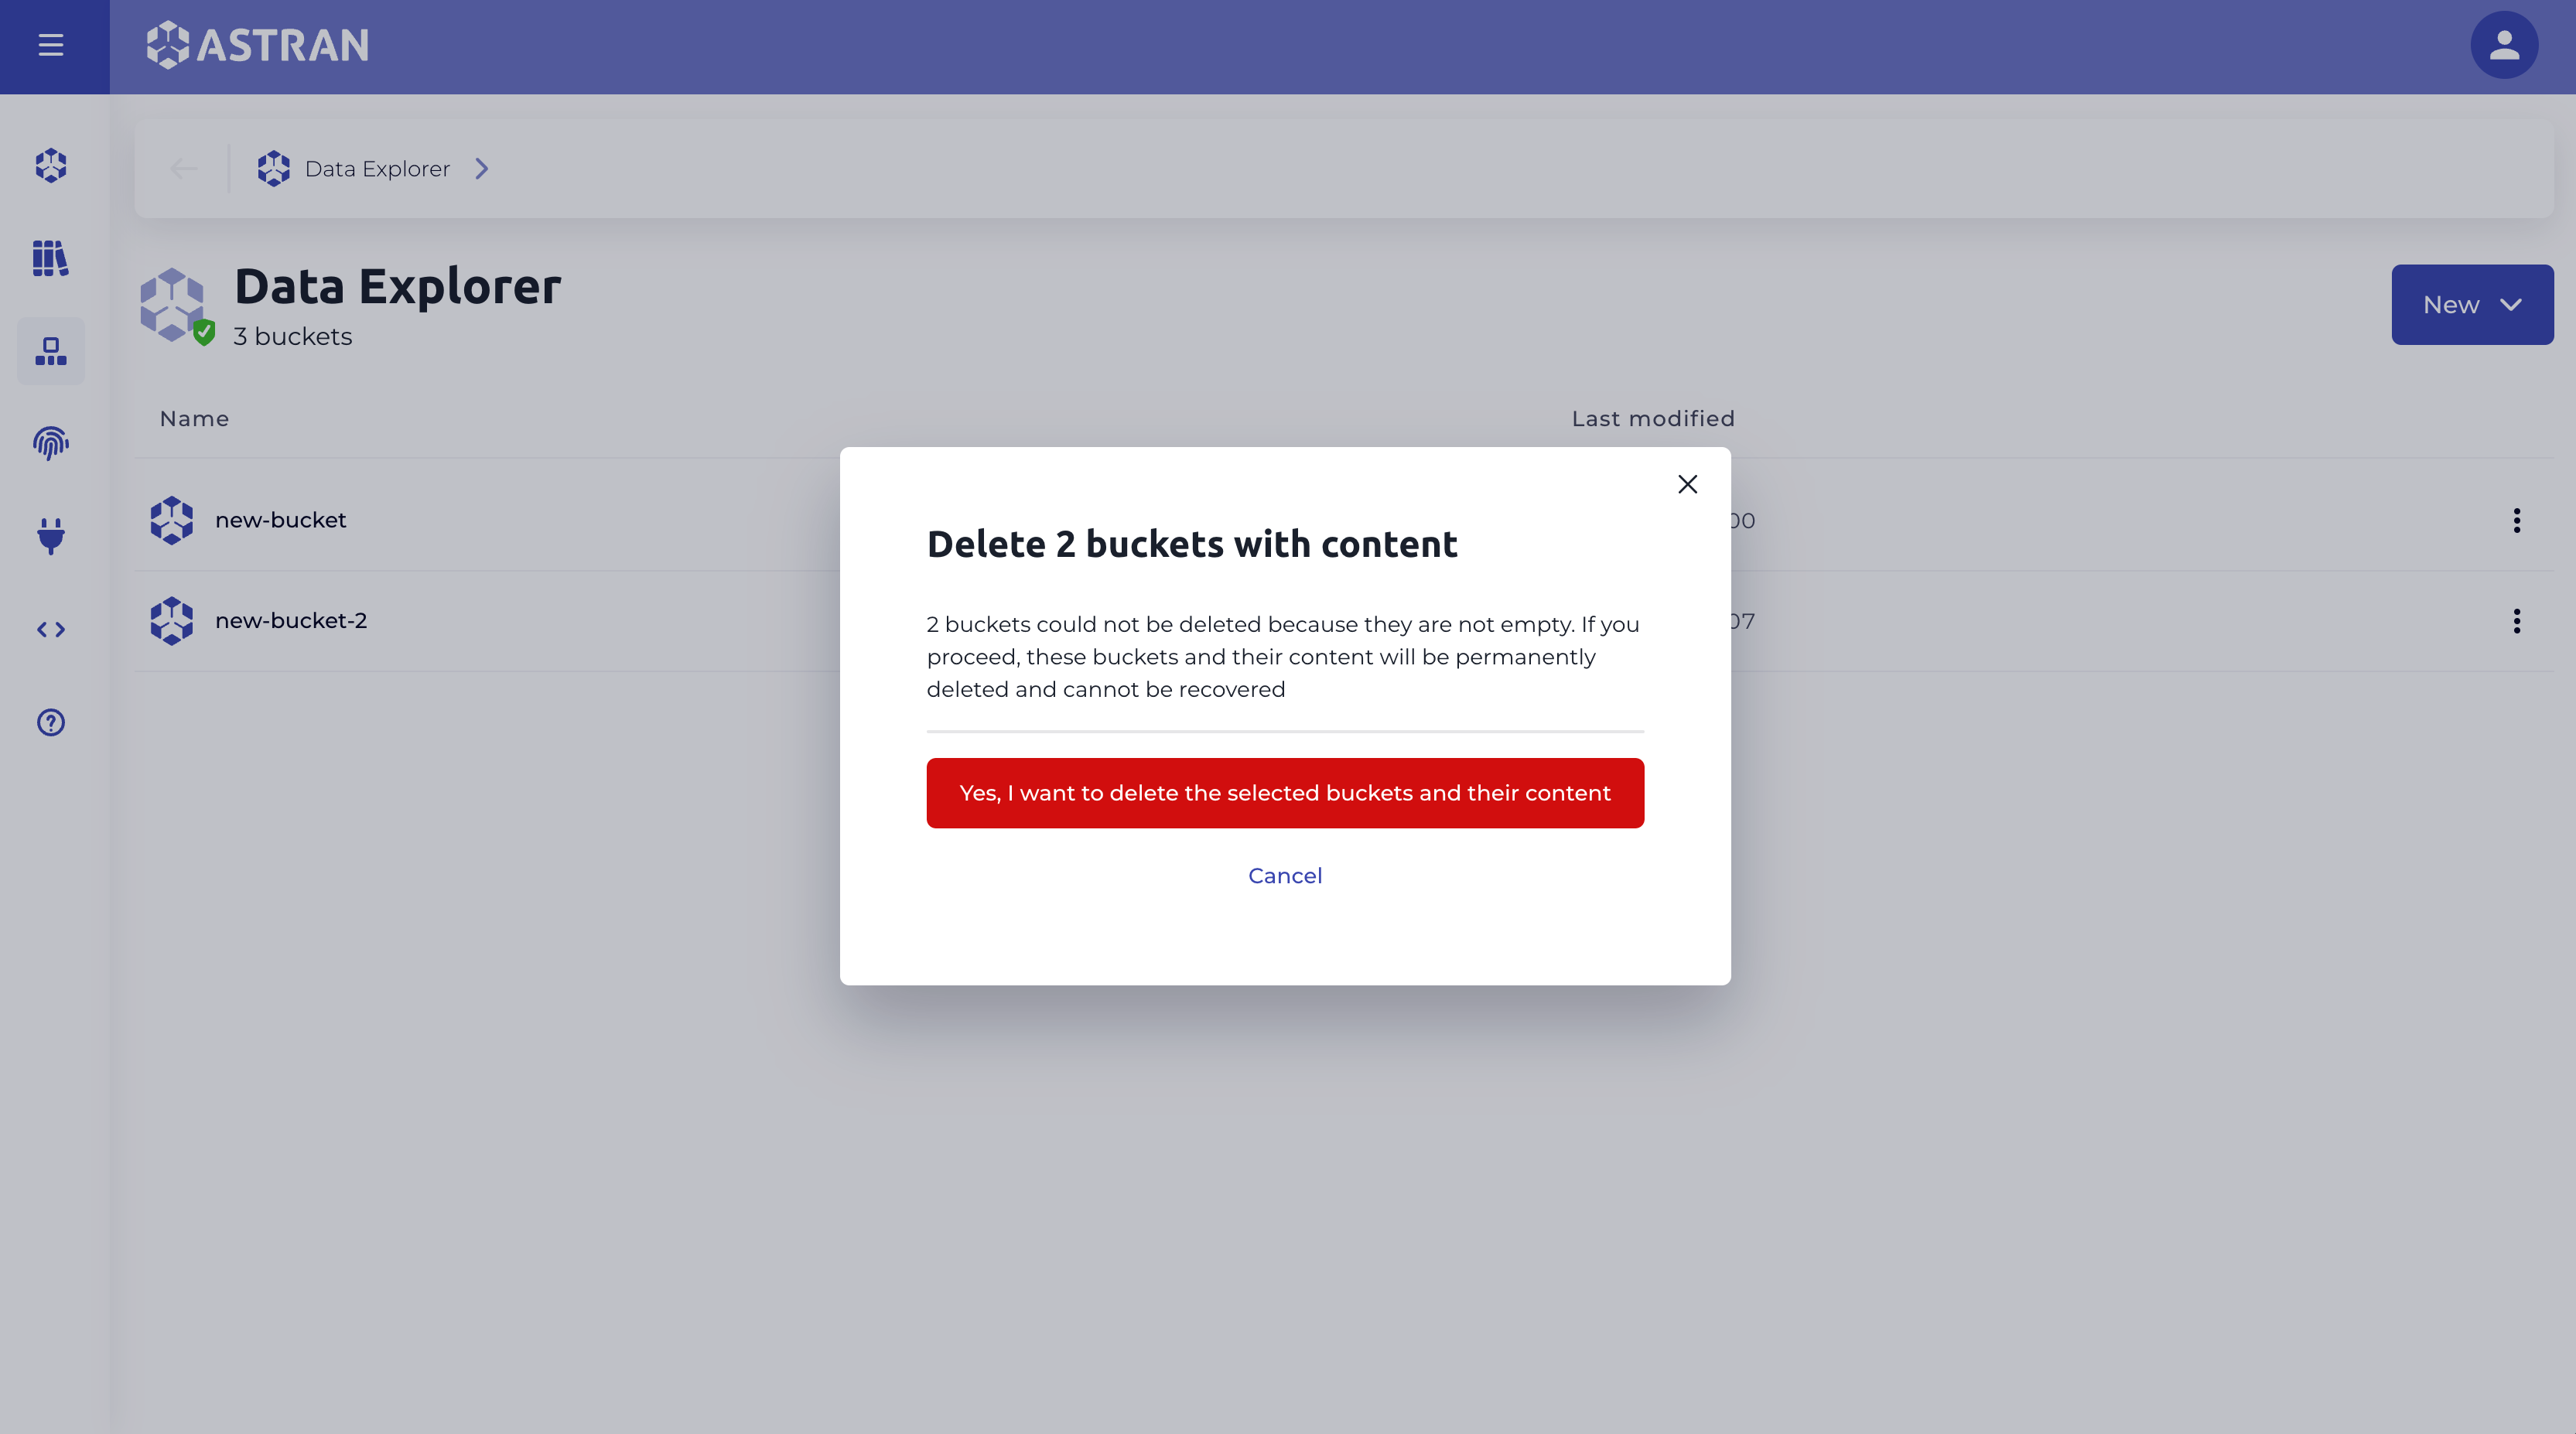
If you do not have any buckets yet, you should see an empty list.
You can create a new bucket by locating the button on the top right of the Data Explorer's main content, clicking it, and then creating a new Bucket from the menu popping down from the button.
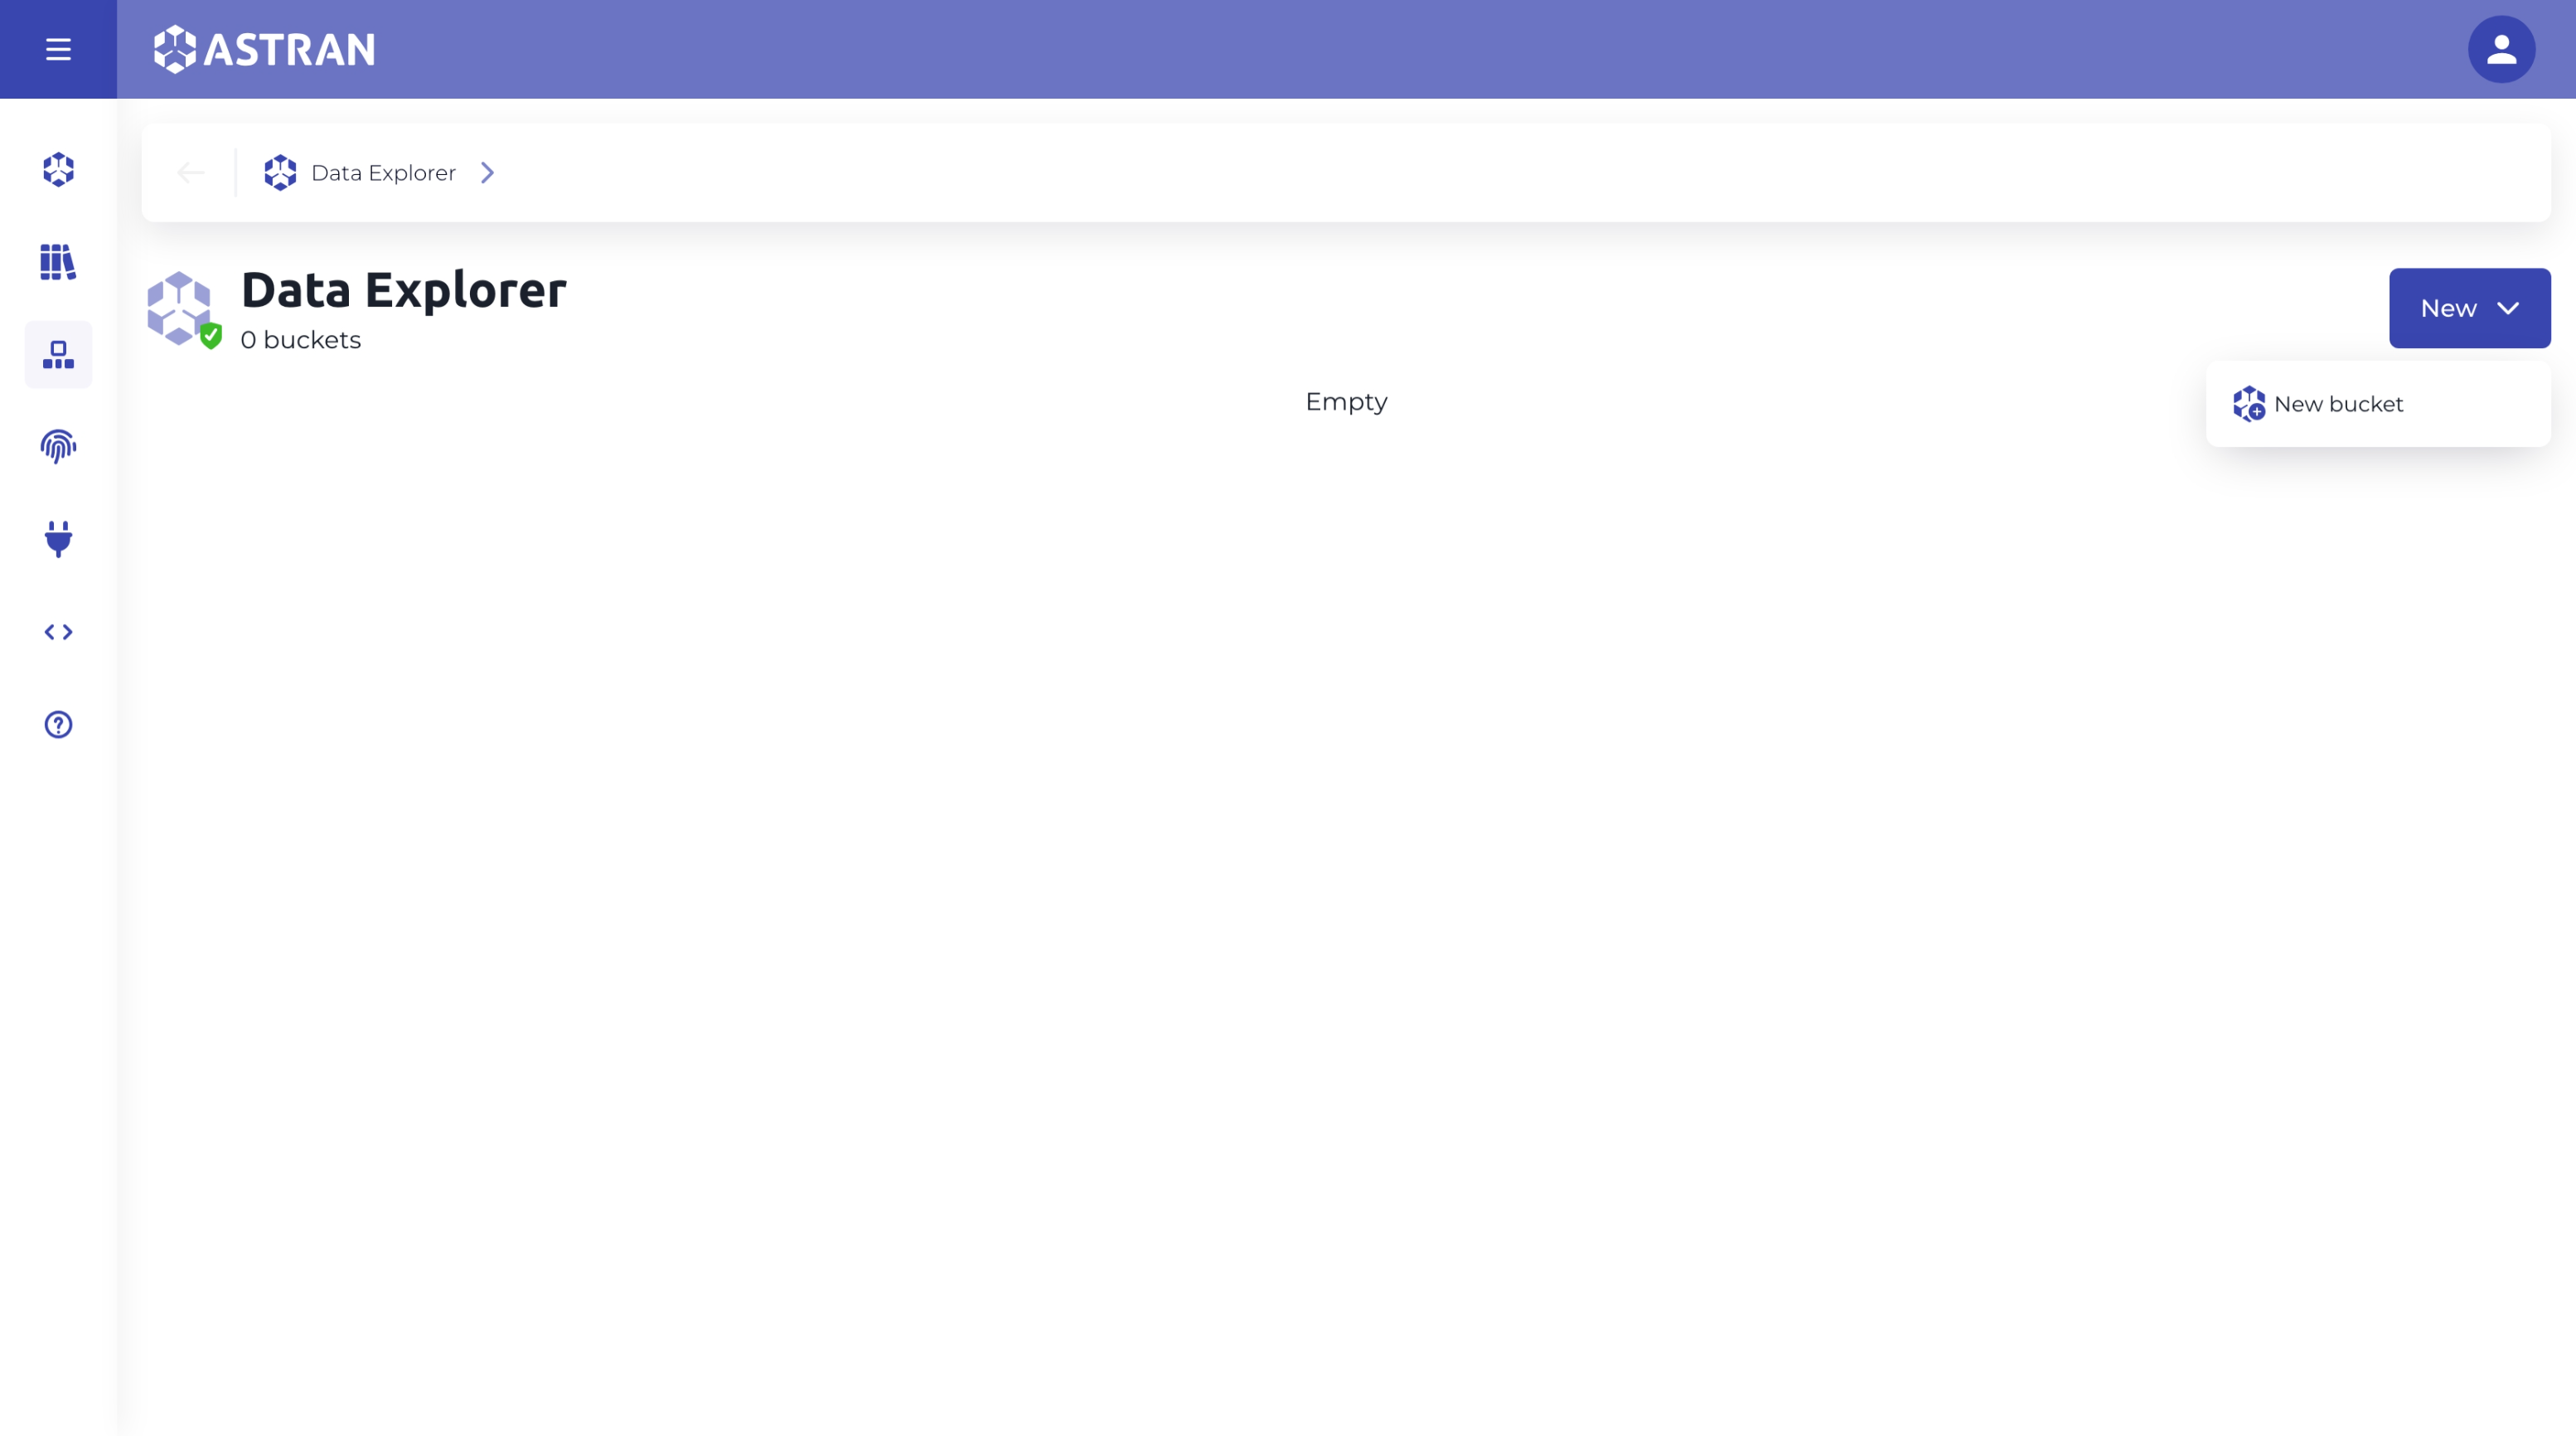
Create a new Bucket
Click on the New bucket button. A dialog box will pop up to create your Bucket.
You will need to give your Bucket a unique name. For instance, you might call it "my-first-bucket".
Naming Conventions
Bucket names must adhere to the following conventions:
Length: Must be between 3 and 63 characters long.
- ❌ Don't: "ab" (too short), "this-is-a-very-long-bucket-name-that-exceeds-the-maximum-character-limit" (too long)
- ✅ Do: "my-bucket", "data-storage-2023"
Uniqueness: Must be unique across all Astran accounts within a partition. A bucket name won't be accepted if it's already used by another Astran account in the same partition, until the bucket is deleted.
To determine your partition:
- Check the URL you use to access the Astran Continuity Cloud. It should be in the format:
https://<partition>.explorer.astran.io/ - The
<partition>is typically your company name, if you're unsure please contact the customer team
- Check the URL you use to access the Astran Continuity Cloud. It should be in the format:
Format Restrictions: Must not be formatted as an IP address.
- ❌ Don't: "192.168.5.4"
- ✅ Do: "backup2023", "data-storage-2023"
Allowed Characters: Can consist only of lowercase letters, numbers, dots (.), and hyphens (-).
- ❌ Don't: "My_Bucket" (uppercase and underscore), "bucket@company" (@ symbol)
- ✅ Do: "my-data-bucket-2023", "company.backup.files"
Start and End Characters: Must begin and end with a letter or number.
- ❌ Don't: "-my-bucket-", ".data-files" (starts with a dot)
- ✅ Do: "data-bucket-001", "backup2023"
No Adjacent Periods: Must not contain two adjacent periods.
- ❌ Don't: "my..bucket", "data..storage..2023"
- ✅ Do: "my.bucket", "data.storage.2023"
Reserved prefixes: Bucket that starts with the prefix
astran-are reserved and therefore can't be used to create a bucket.- ❌ Don't: "astran-my-bucket"
Remember to follow these conventions when naming your bucket to ensure compatibility with our APIs.
After you have decided on the perfect name for your Bucket, simply submit the form and the bucket will be created.
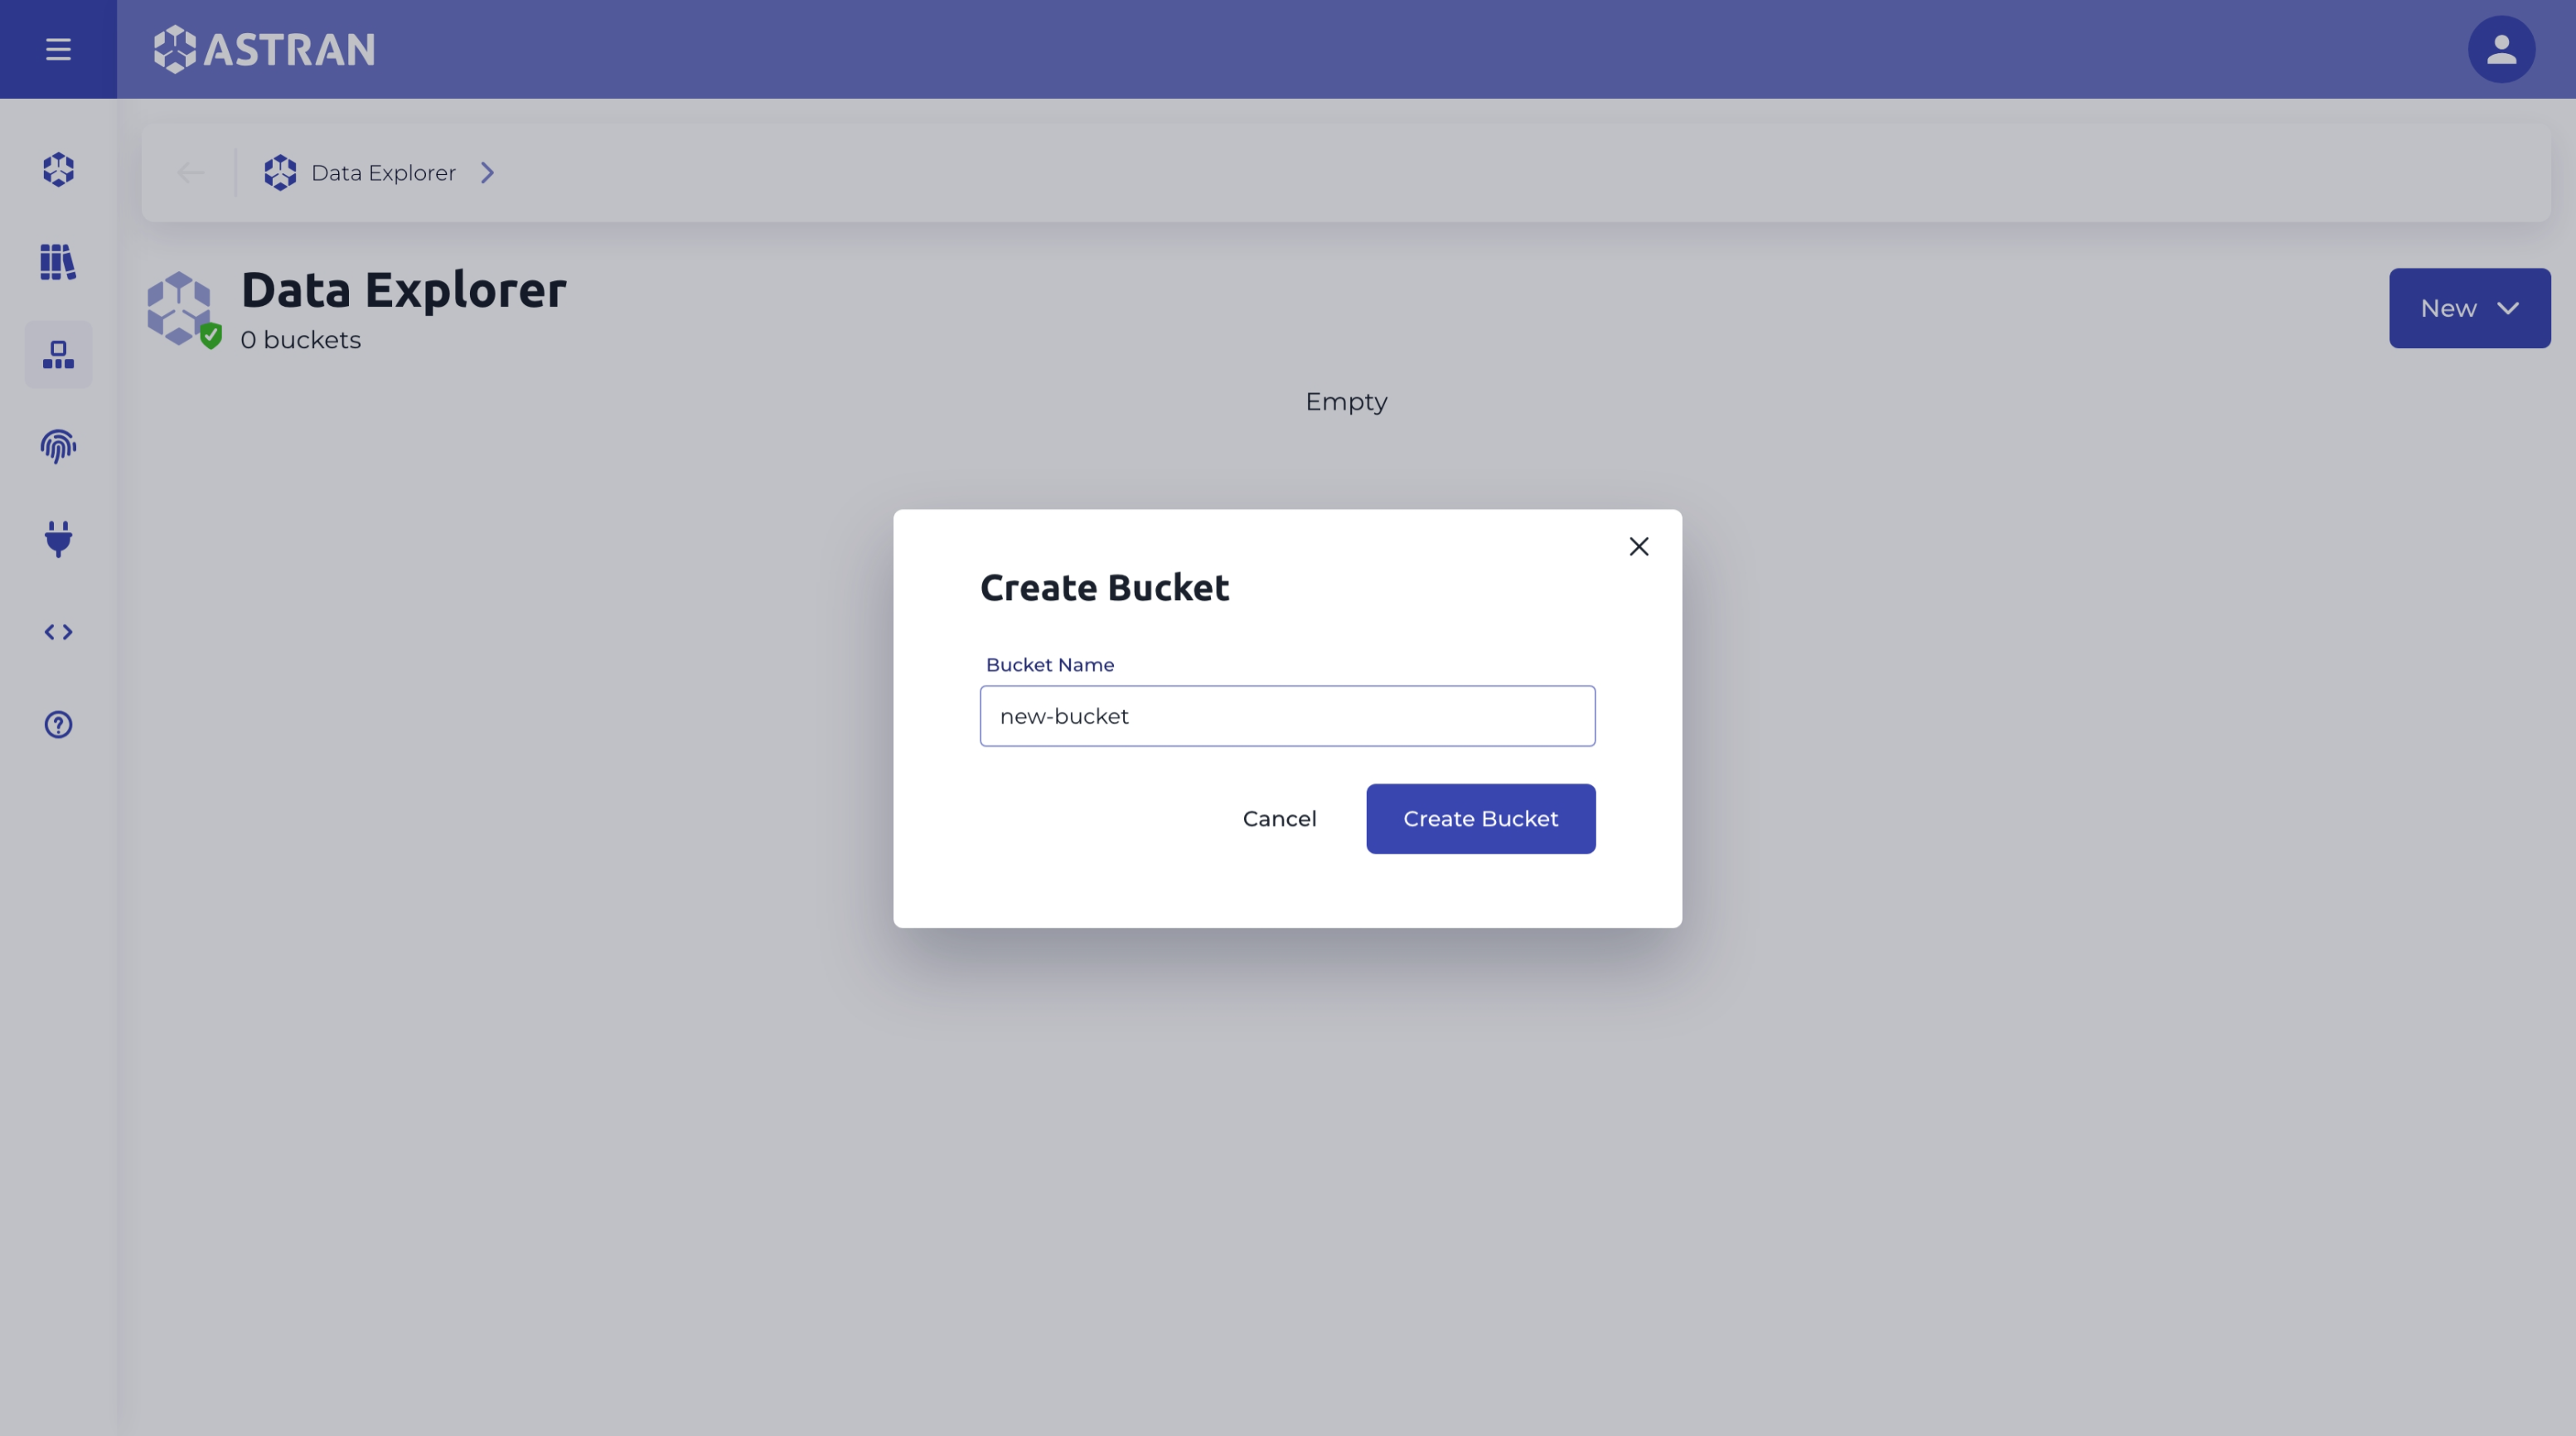
After successfully creating your Bucket, you will receive a notification at the bottom of the screen that confirms that your Bucket has been created.
Your newly created Bucket will be displayed in a table on this page.
The "Last Modified" column will show the date and time when you created the Bucket, such as "2024-7-17 0:47".
Delete a Bucket
To delete a bucket, you can use the contextual menu by right clicking on the item or the options menu (the 'three dots' icon at the right of the row).
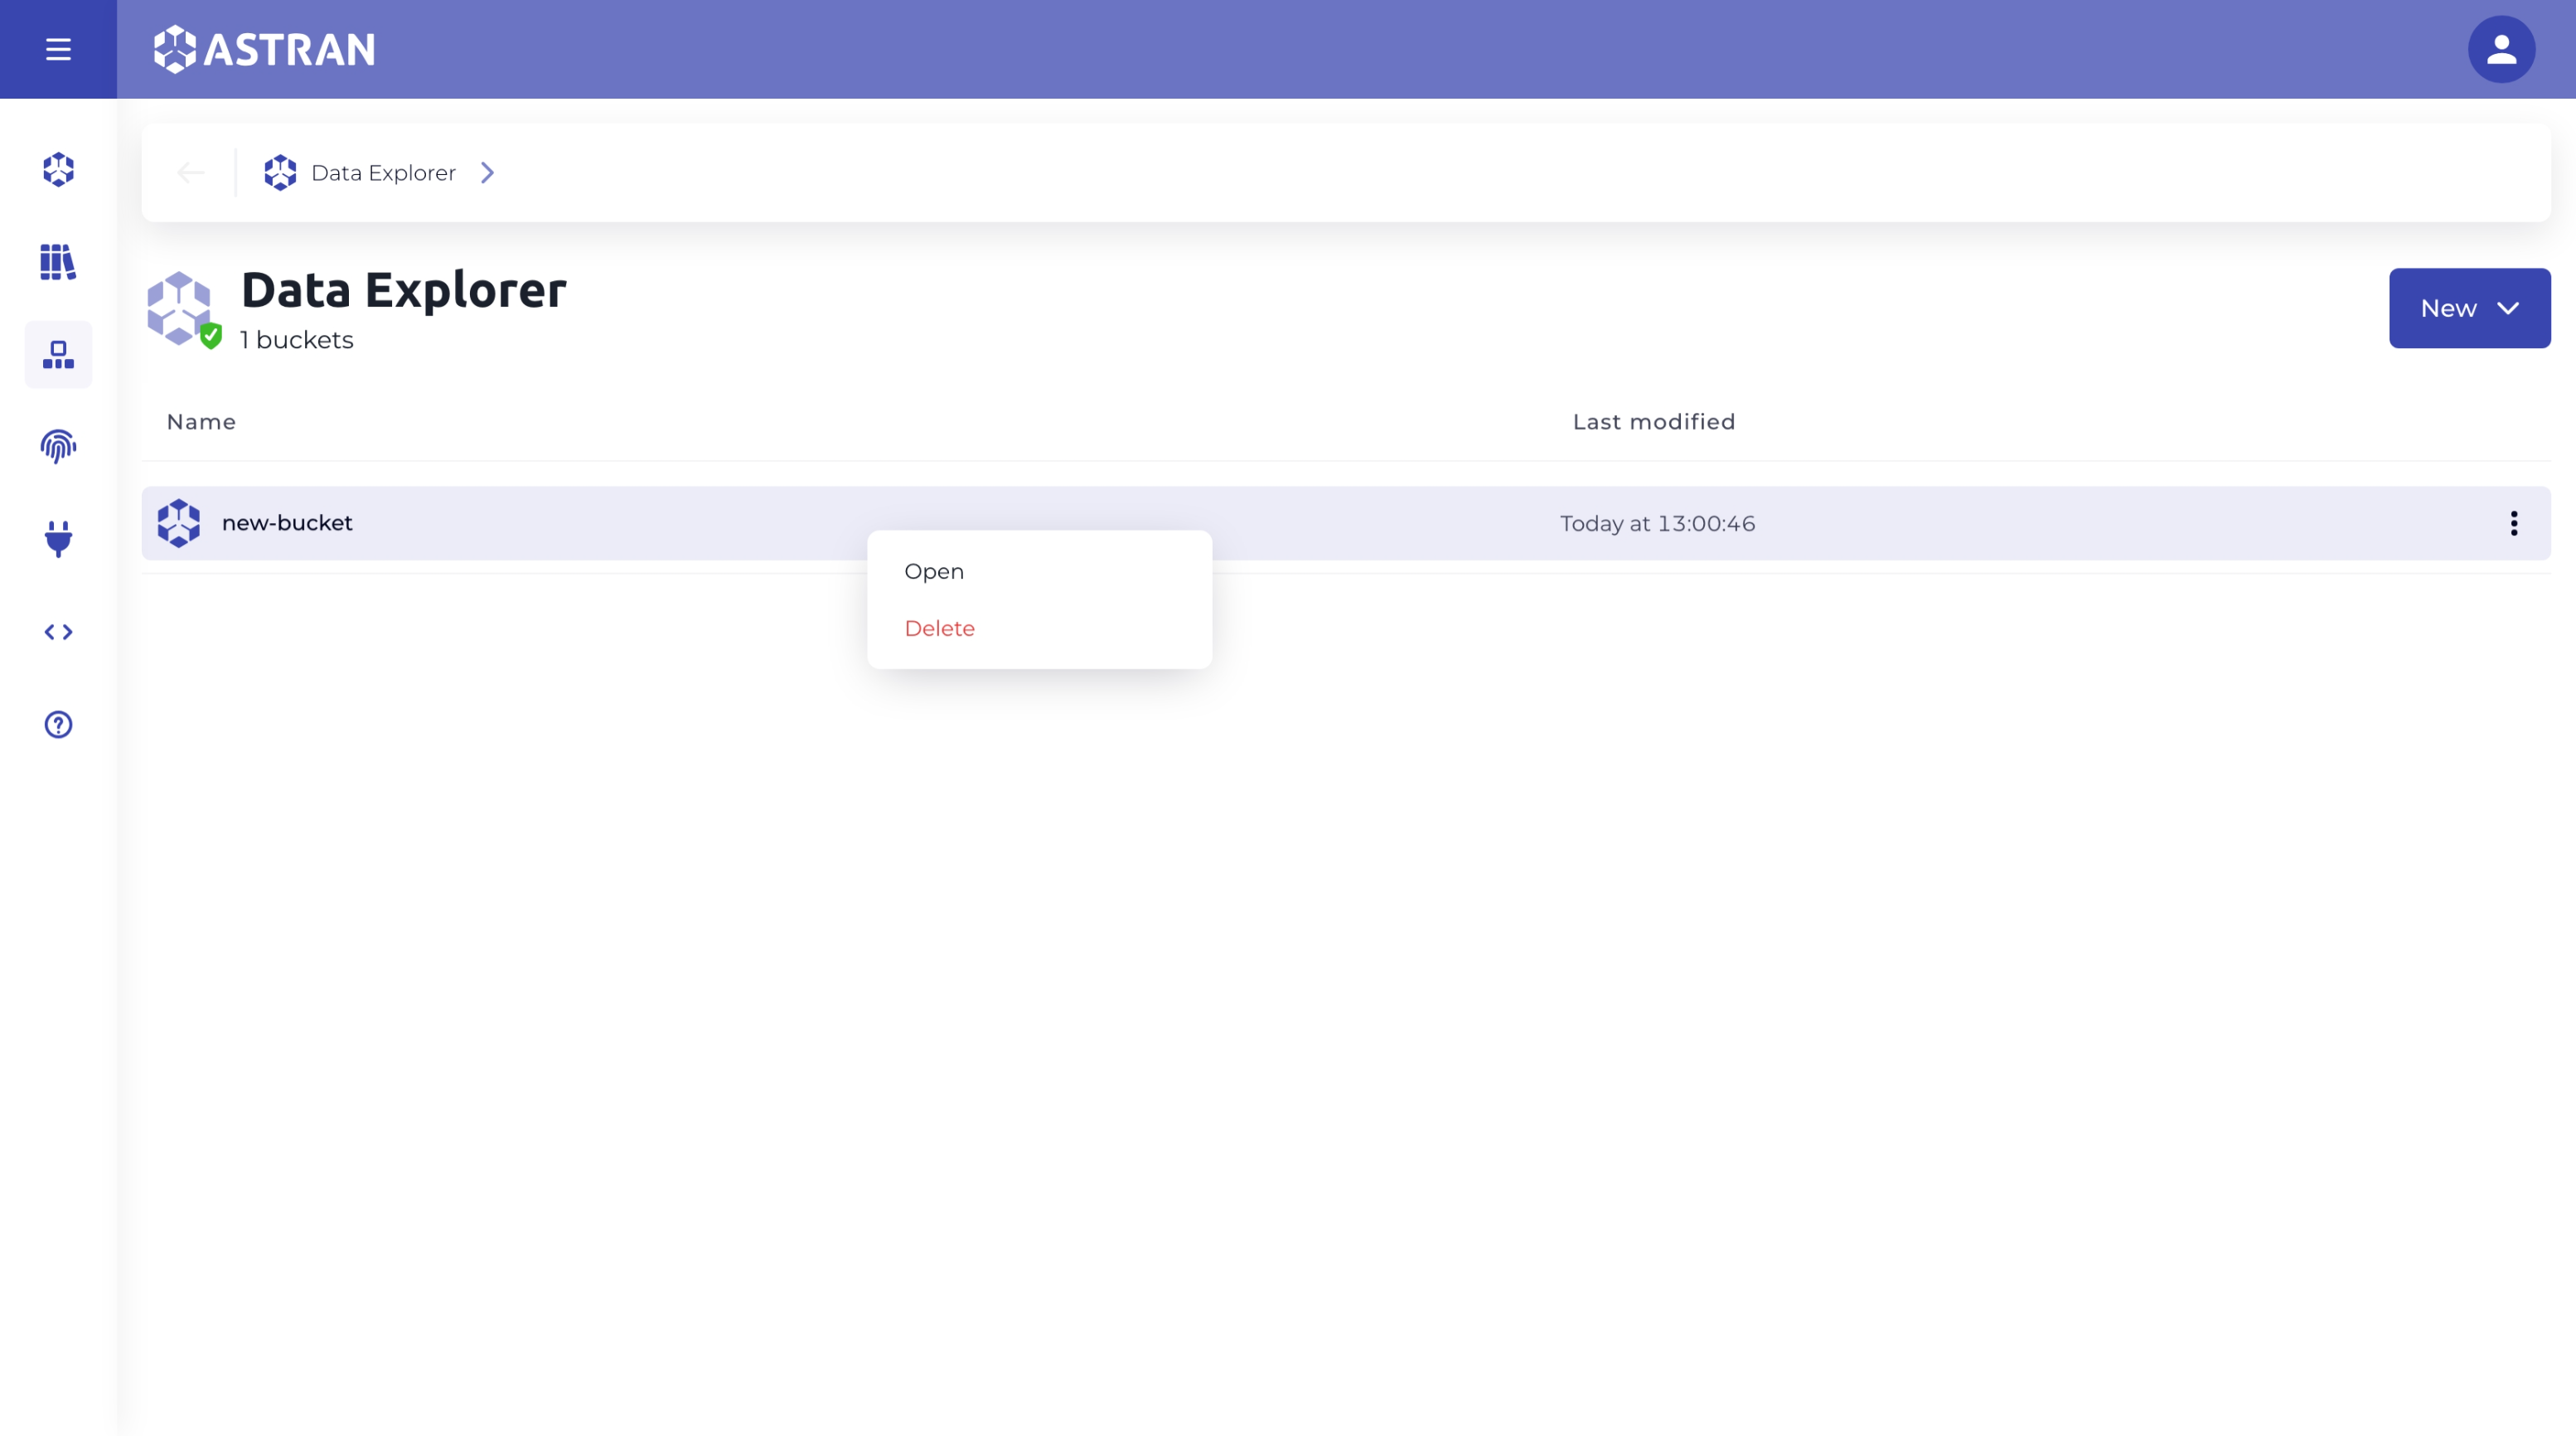
Deletion Confirmation Process
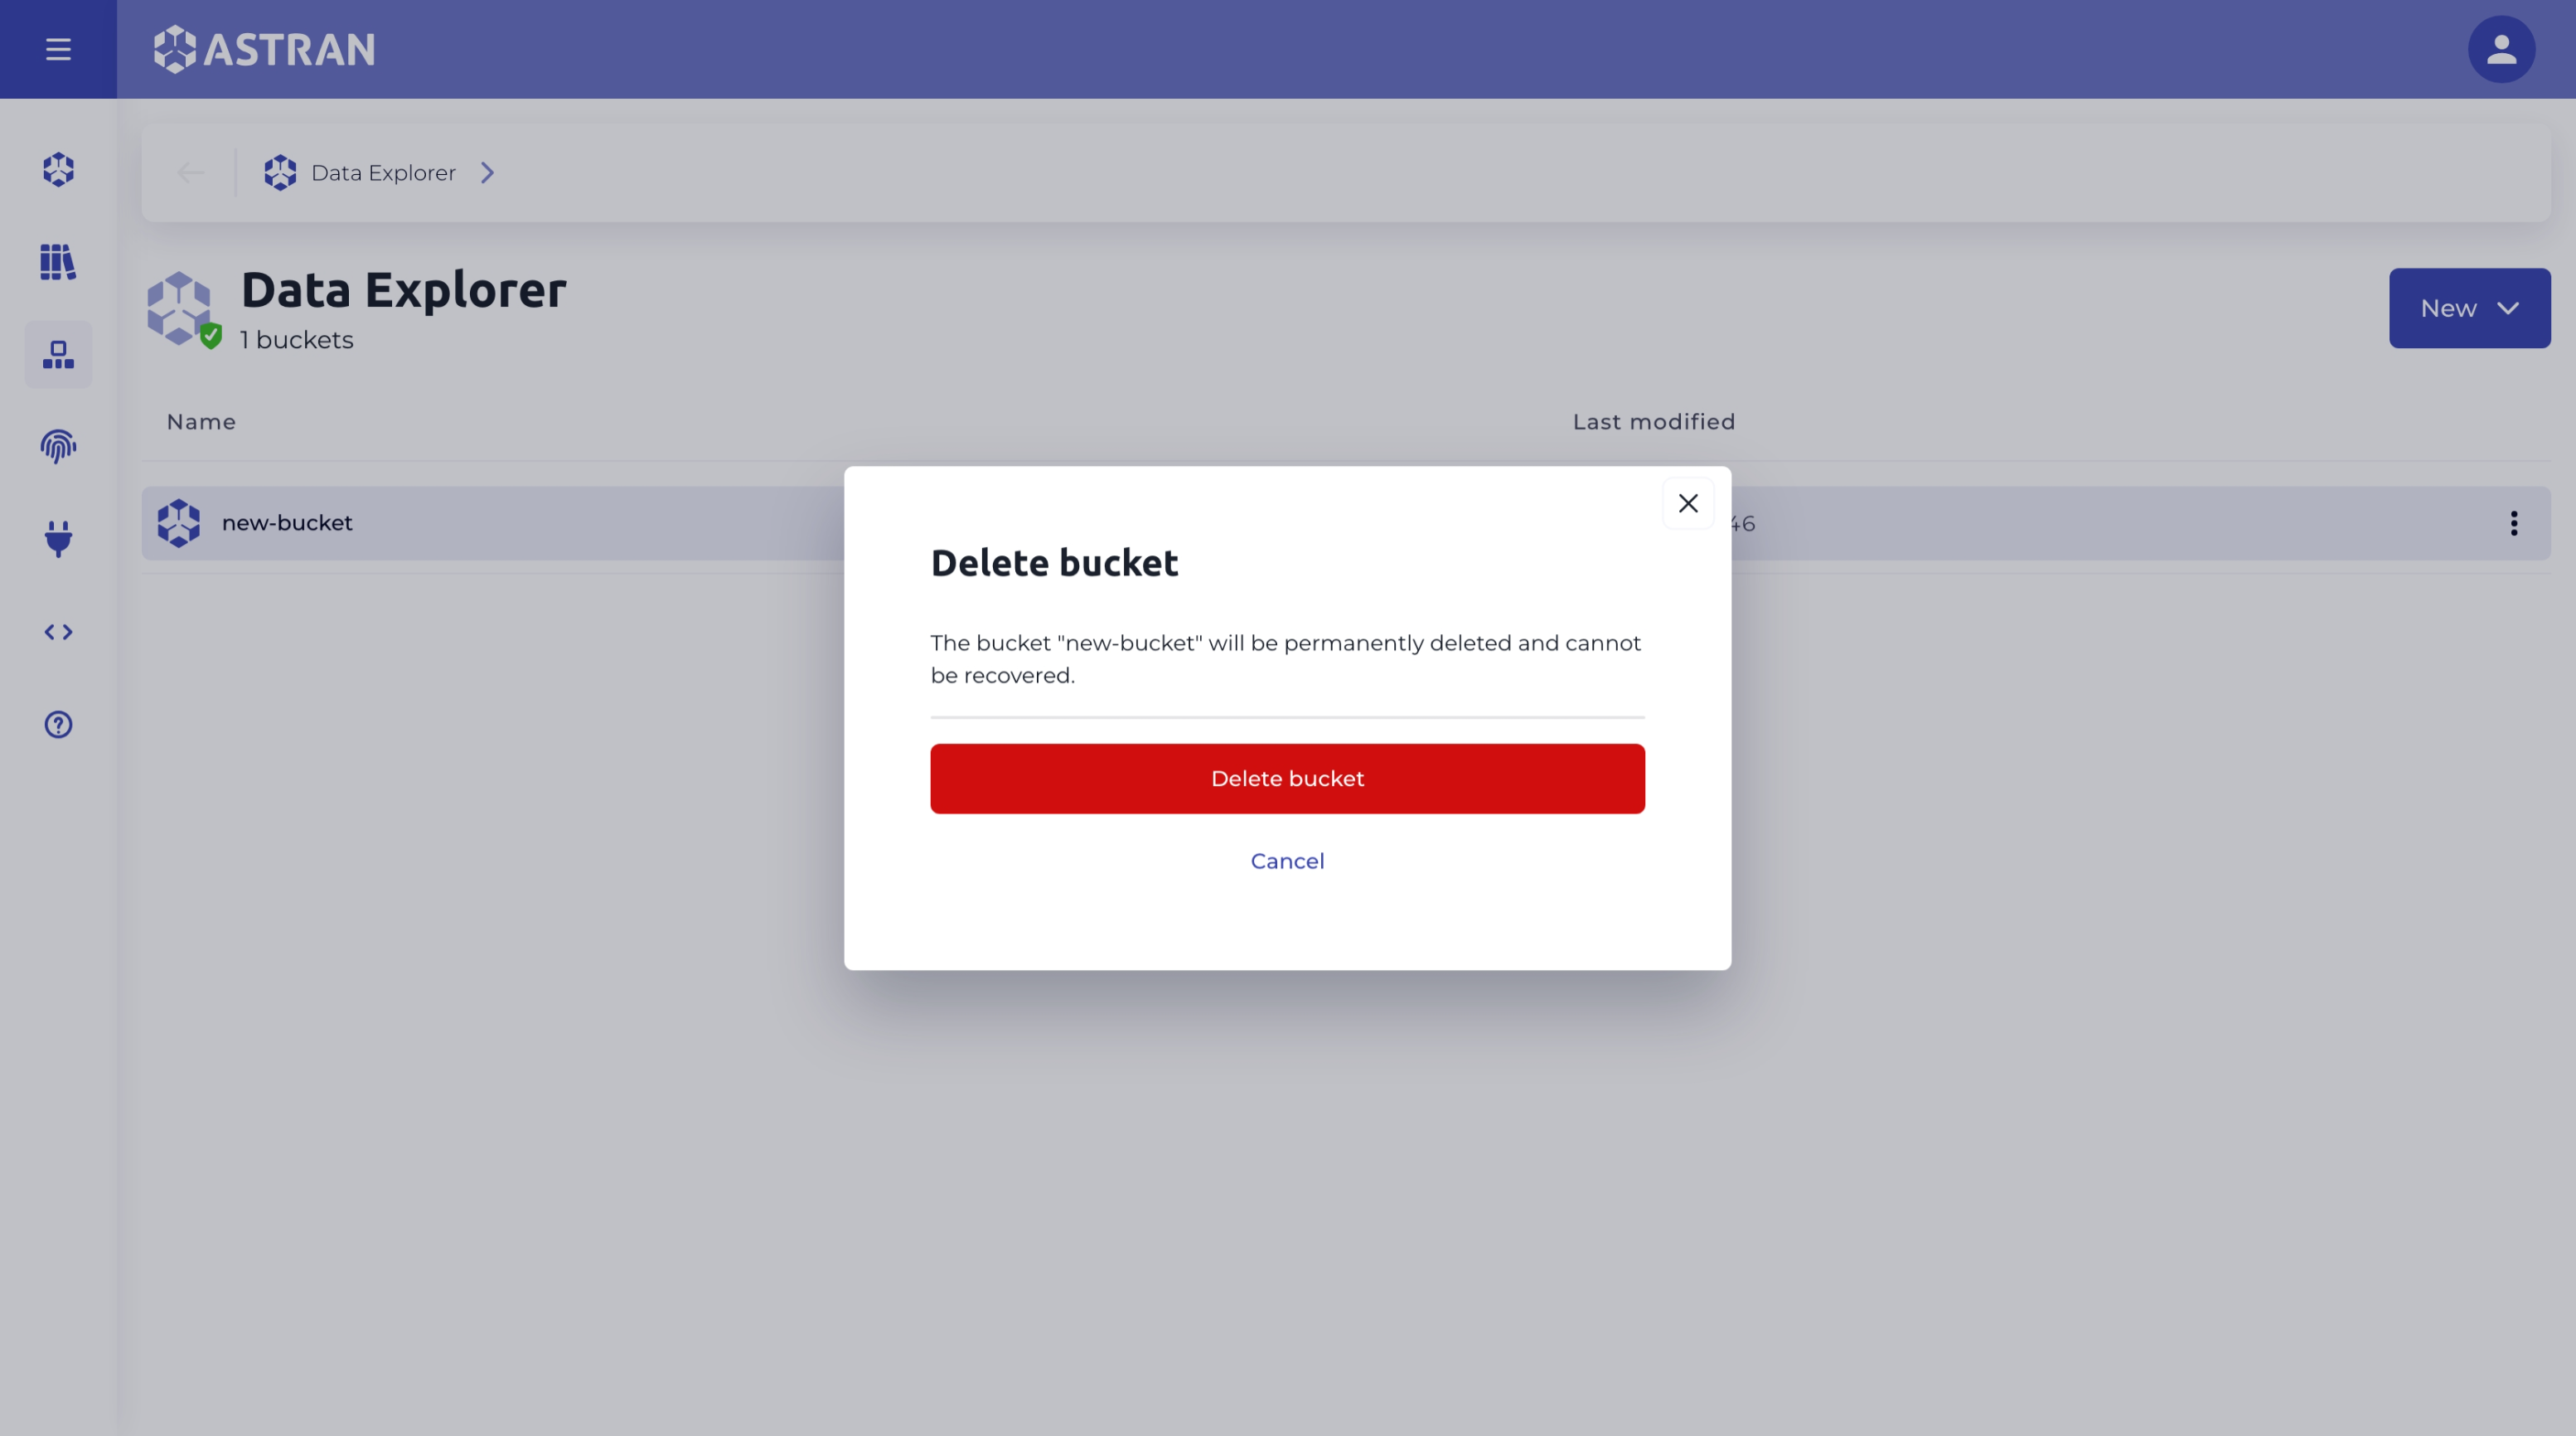
A first modal will appear to confirm the deletion of the selected bucket.
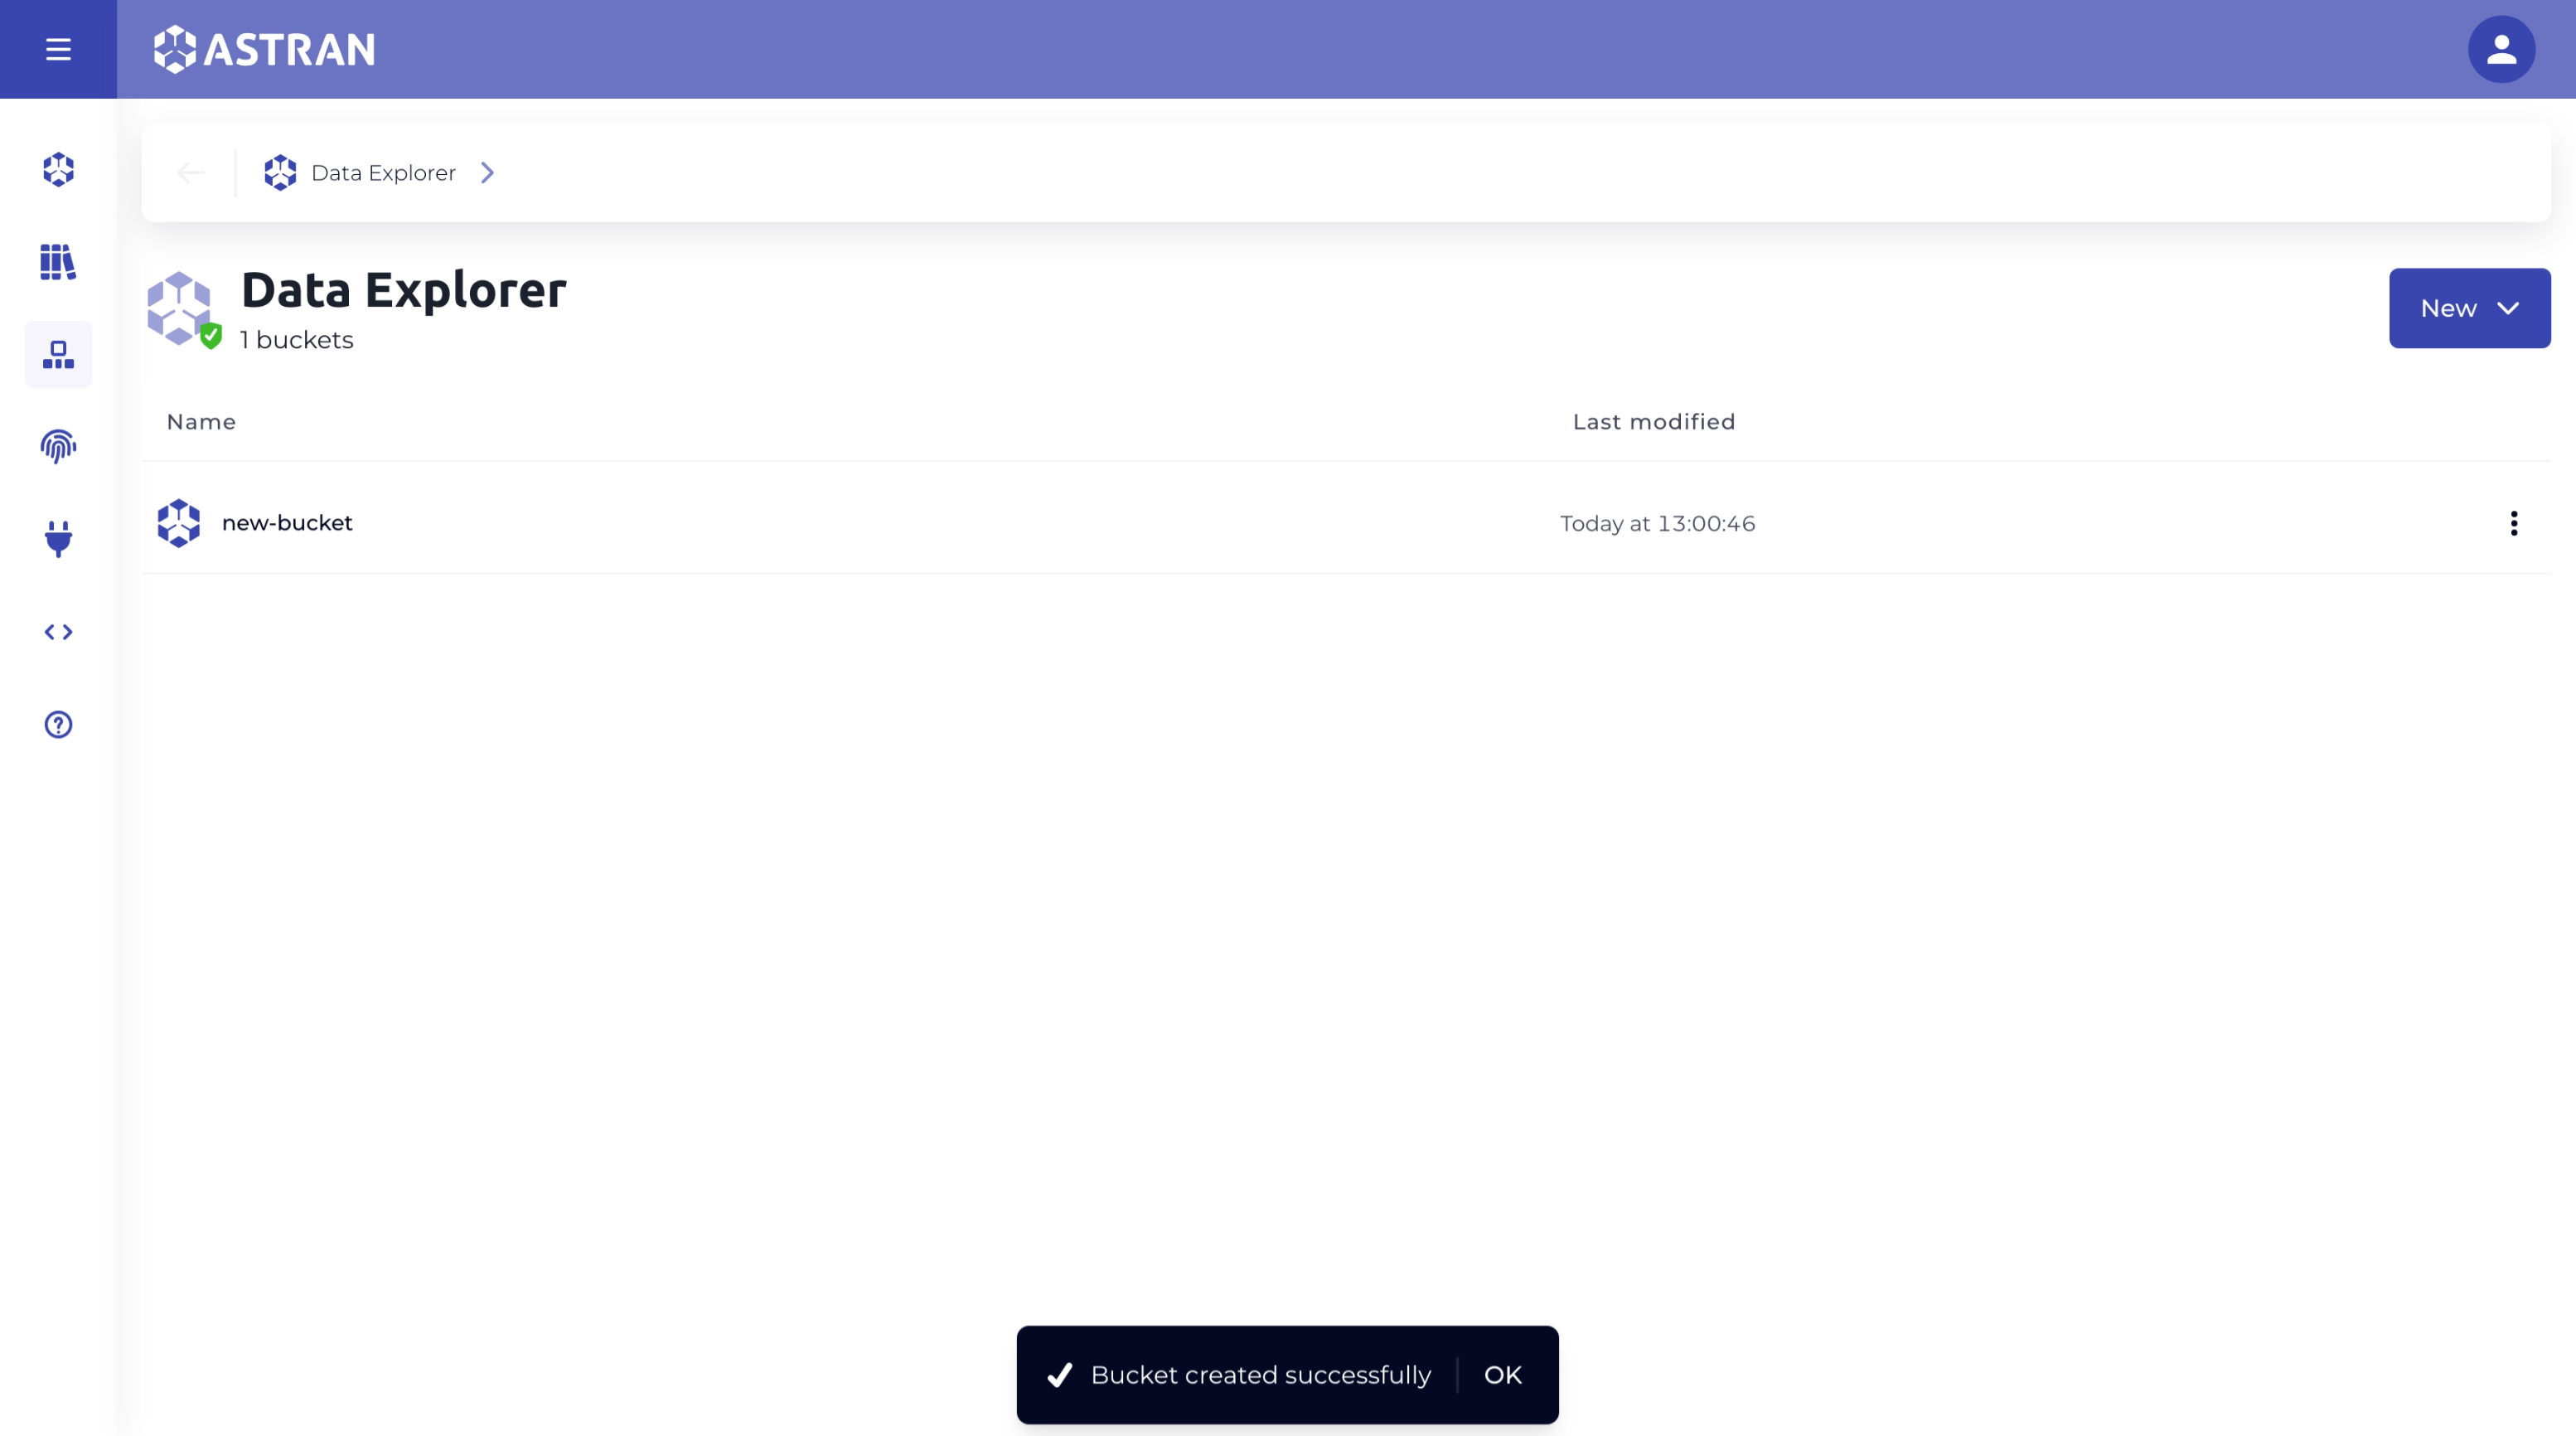
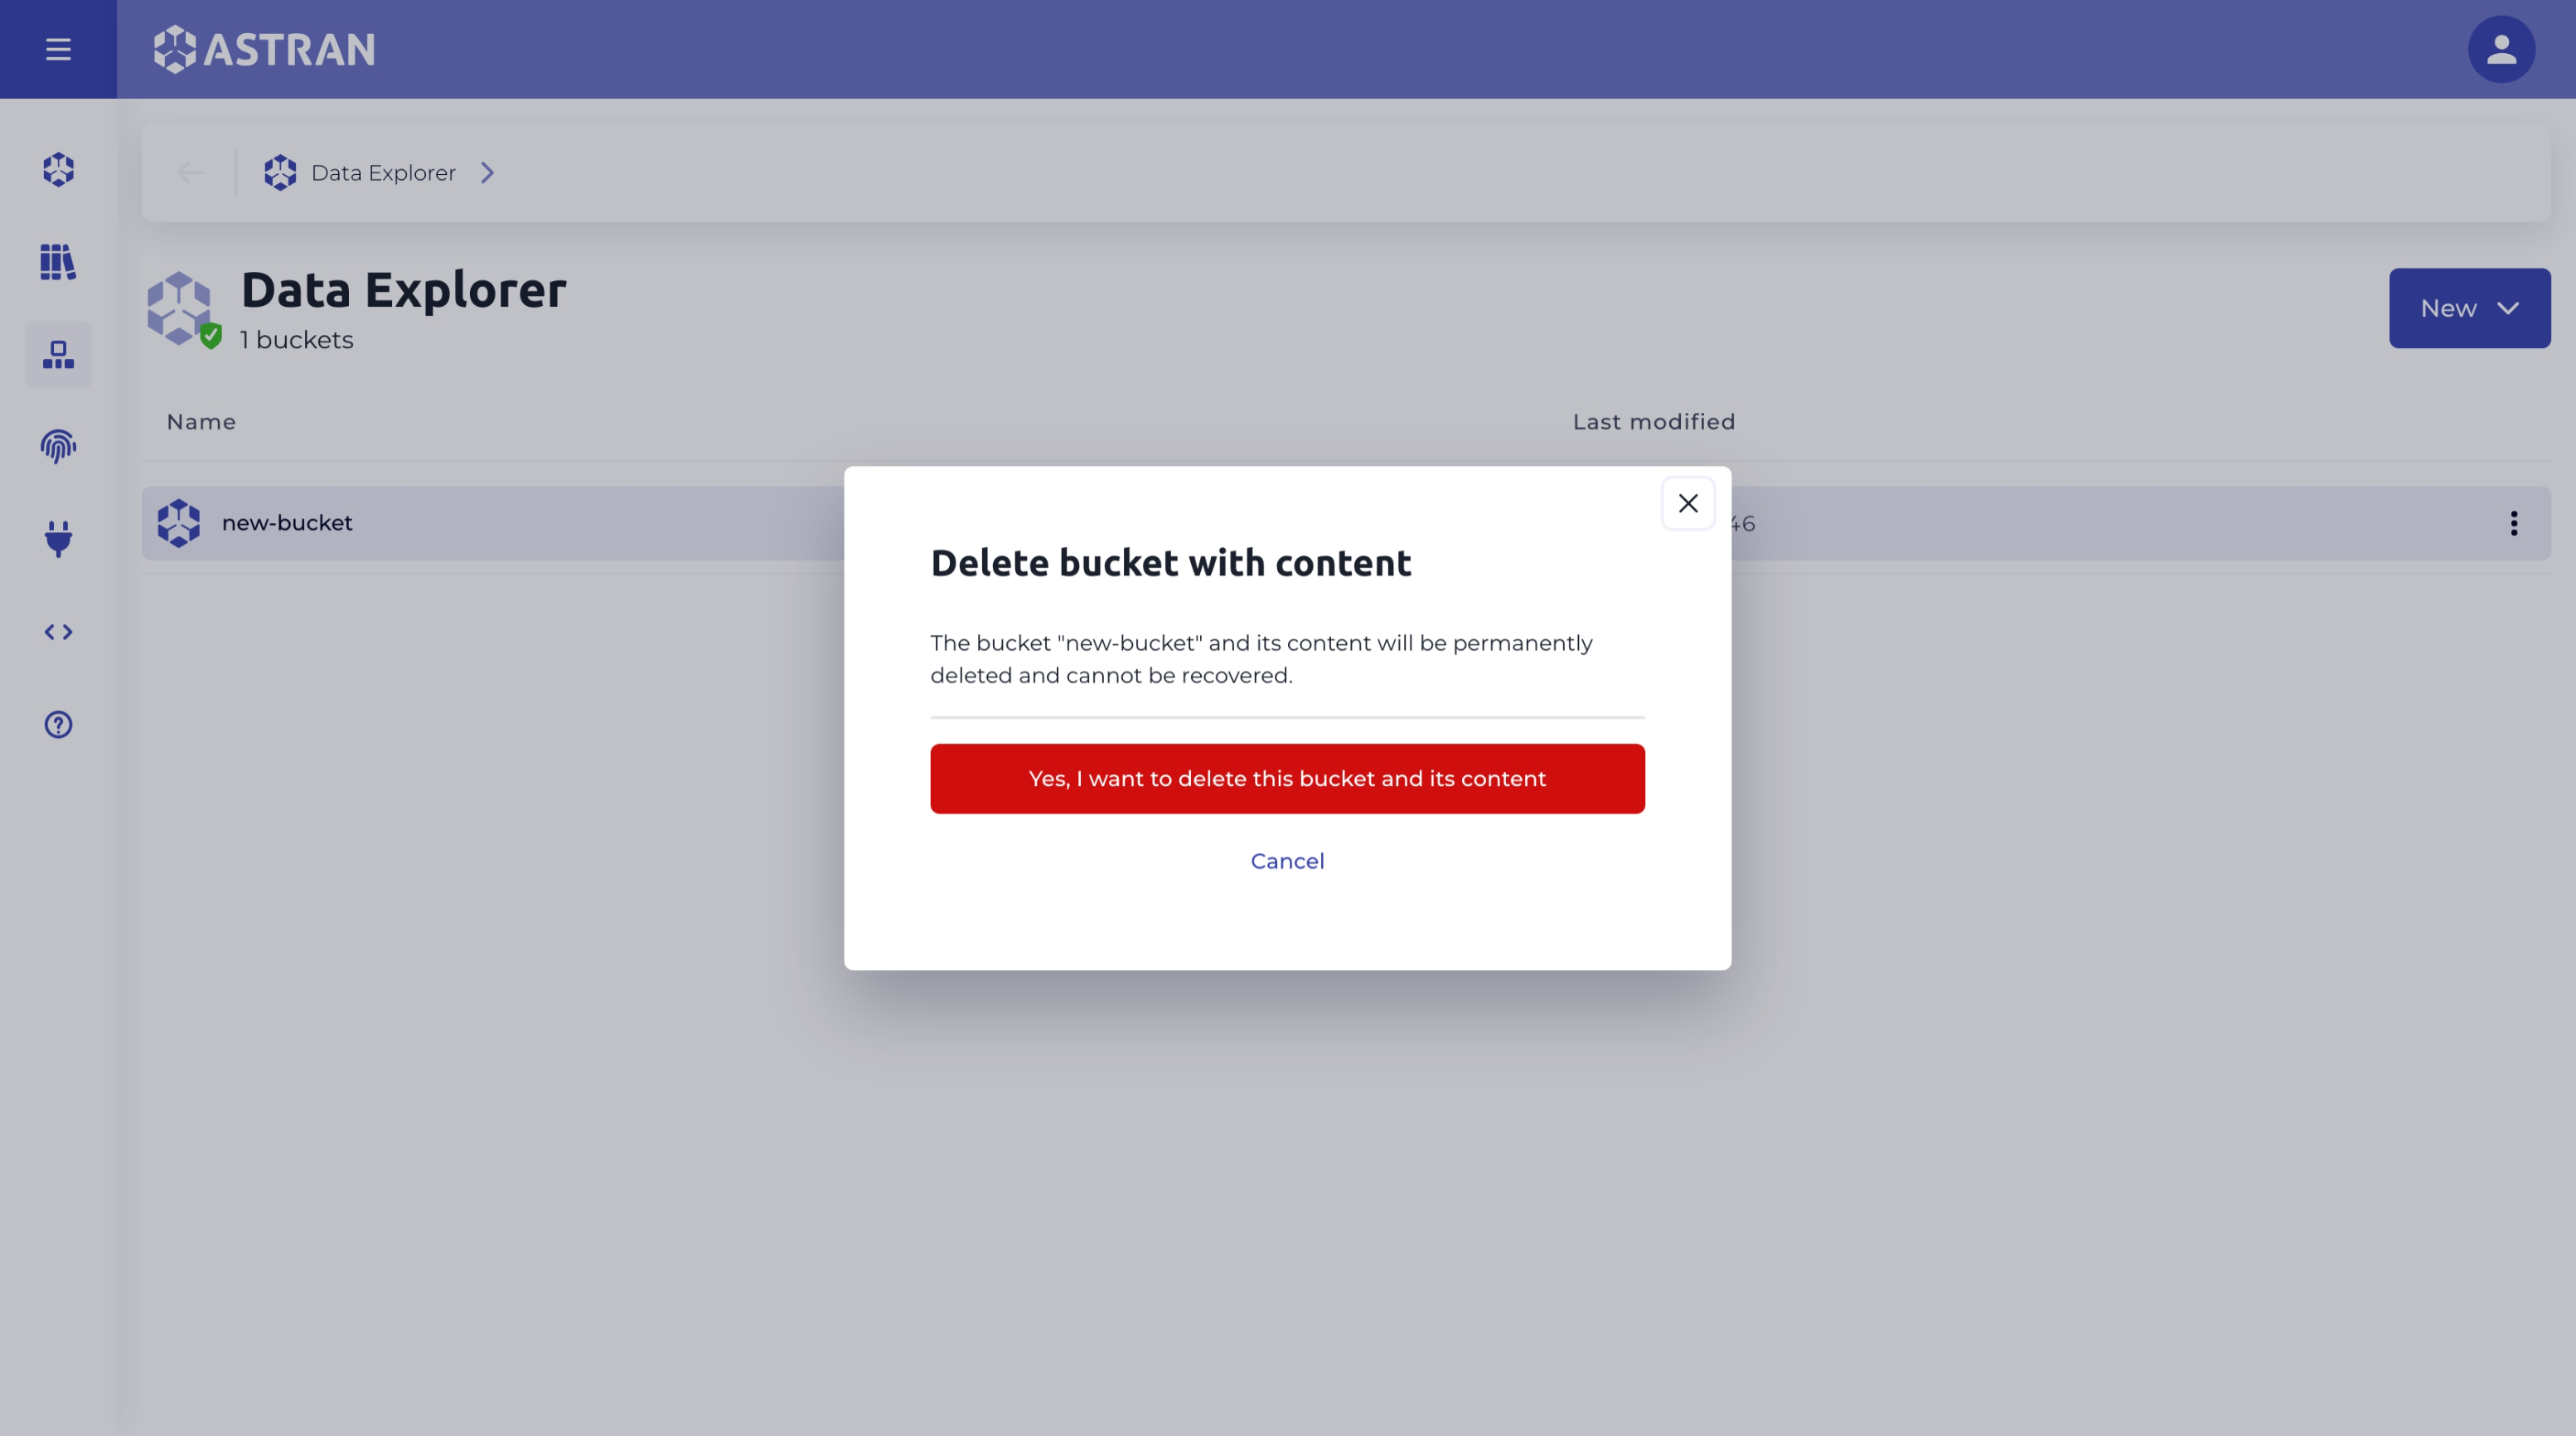
If the bucket contains objects, a second modal will appear to confirm the deletion of the bucket and all its contents.
Deleting Multiple Buckets
To delete multiple buckets, you can select them by clicking on them while pressing Ctrl (or Cmd on a Mac). Then right click on one of them and select Delete.
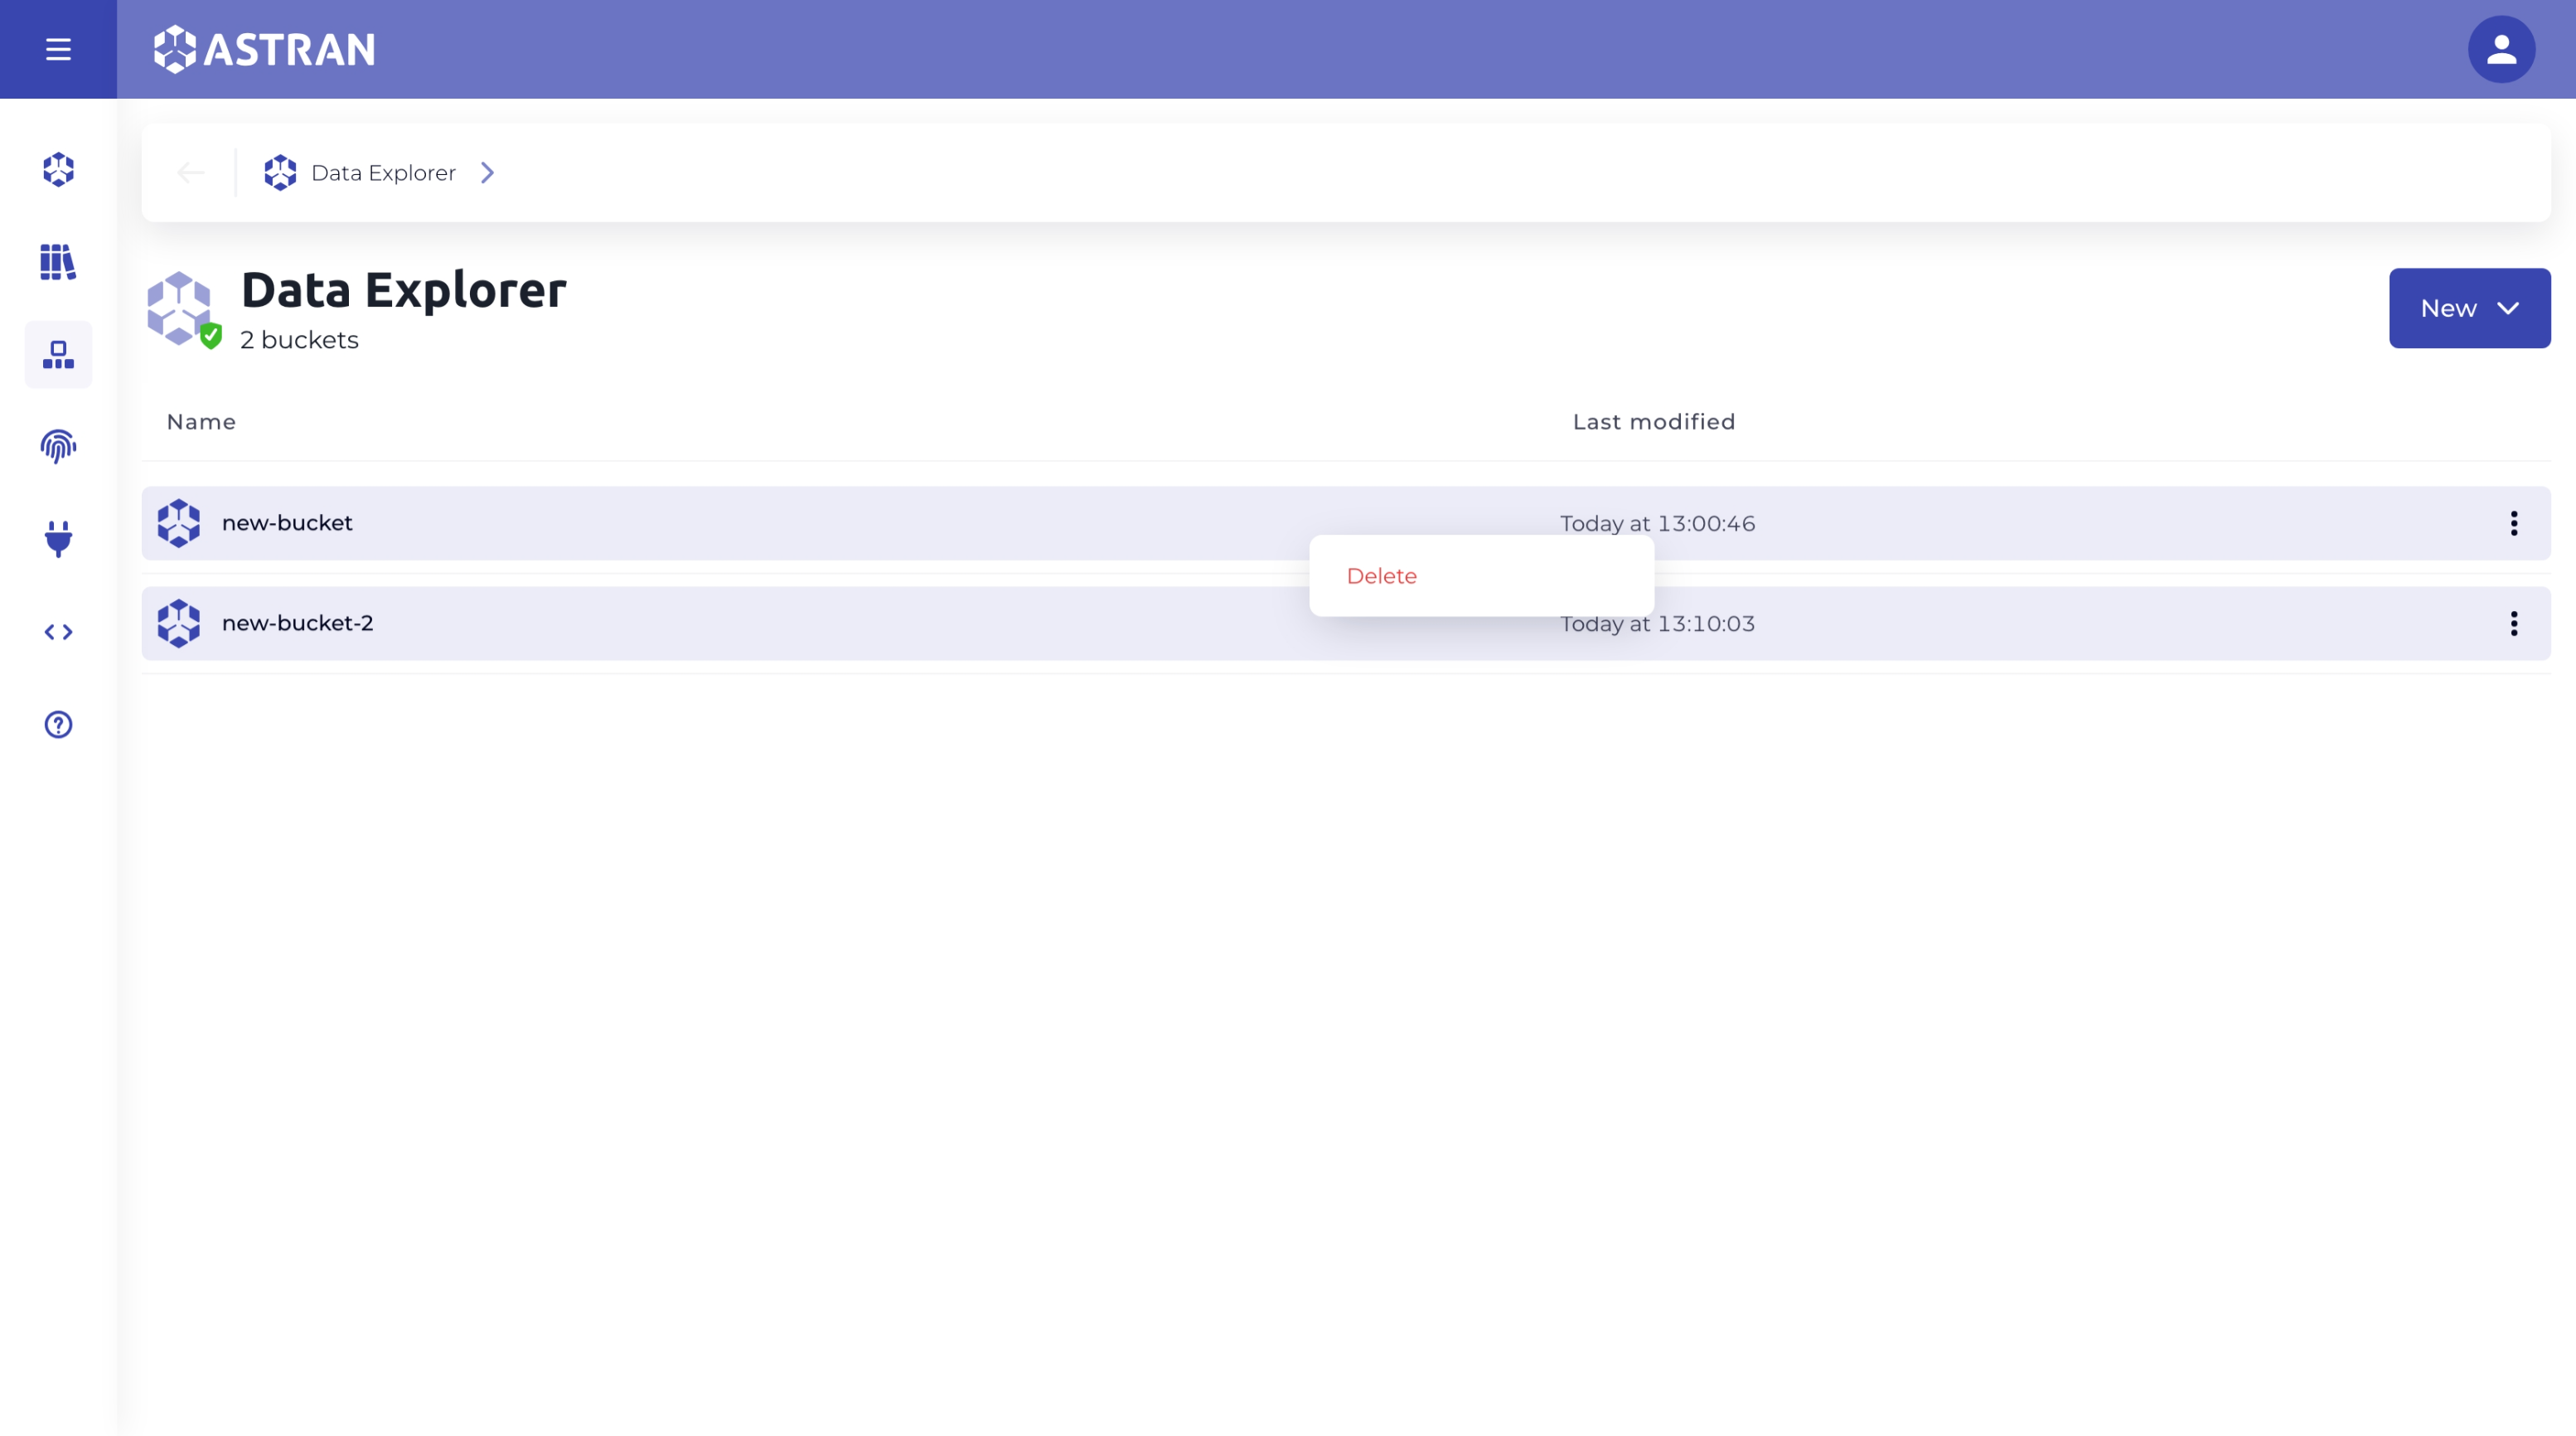
Deletion Confirmation Process
A first modal will appear to confirm the deletion of the selected buckets.
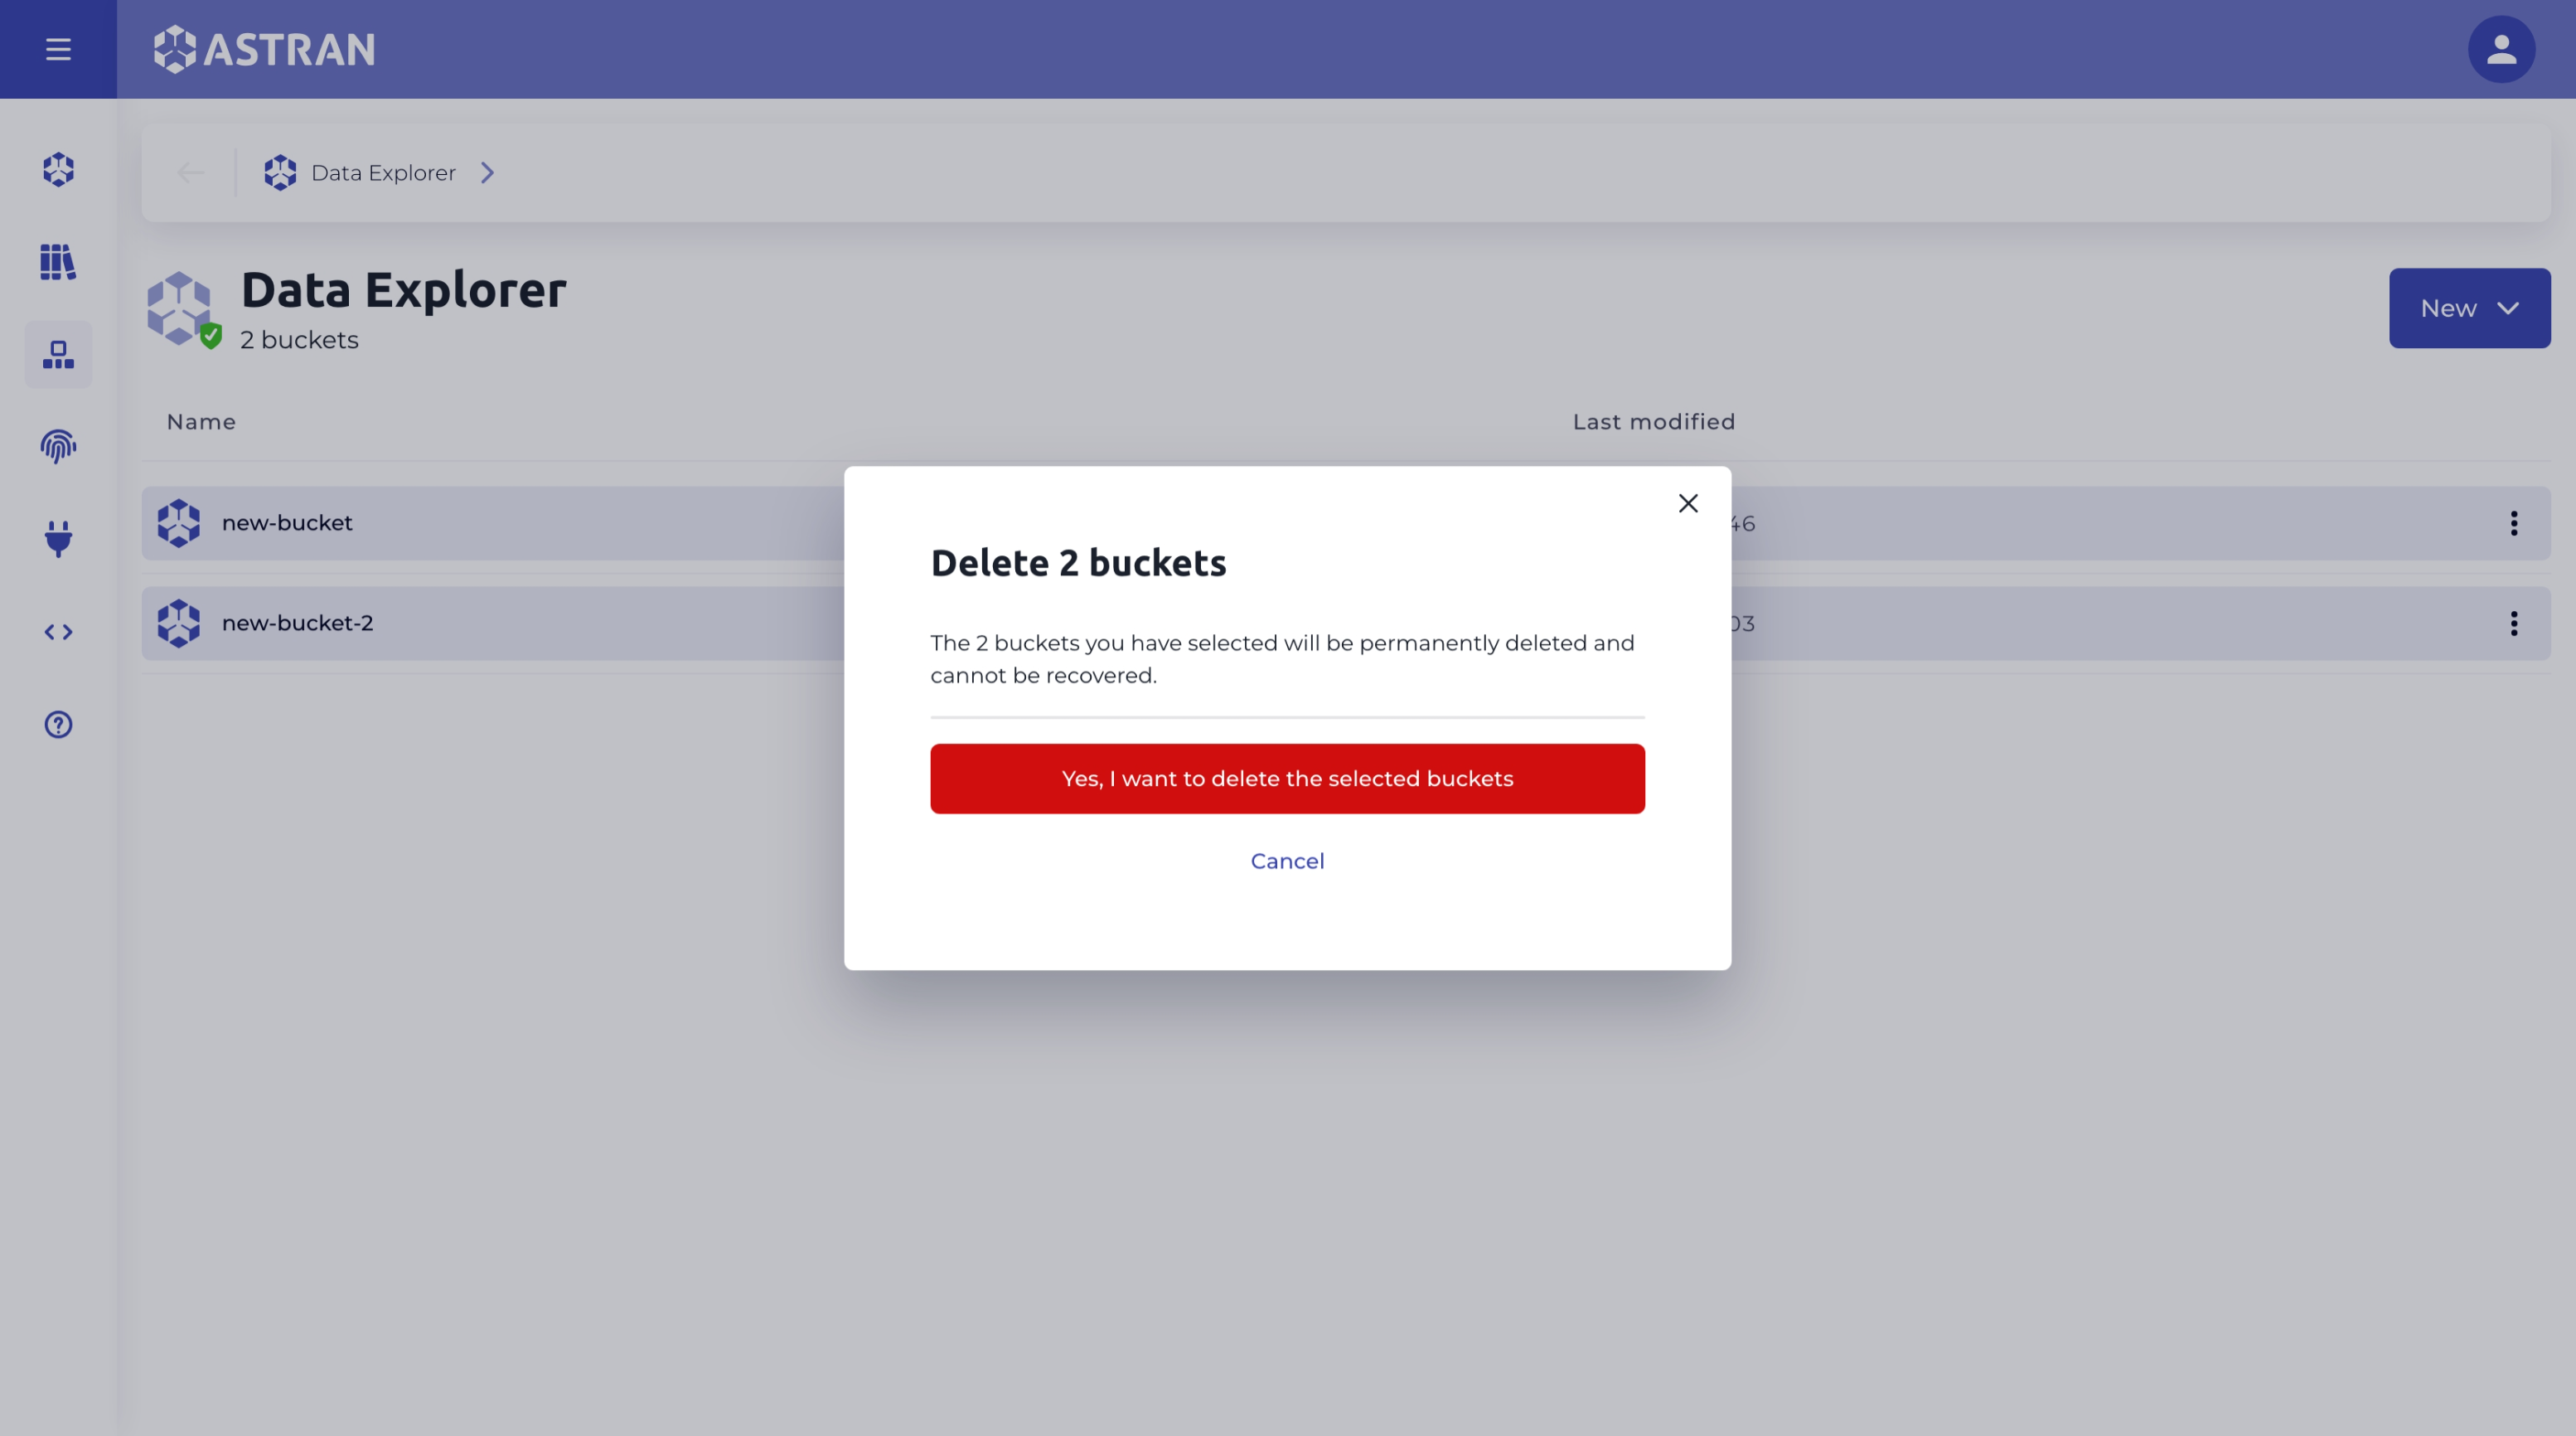
If the bucket contains objects, a second modal will appear to confirm the deletion of the buckets that were not empty and all their contents.
