Editing an existing kit
Entering edit mode
- From the
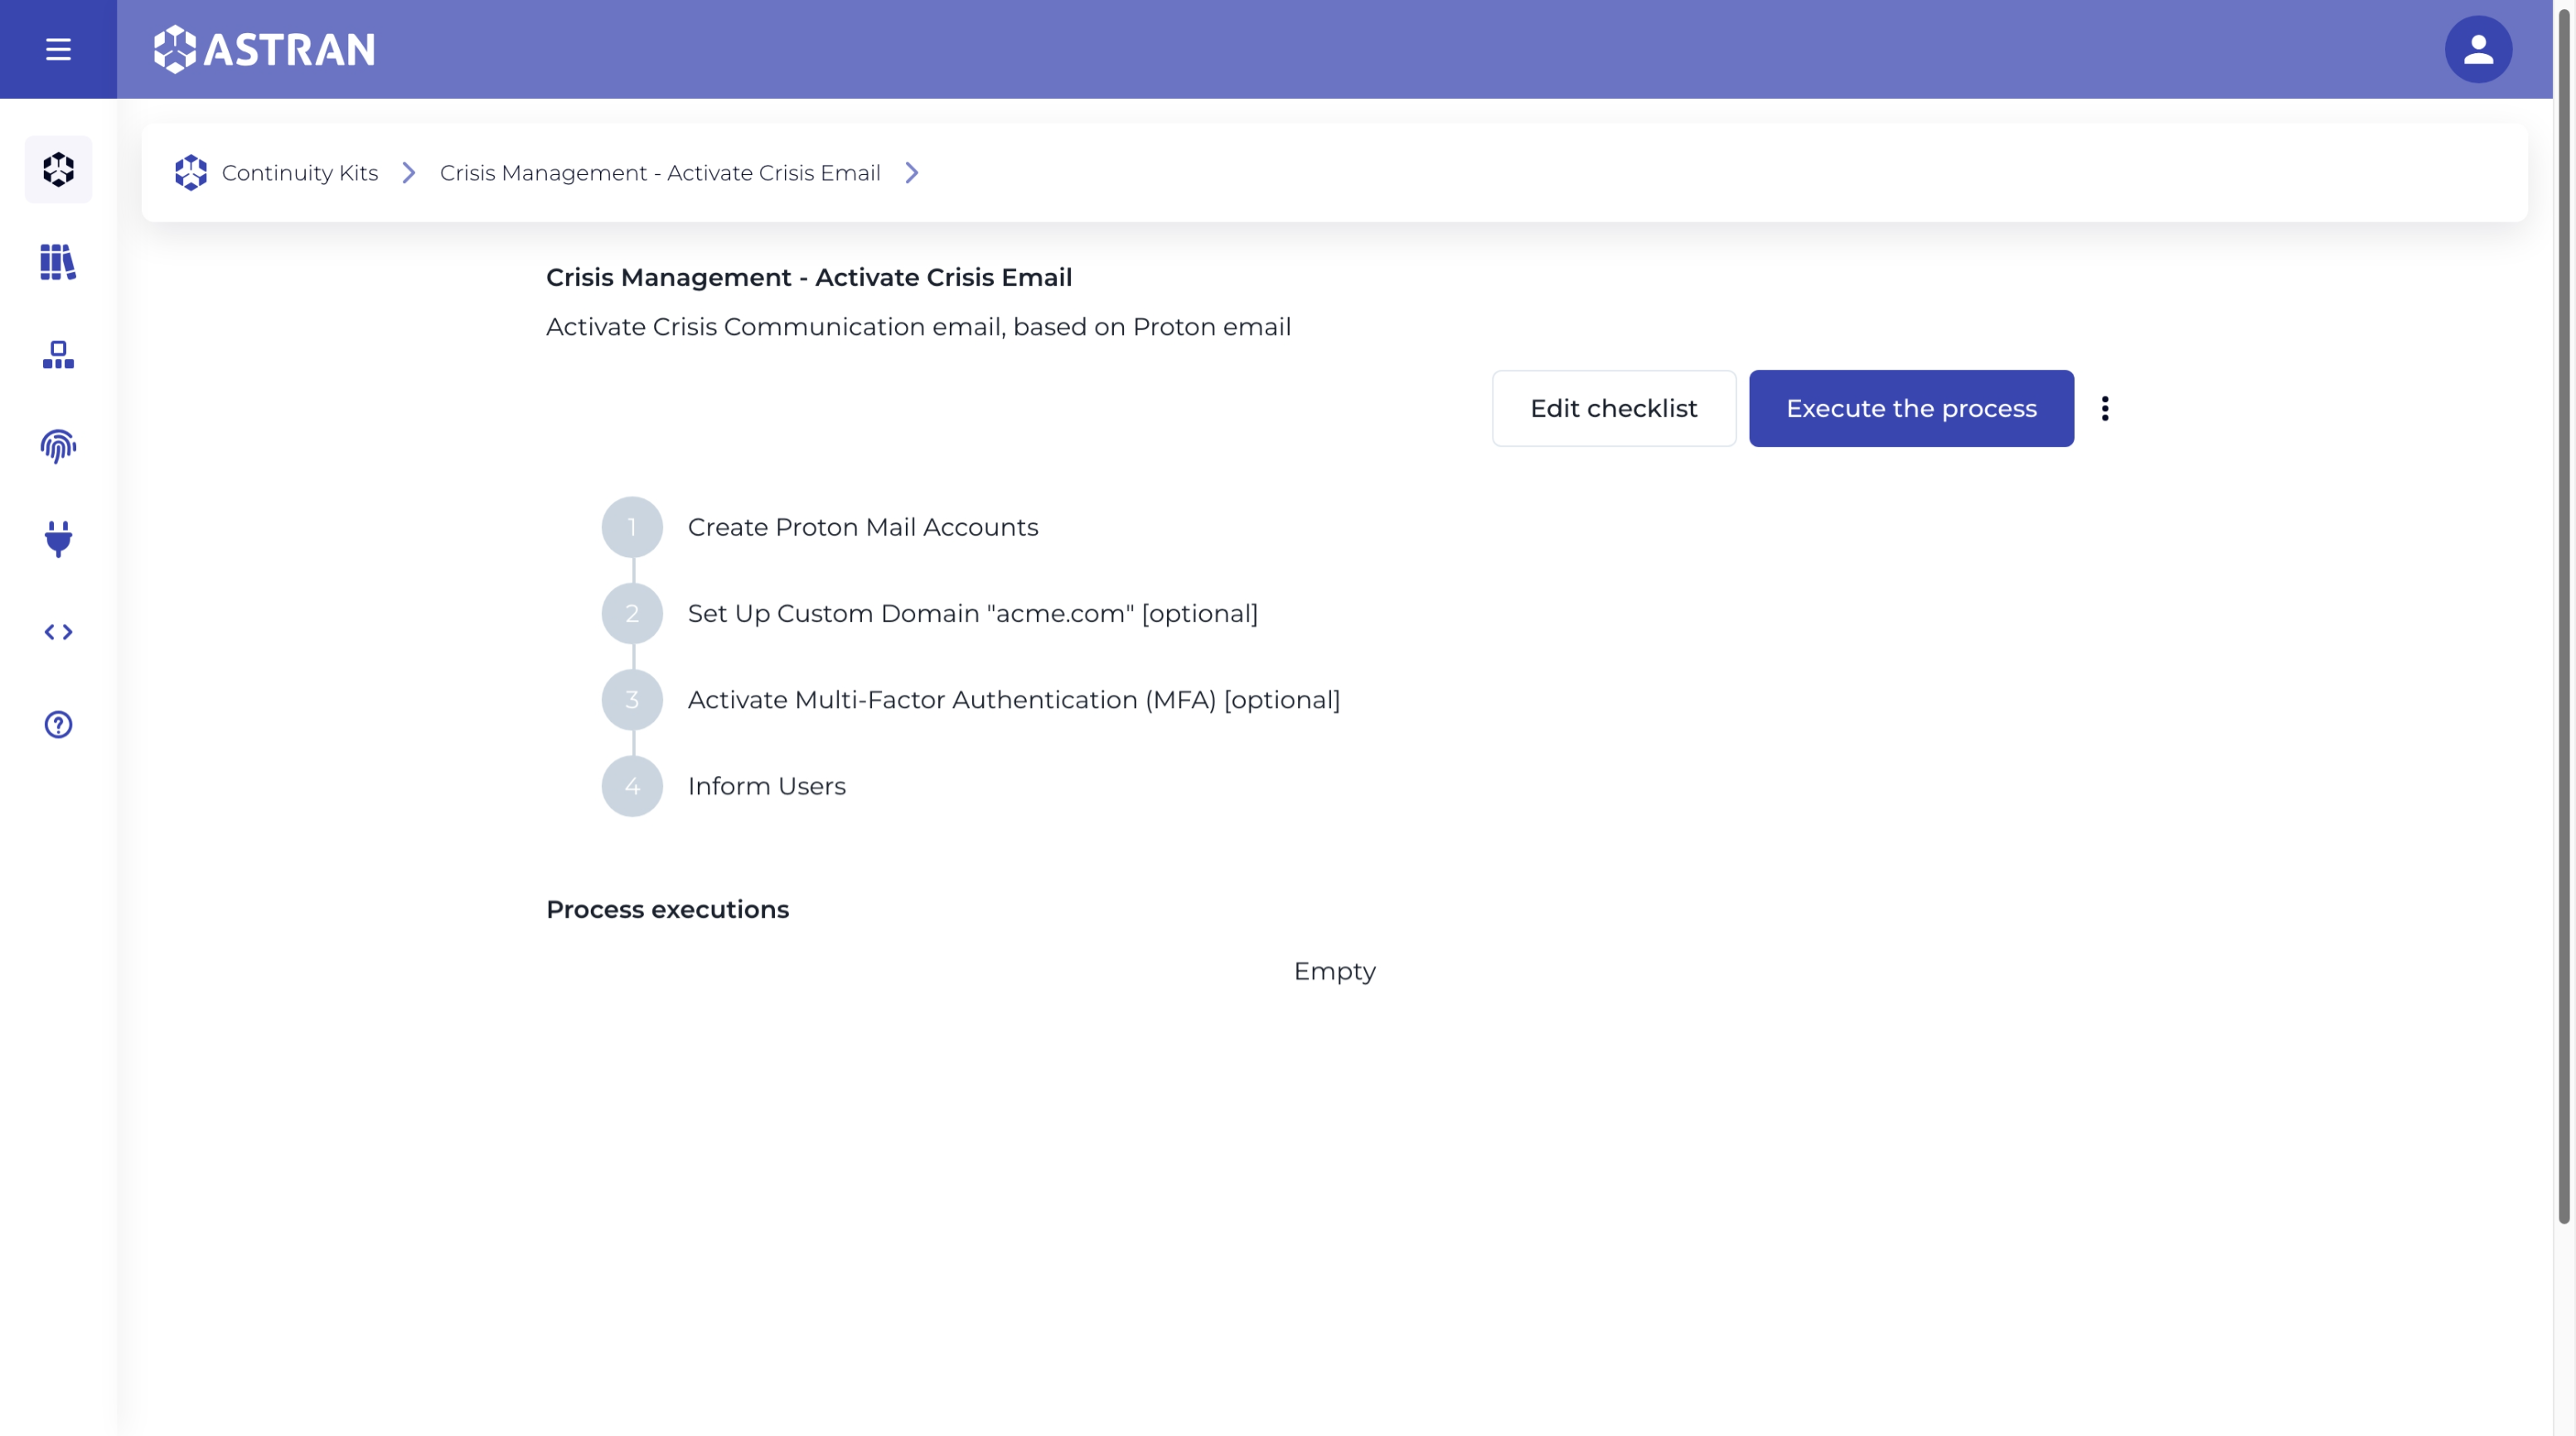
Continuity Kitslanding page, accessible from the left menu, click on one of your existing kits - You'll be redirected to this kit summary

- Click on
Edit checklist
Kit editor
Summary
The summary contains textual information about your kit. We recommend you use it to explain the purpose of this kit.
Blocks
A checklist is made of blocks.
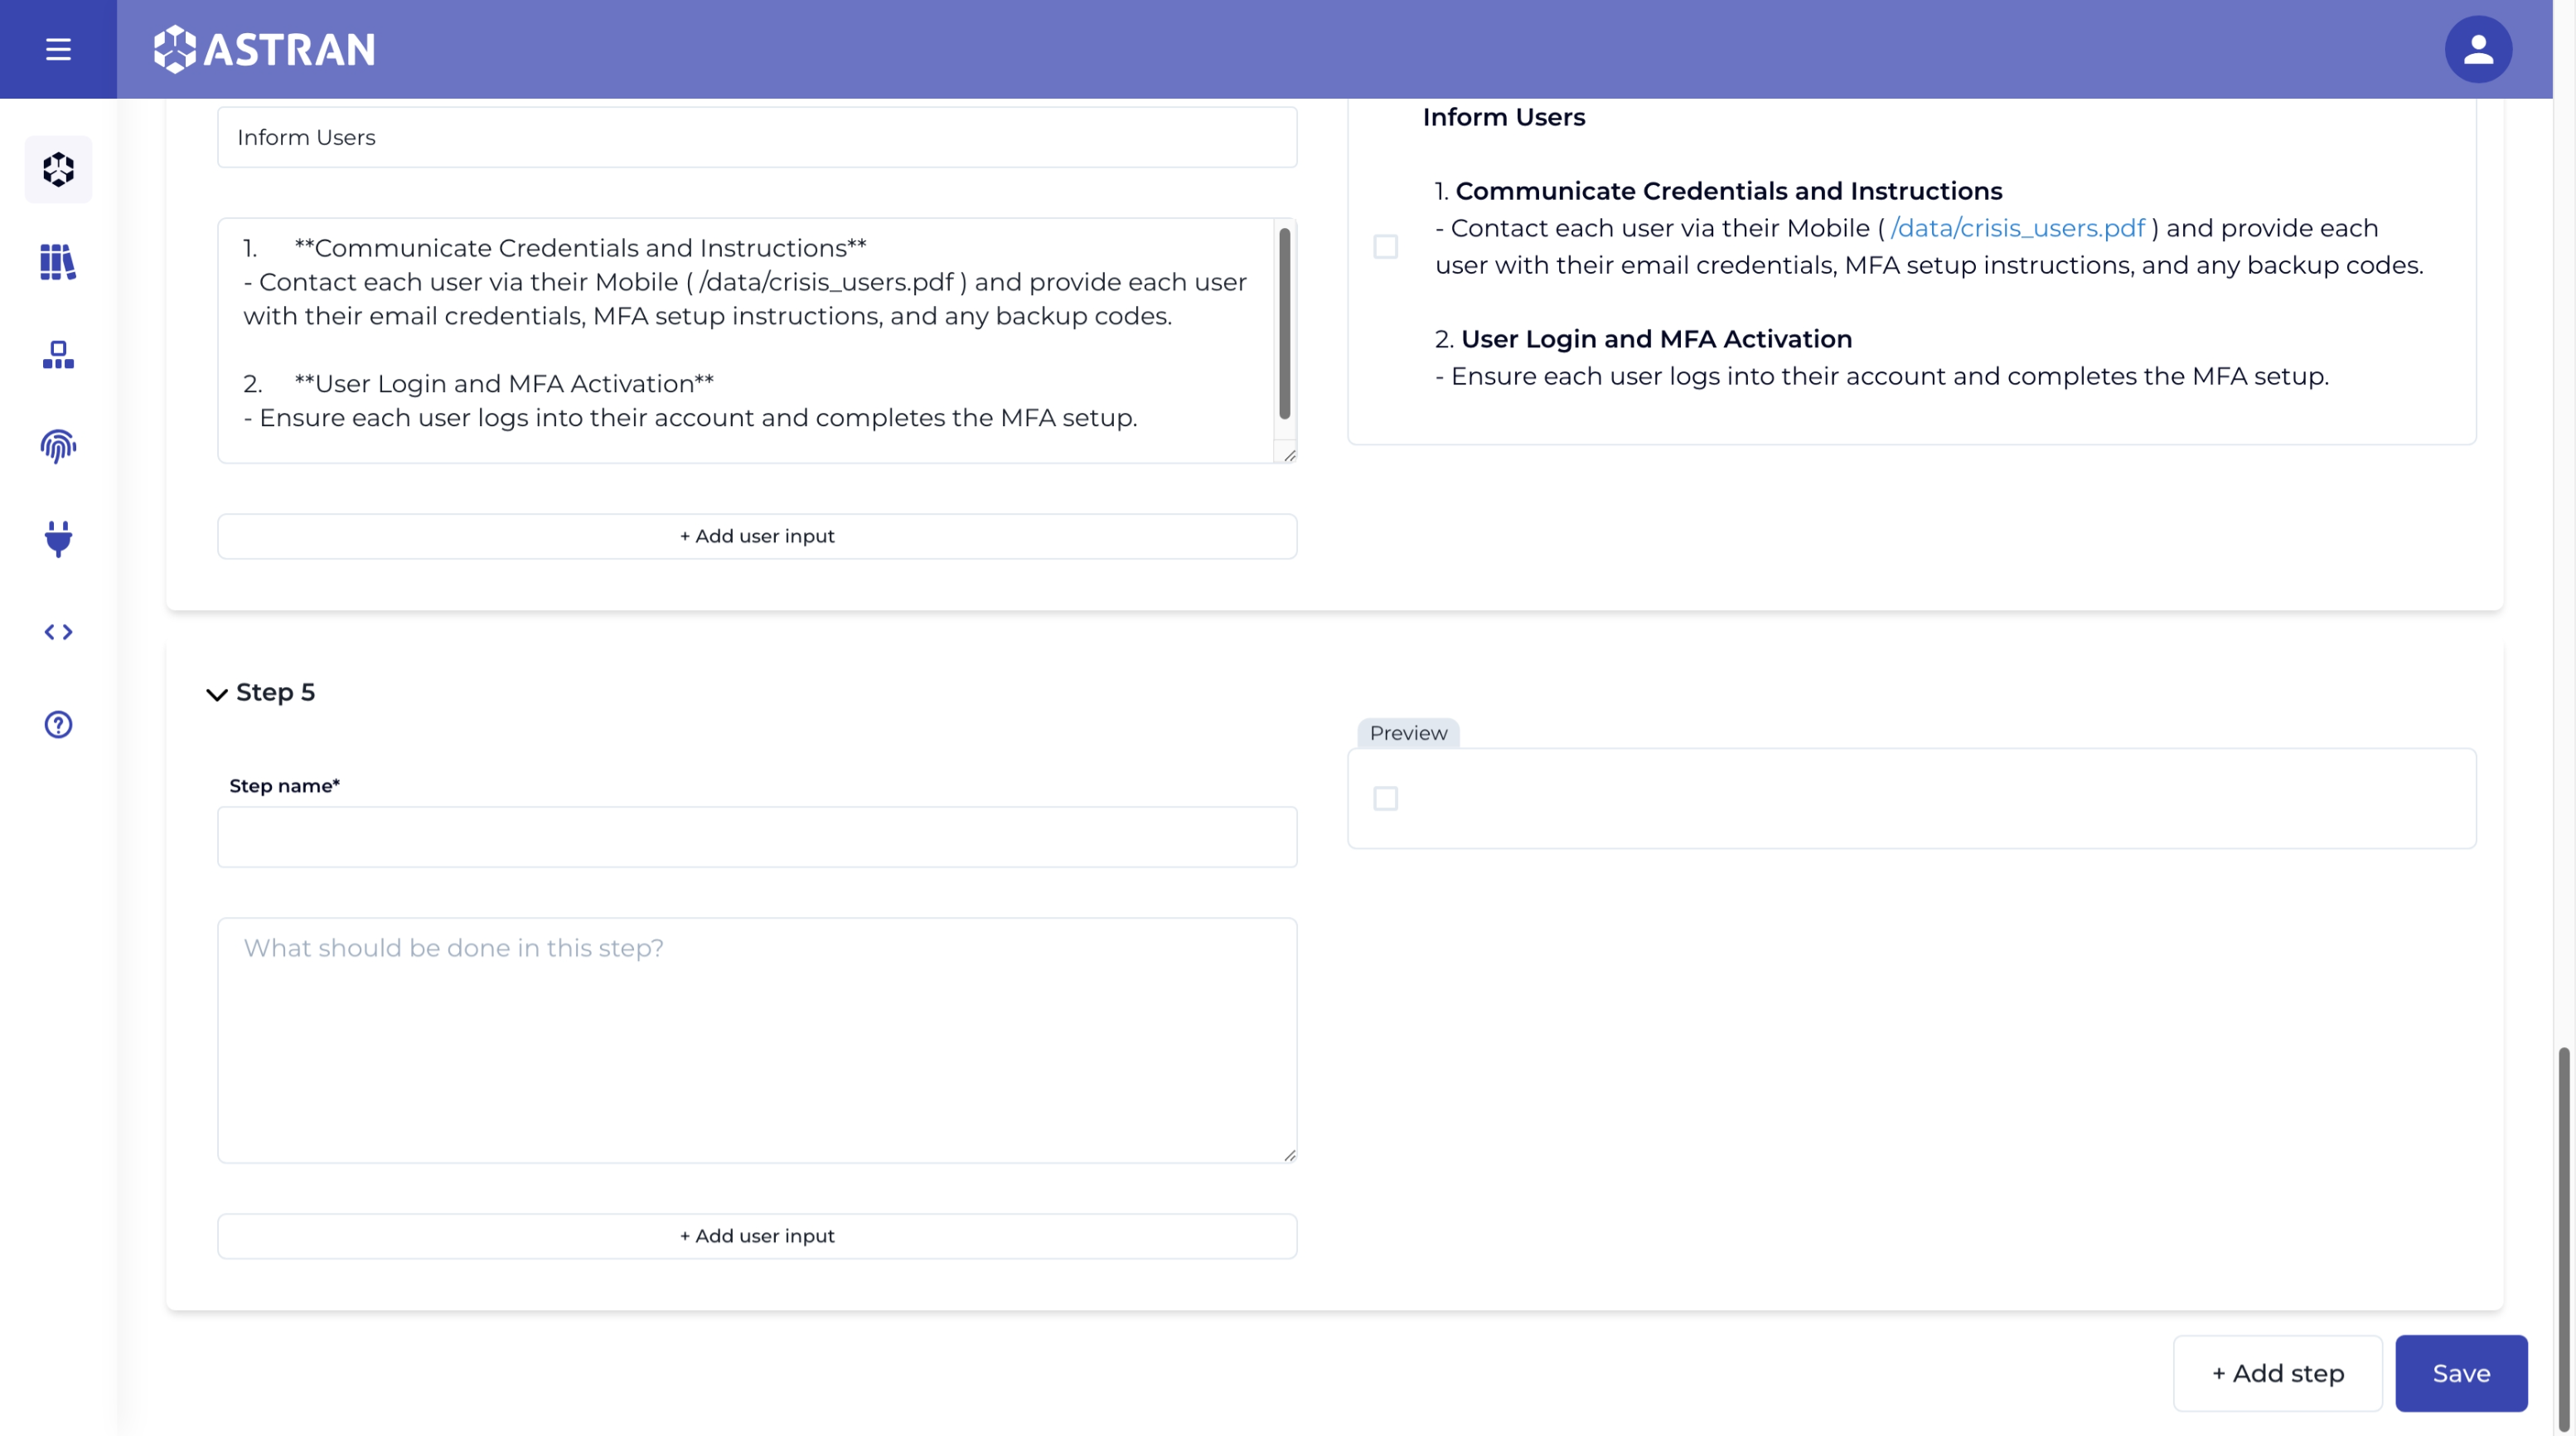
Each block contains a Step name (mandatory), a free text for the description of the step and user inputs.
You can add a new step by click Add step at the bottom of the page, next to the Save button.

Text editor
You can check the options offered by the text editor here
User inputs
To add a user input, click on the Add user input button.
Each input must have a name. In a block, 2 inputs cannot have the same name
The name you enter will be transformed in a technical key for storage.
Shall you have 2 names identical, except for a special character, you will have to change one of them.
e.g. you cannot have Is working and Is working? as 2 different inputs
User input types
Each input can be Required or Optional
You can add inputs of type
- Text can have a regular expression (Javascript compatible) in order to validate its format.
- Text area
- Date
- True / falseinfo
A true/false input that is
requiredmeans that the user must set it toYesto consider it valid. - File
About file inputs
Each process execution where a file will be required will have, in your bucket, in the executed-processes folder:
- a
{tecnichalId}.asckifile, containing the checklist - a folder, named after the
{technicalId}
Technical information
When a user will upload a file associated to the file input, it will land in executed-process/{technicalId}/{technicalFieldName}
The technical field name is the name of the field, where whitespaces and special characters have been removed, to be transformed to camel case.
Reorganizing blocks
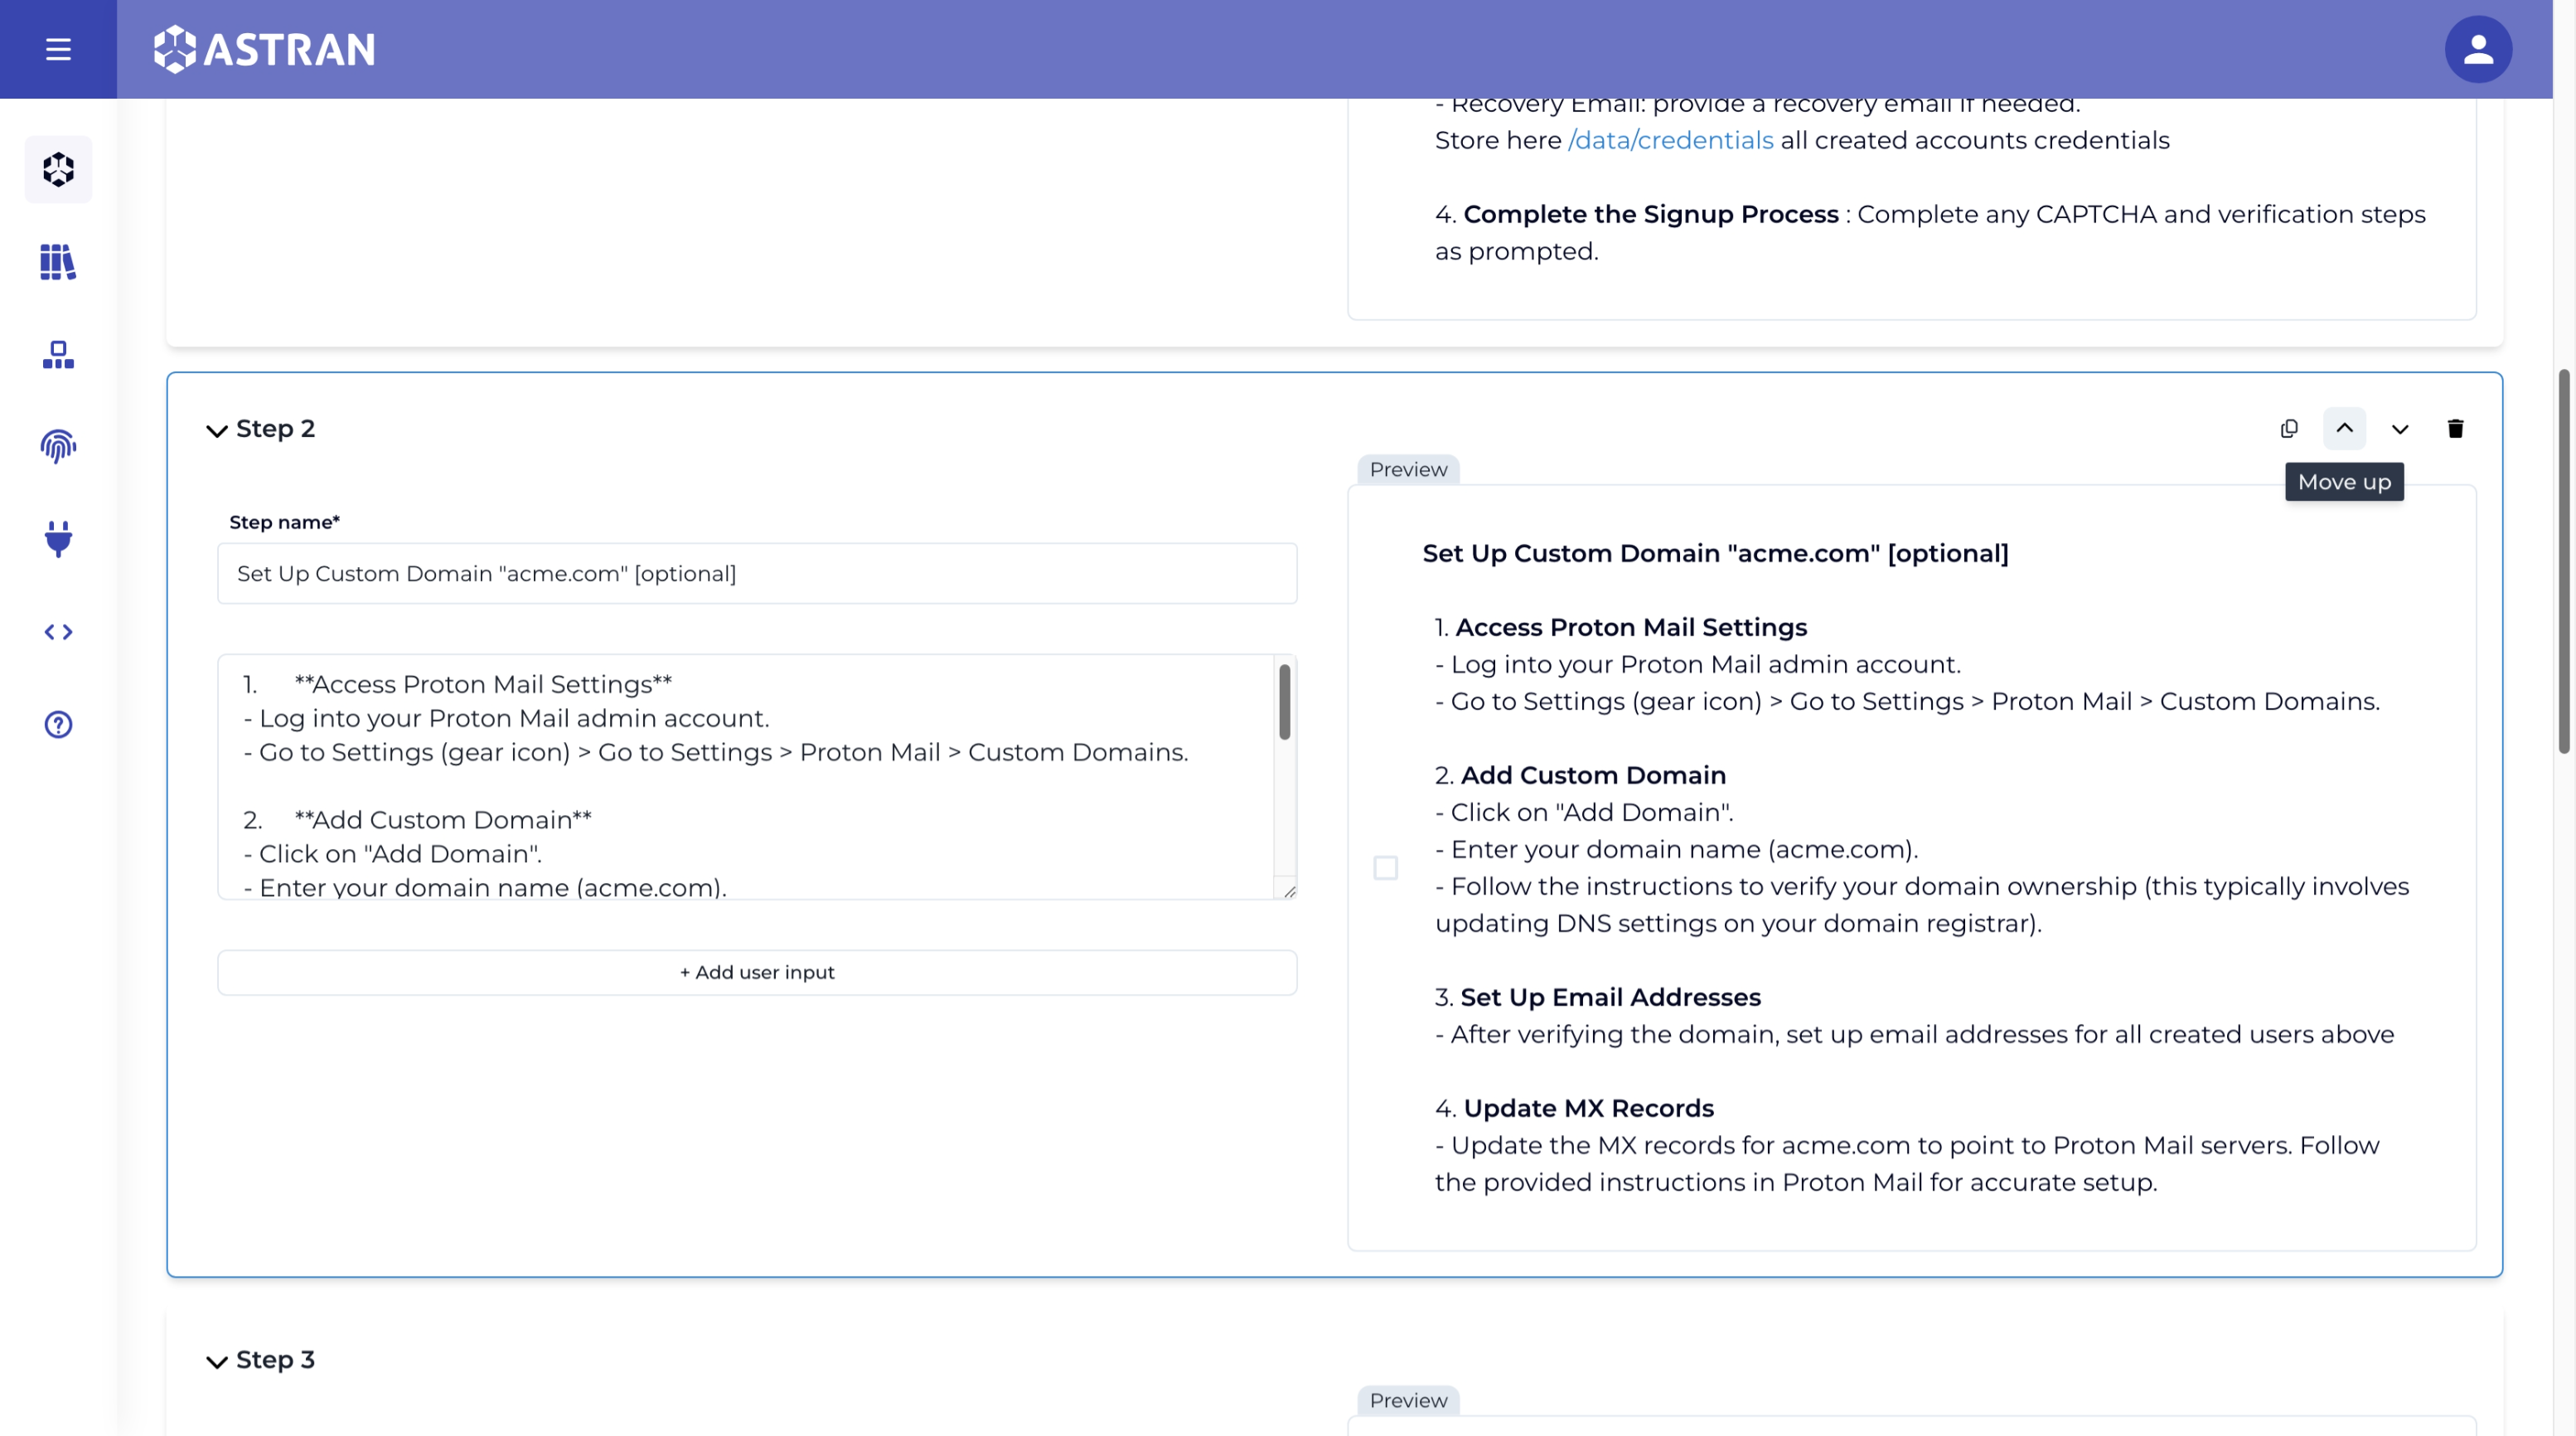
You can reorganize blocks by clicking on the up and down chevron that appear at the top right of a block when you hover it.
You can delete a block by clicking on the Delete icon. Beware, there's no confirmation required!
You can also drag and drop blocks to reorganize them

Tip
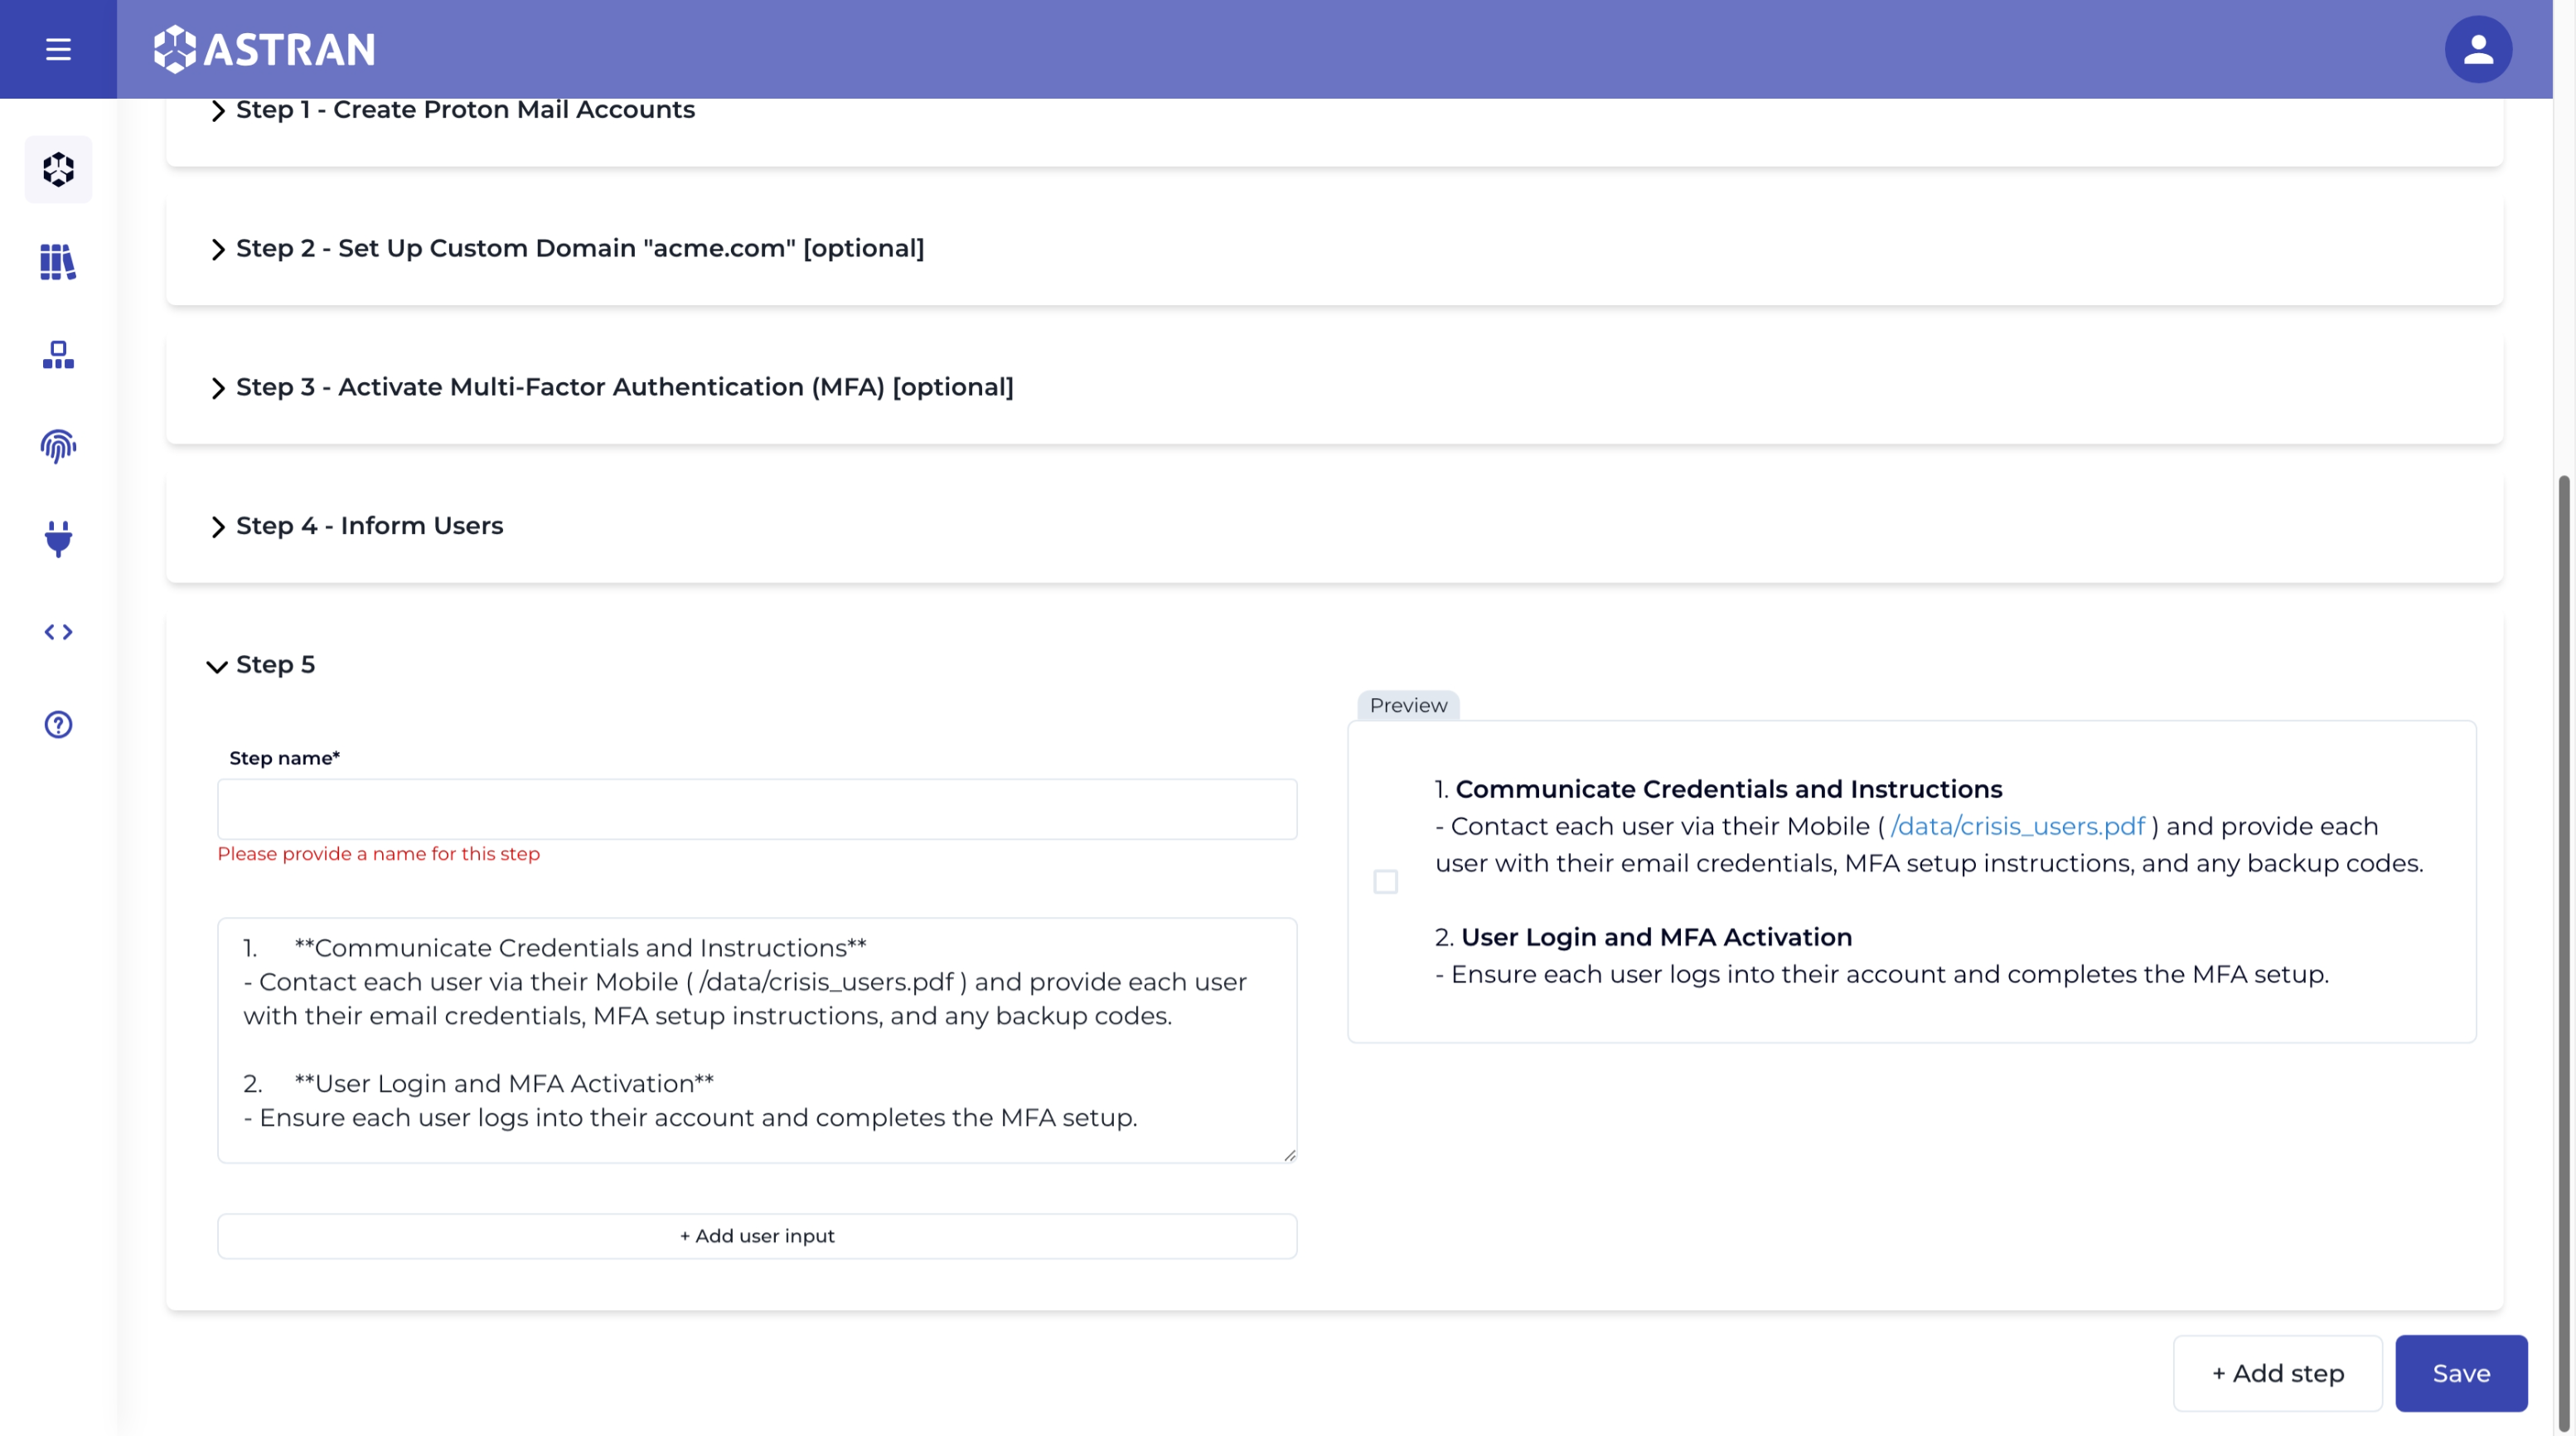
Click on "reduce all" to collapse all blocks and reorganize them easily
For convenience, you can also duplicate a block by clicking on the duplicate icon.
Saving changes
Once you're happy with you changes, click on Save at the bottom right of the page.
Shall there be any issue, your changes will not be saved.
Blocks will collapse, except for the ones which have errors.

Correct the mentioned errors and Save again.
Upon succesful save, you'll be redirected to your kit summary.
Expert mode
Kits checklists are saved in a JSON format.
You can directly edit this, by clicking on "Switch to expert mode". We do not recommend you doing that and we do not, at the moment, provide documentation on the expected structure.
Yet, this could be used for minor changes from a kit created in the application, on which you want to push updates through an API integration.