Managing Groups
Creating a group
On the left menu, click on Groups to go to the Groups dashboard.
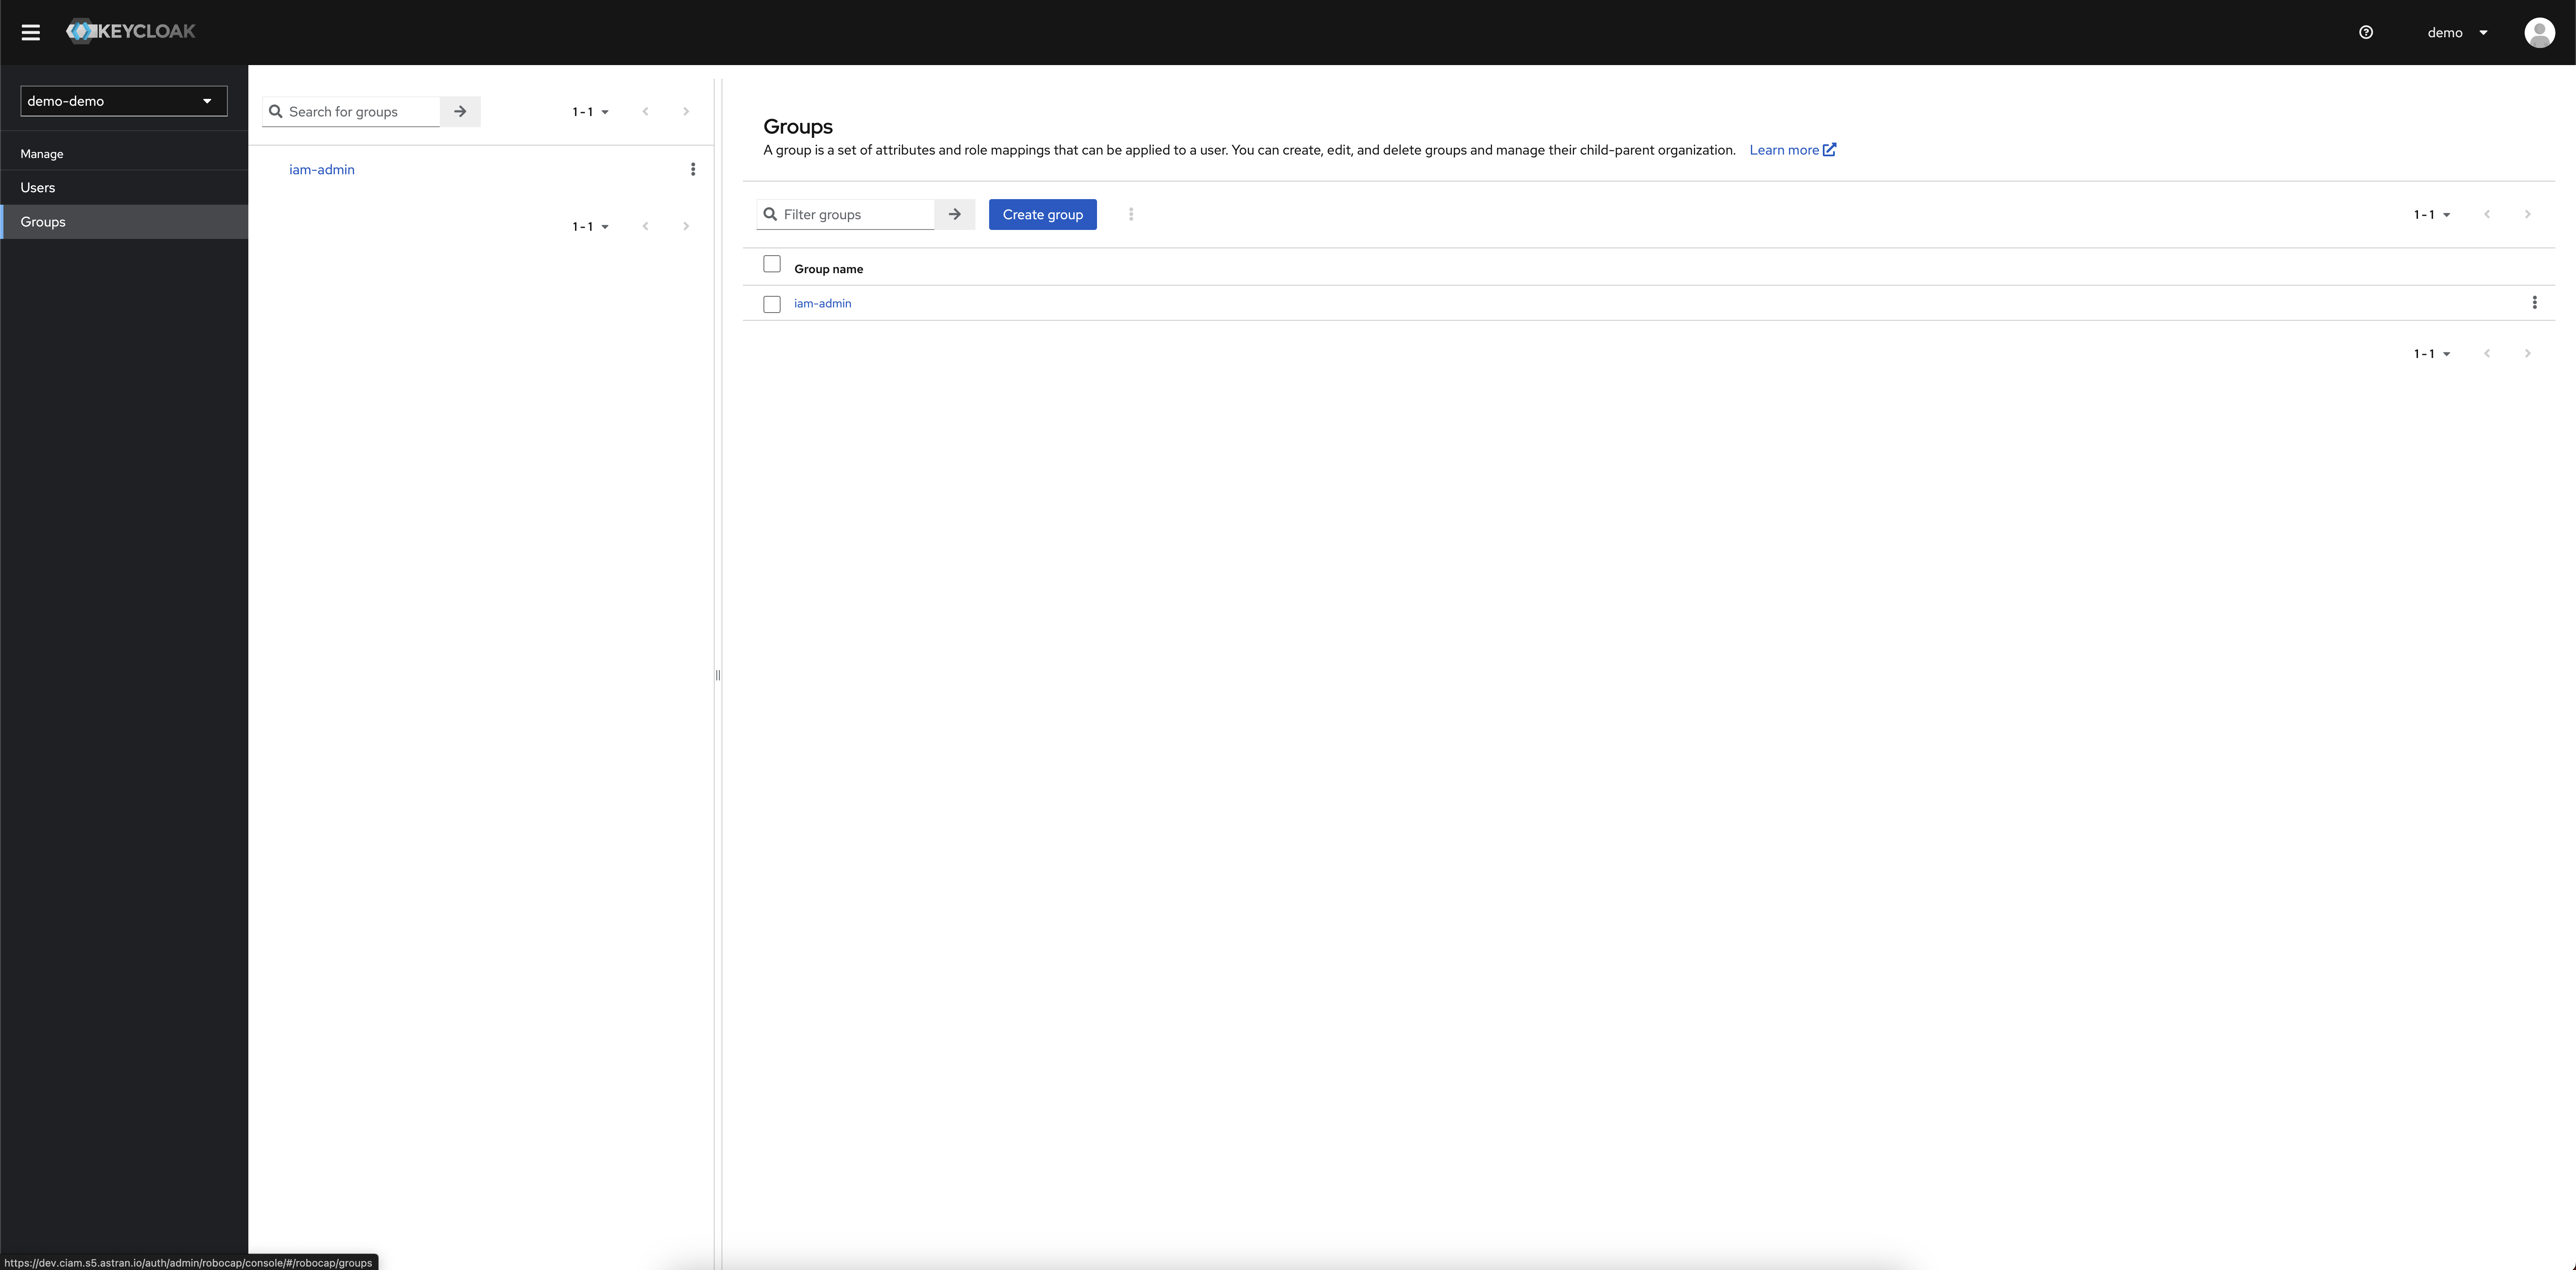
You should see that there is already a iam-admin group.
Never modify or delete the iam-admin group, otherwise you will lose access to the keycloak console with your admin account !
Click on the Create group button.
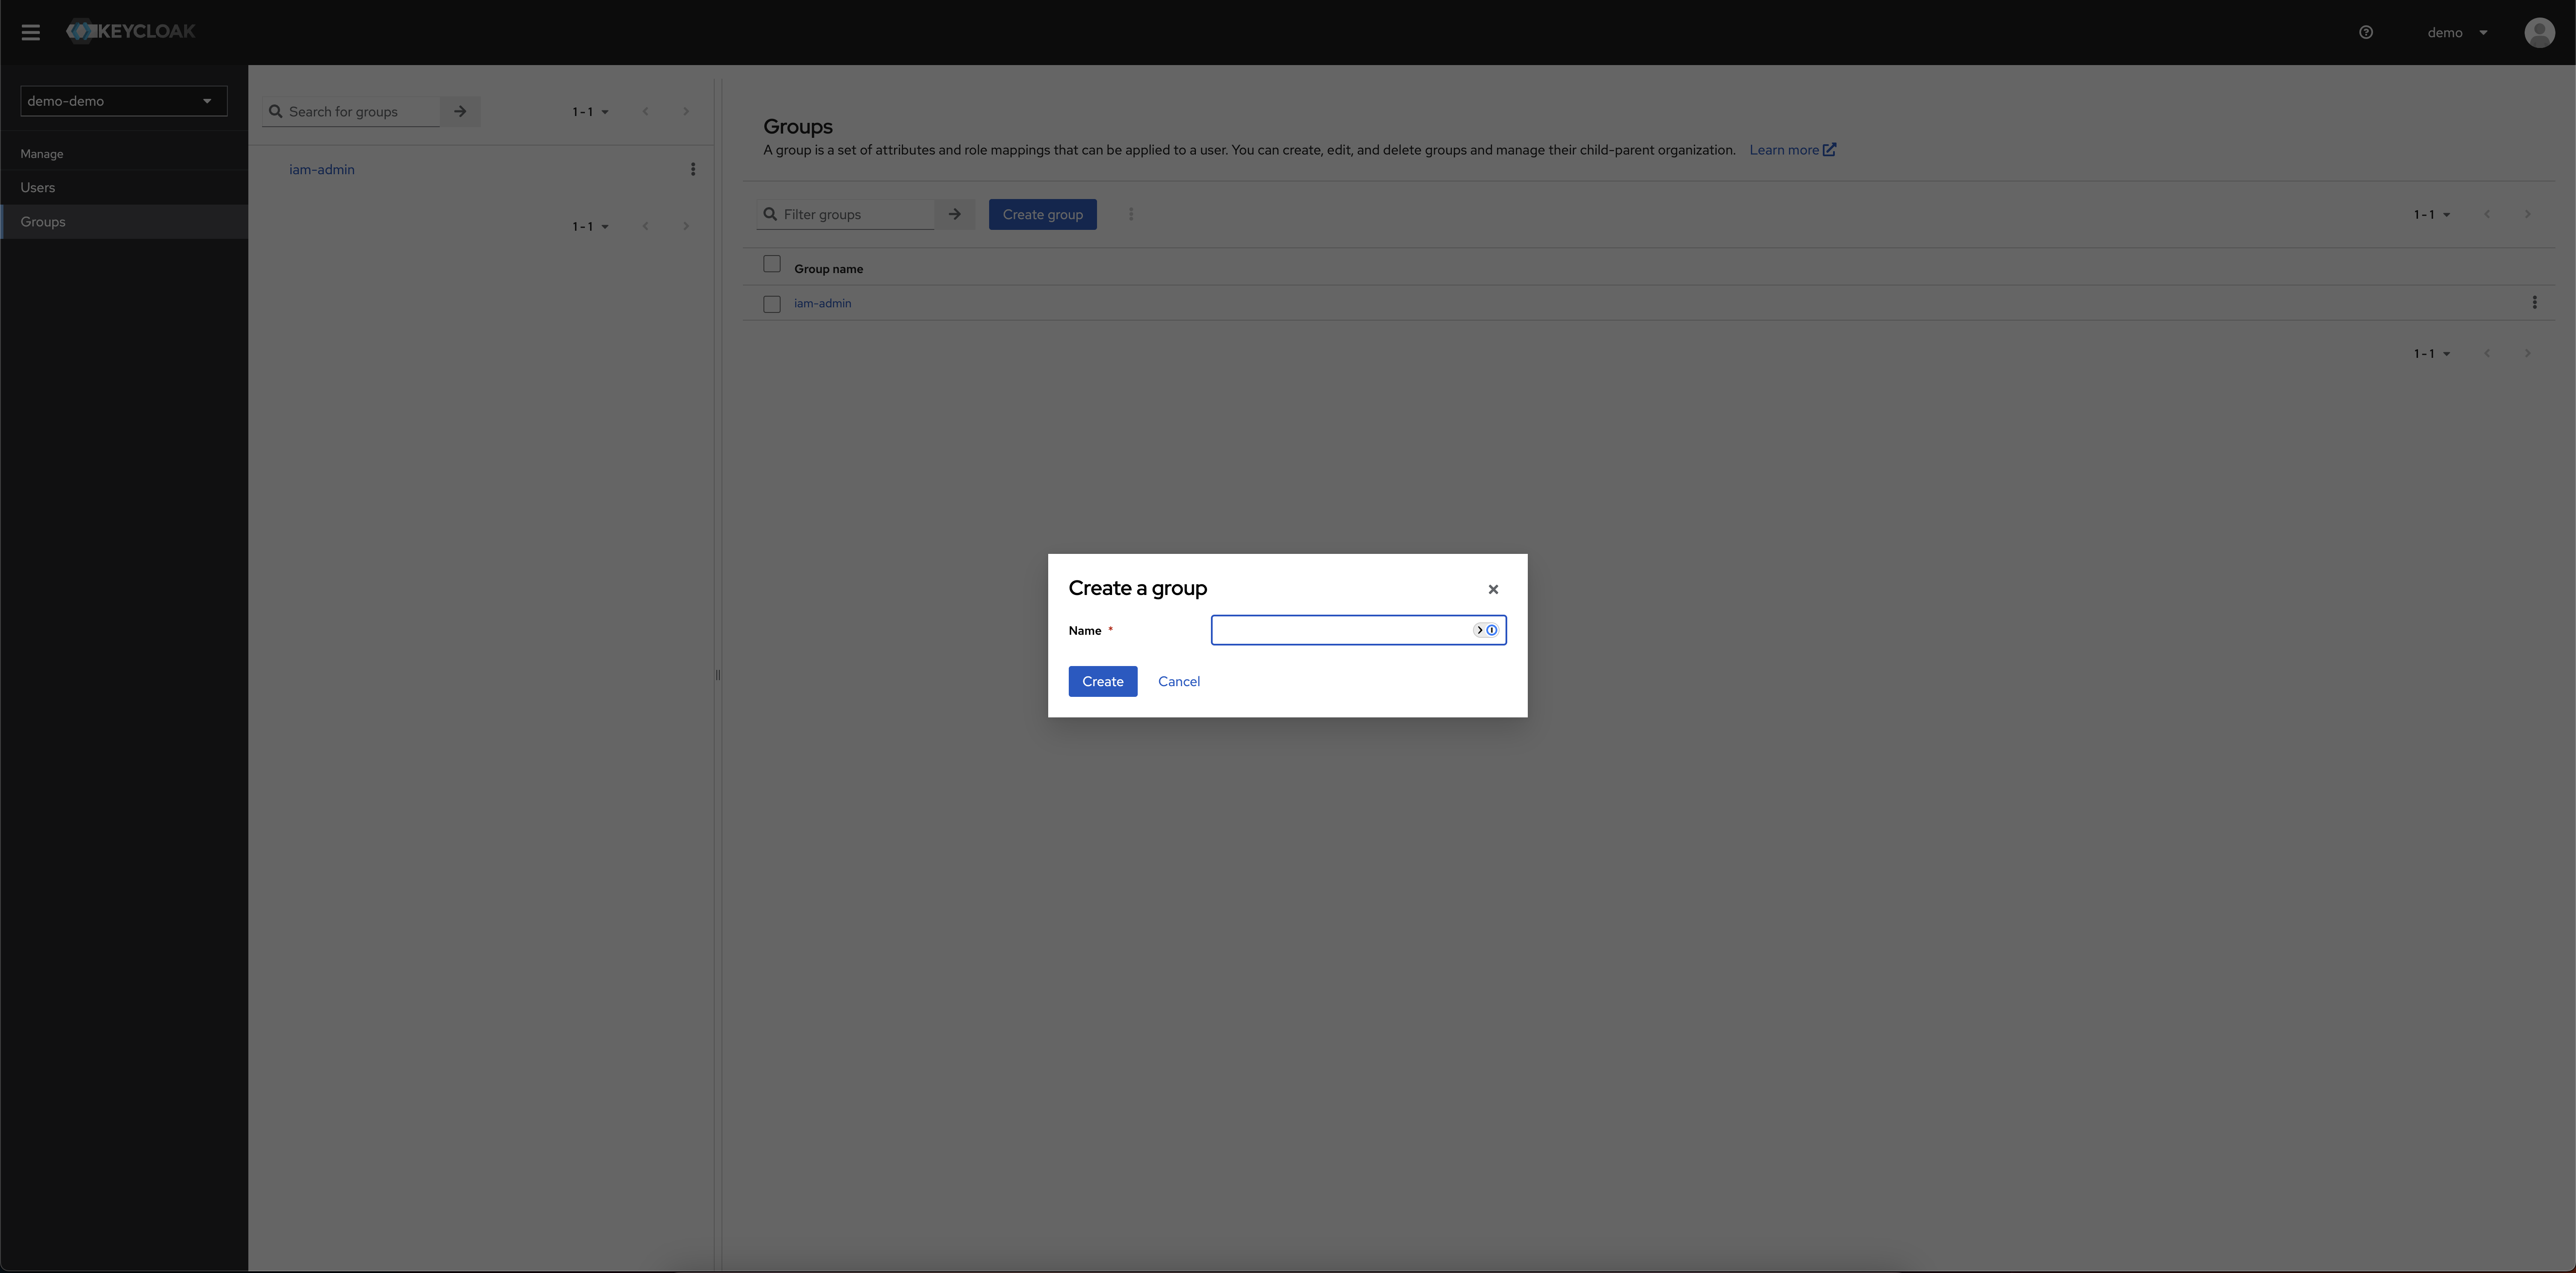
Fill in the Name field with the name of the group you want to create then click on Create.
Mapping a group with roles
You can easily map a group with several roles.
Click on the new group you created.
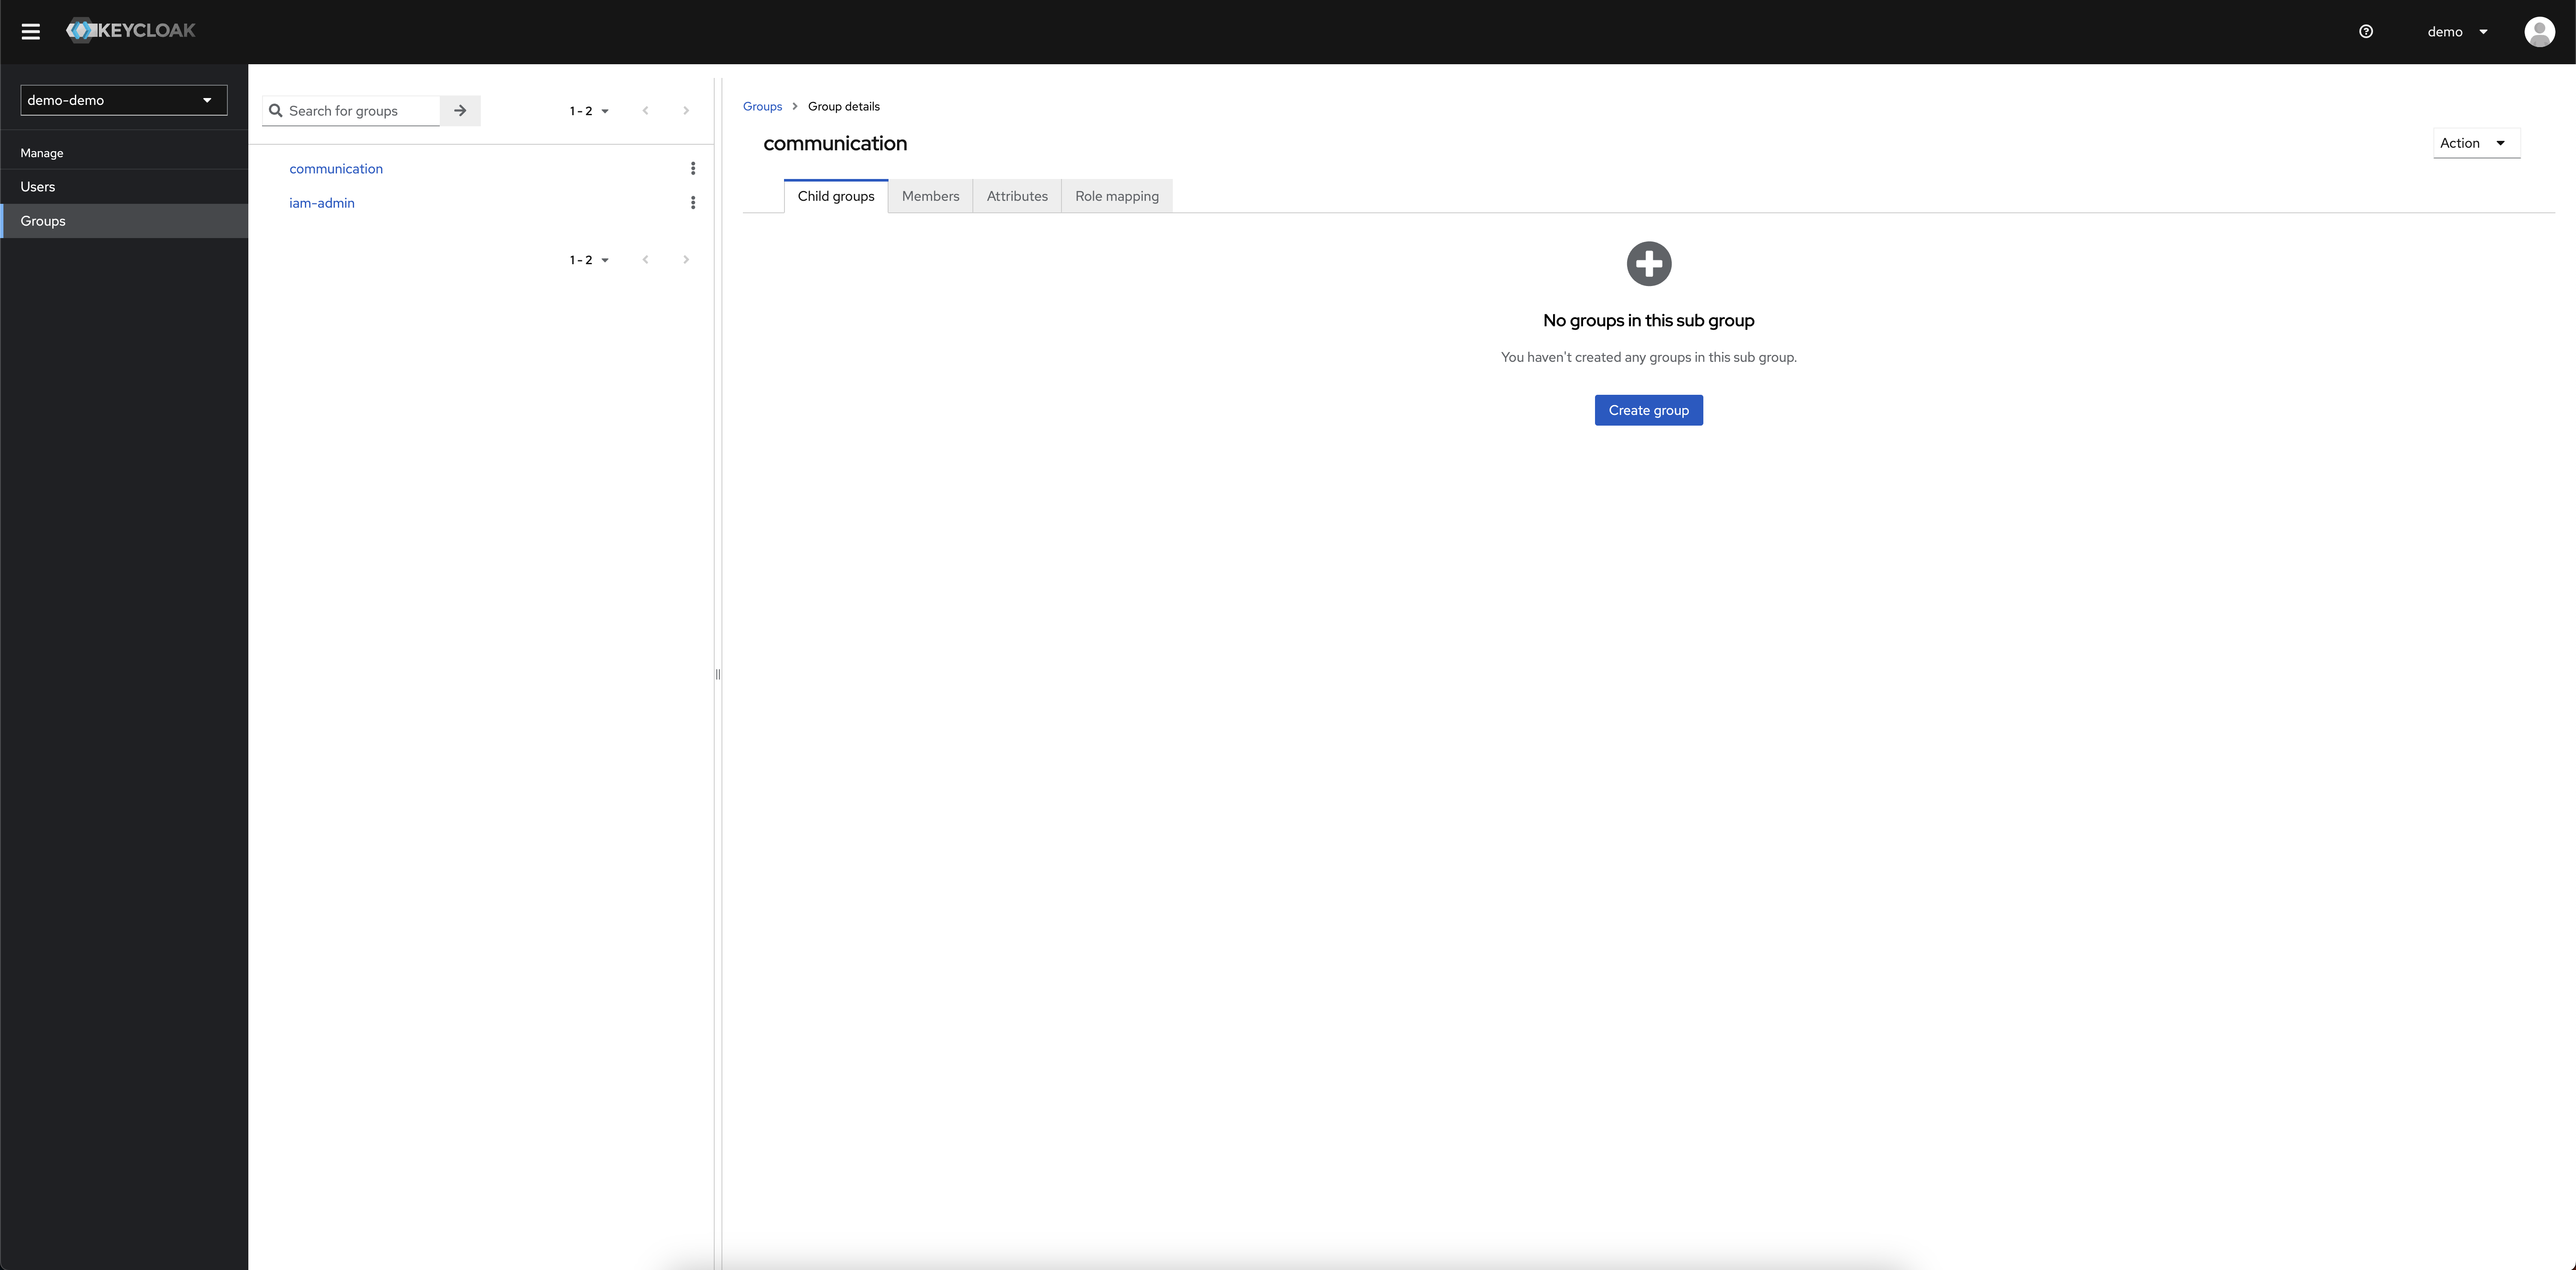
Click on the Attributes tab.
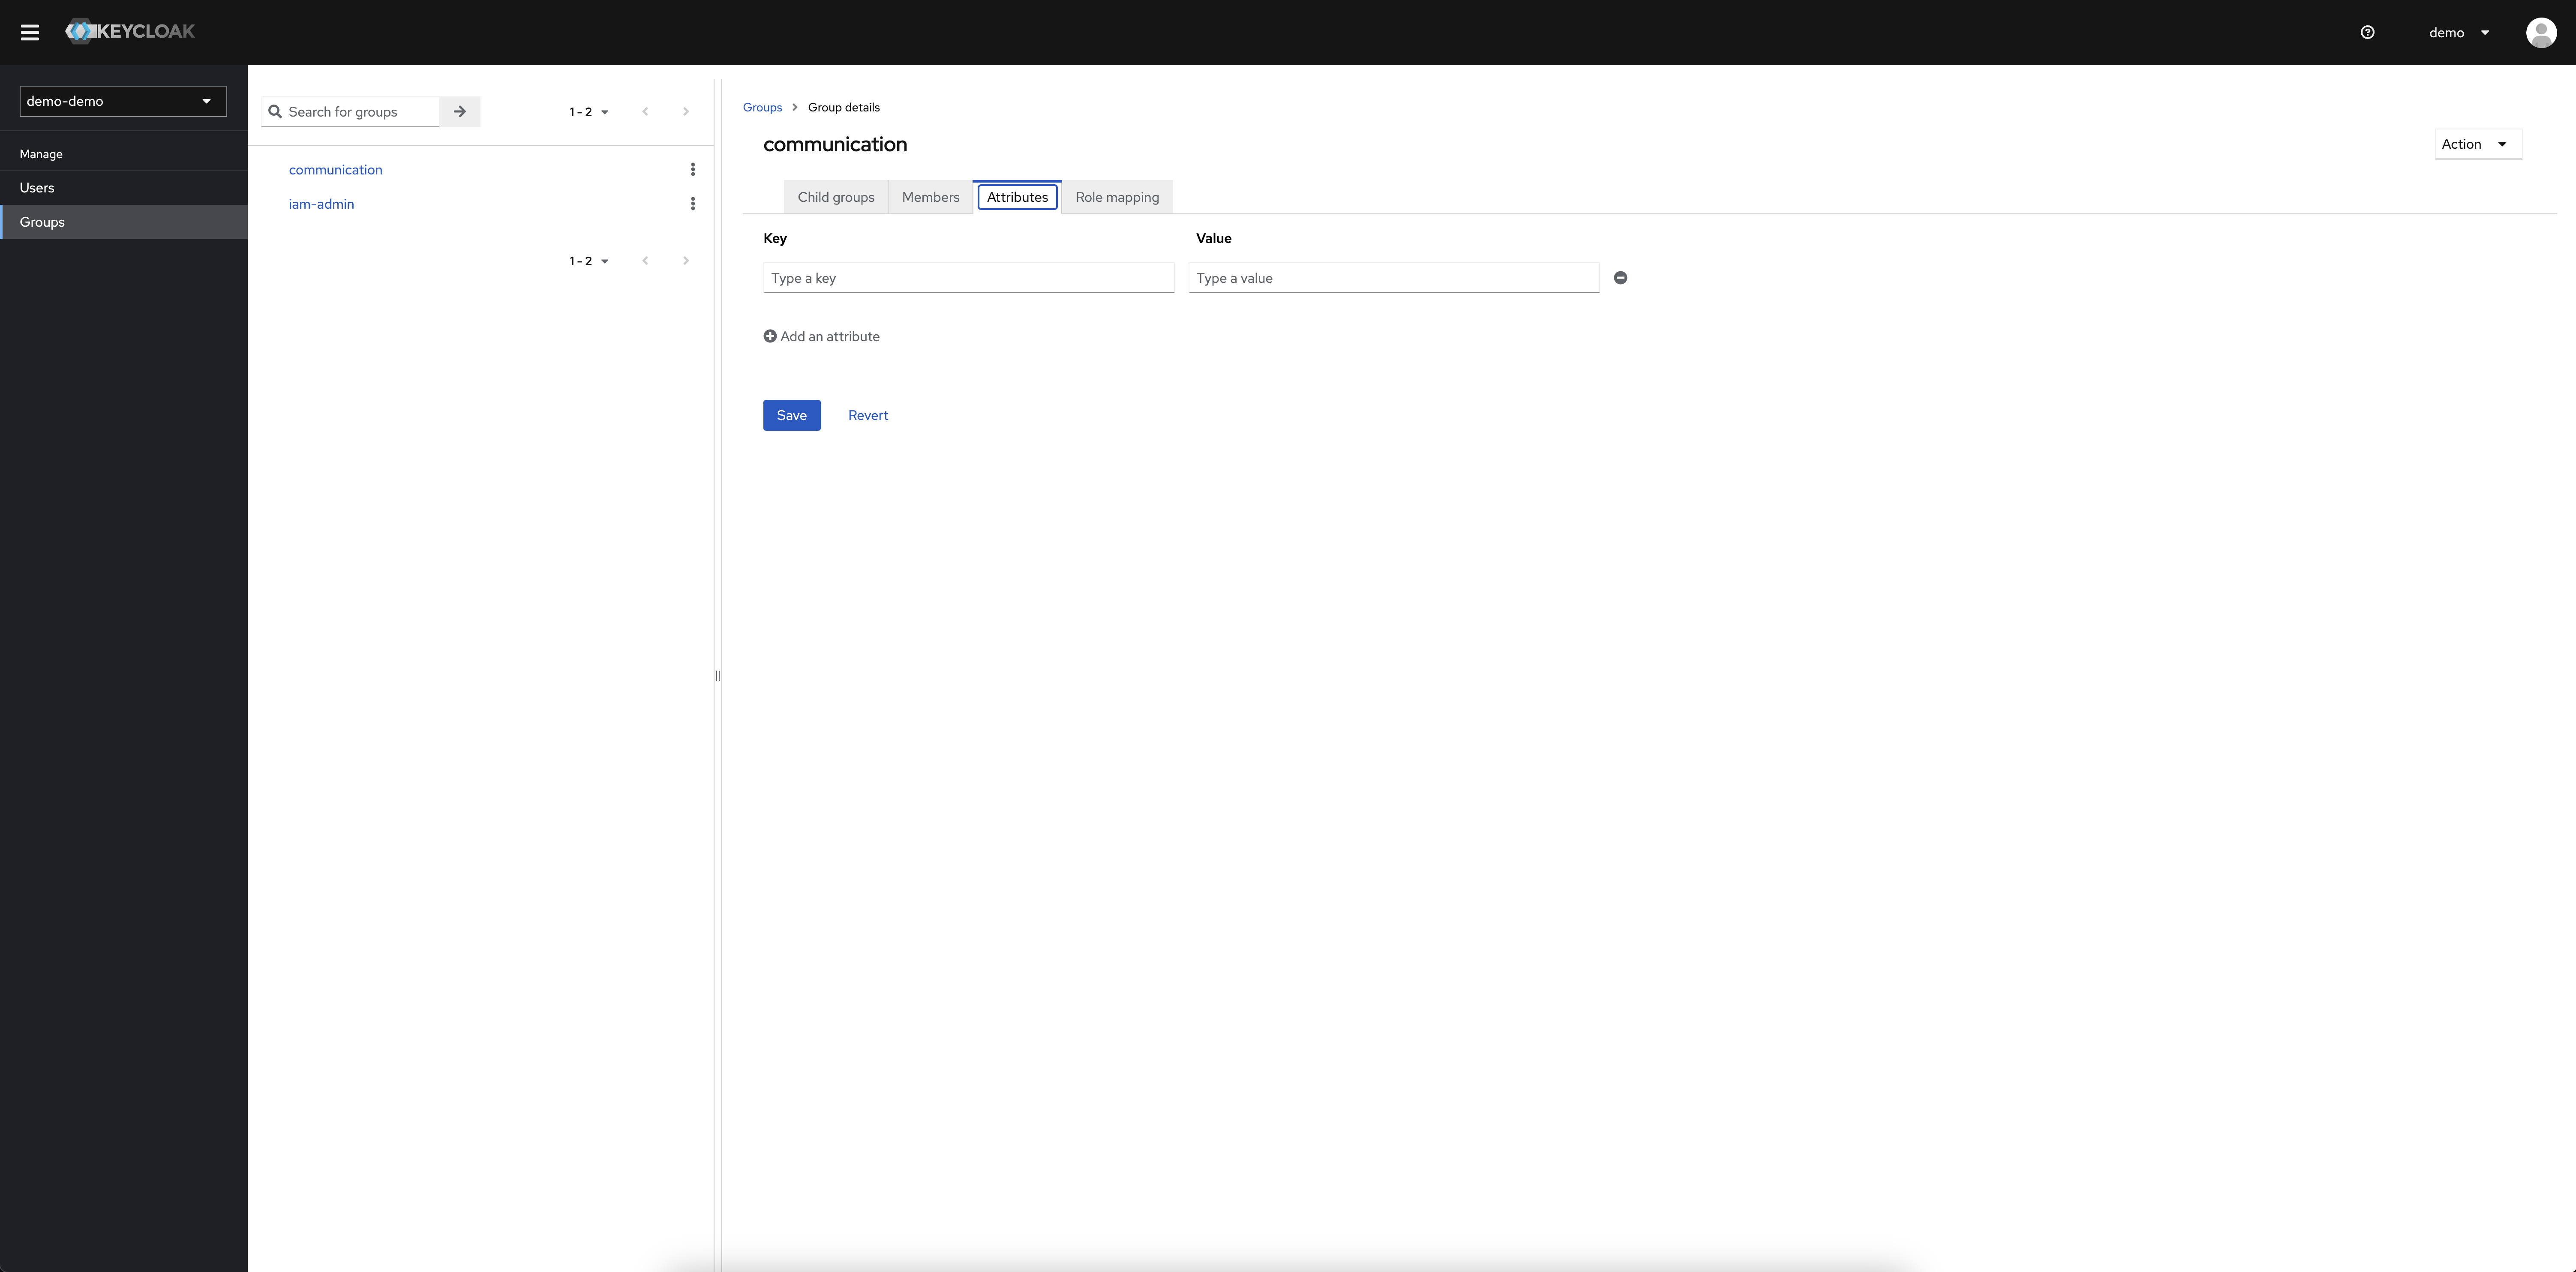
Add a new key astran-roles and set it to the ARN of a role you want member of this group to be able to assume. You can add multiple astran-roles keys by clicking on the Add an attribute button. When you have added all the roles you want, click on the Save button.
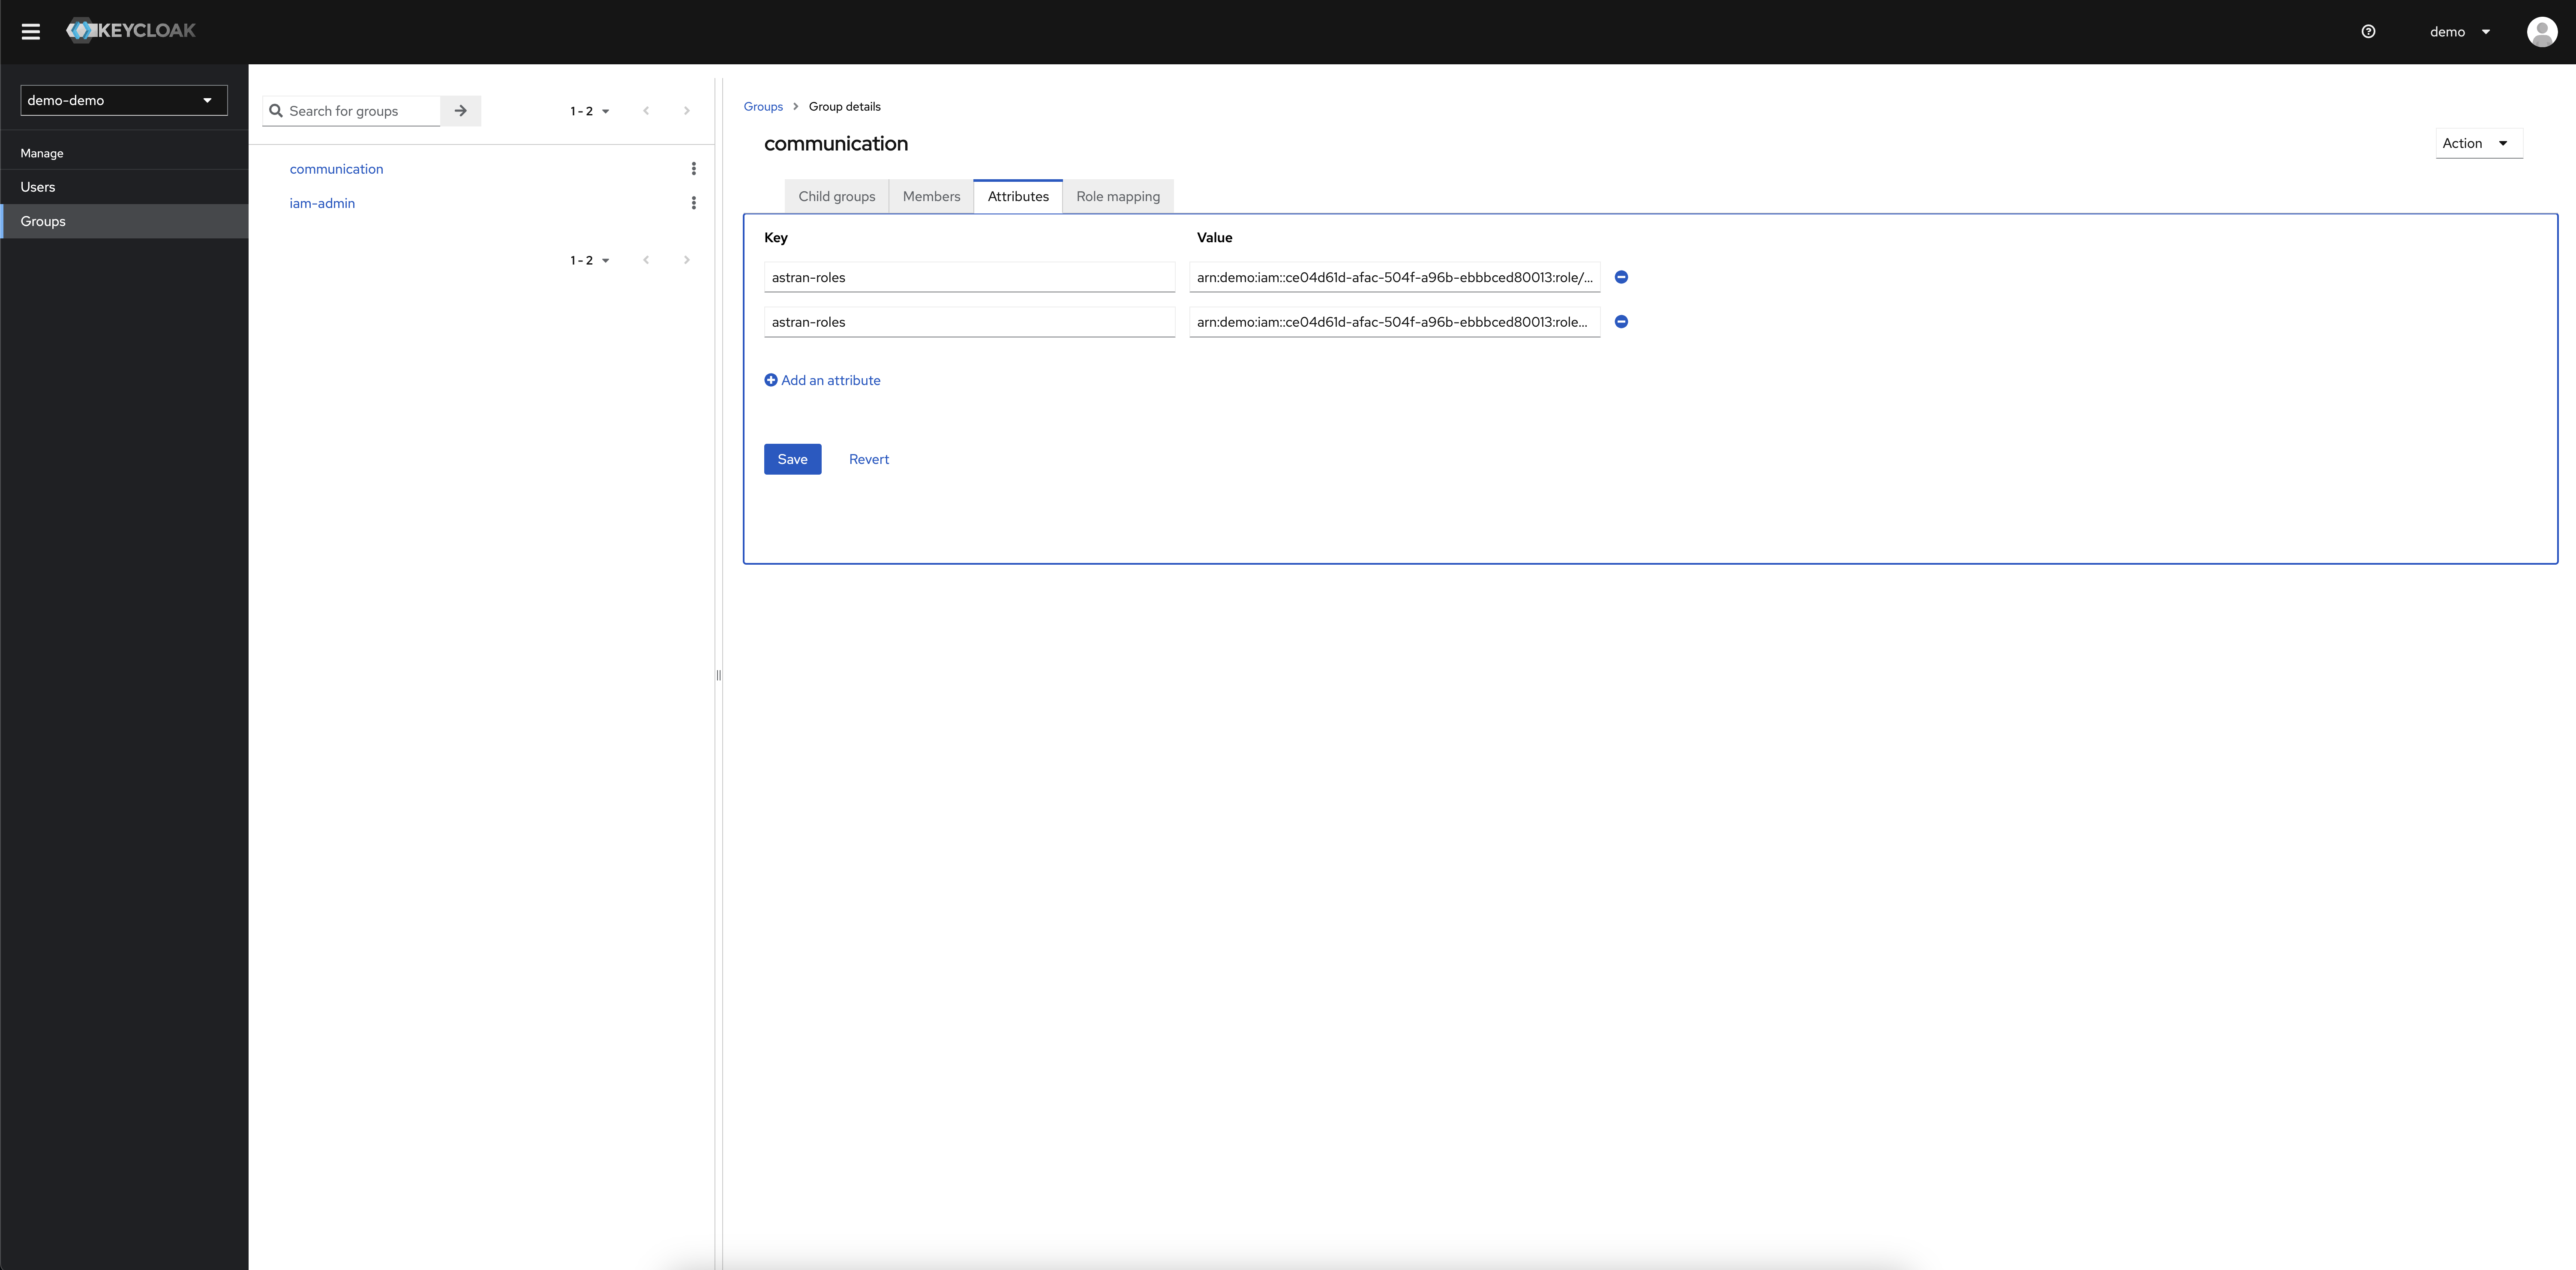
In this example we have mapped the default-standard-user group with the roles arn:astran:iam::ebaee5b9-cfd8-4705-afeb-dde4e90b35d1:astran-standard-user, which means that any member of the default-standard-user group will be able to assume the role astran-standard-user if the trust policy has been properly configured
Adding a user to group
Click on the Members tab.
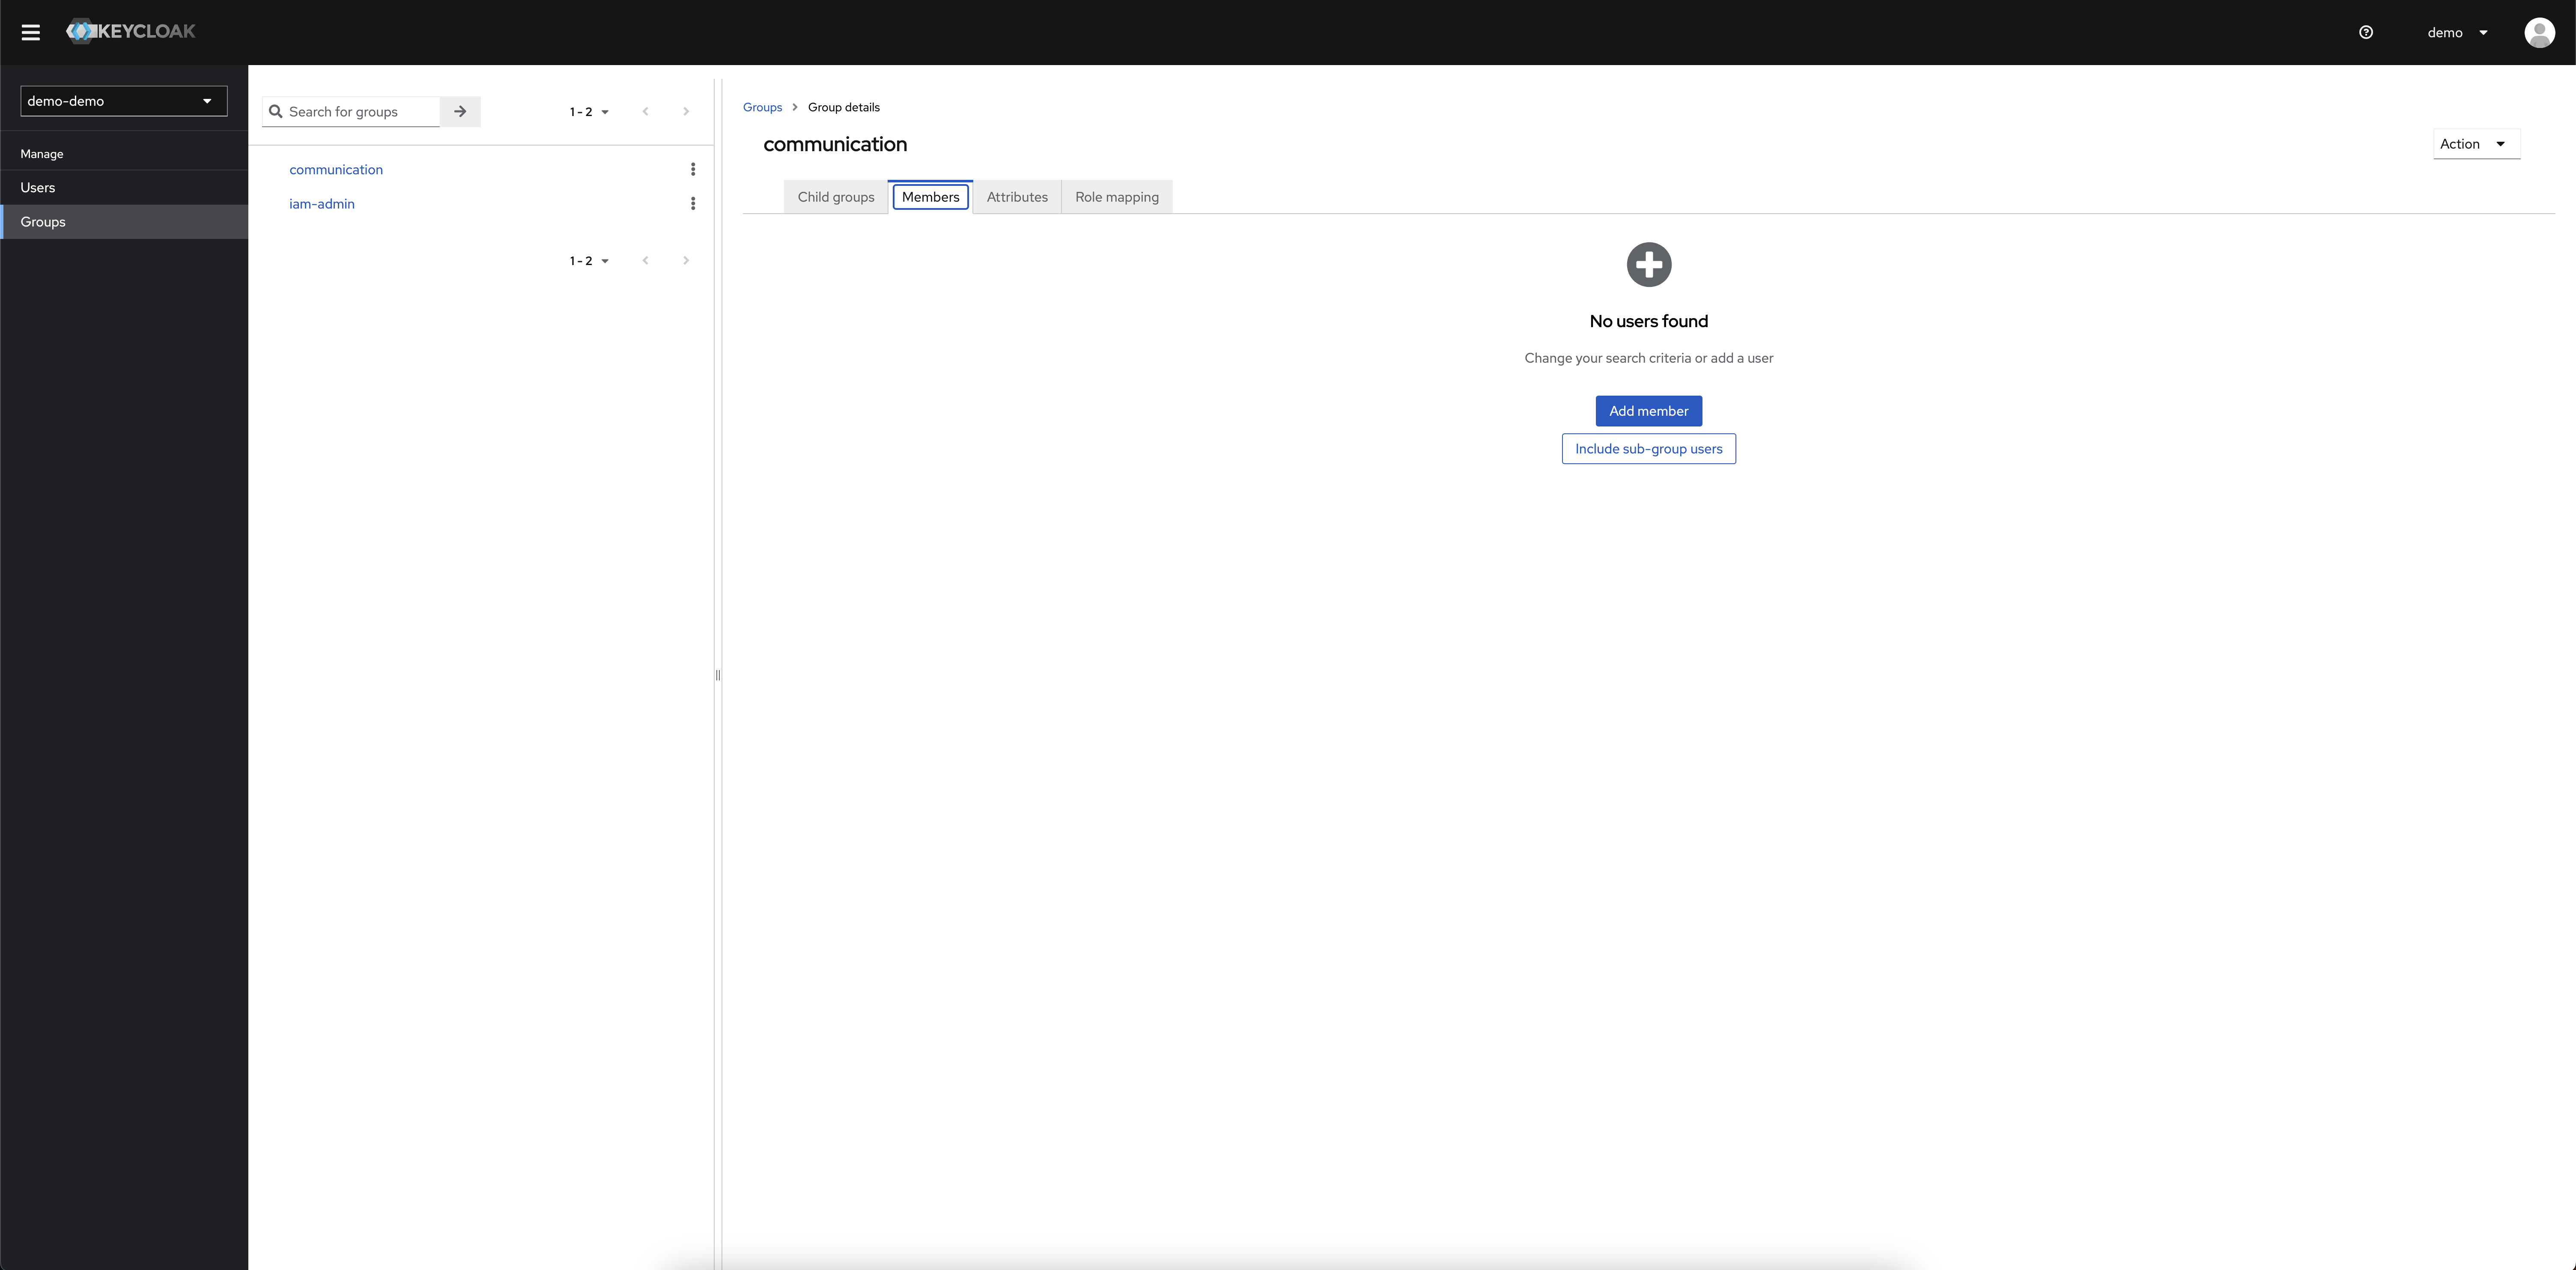
Click on the Add member button.
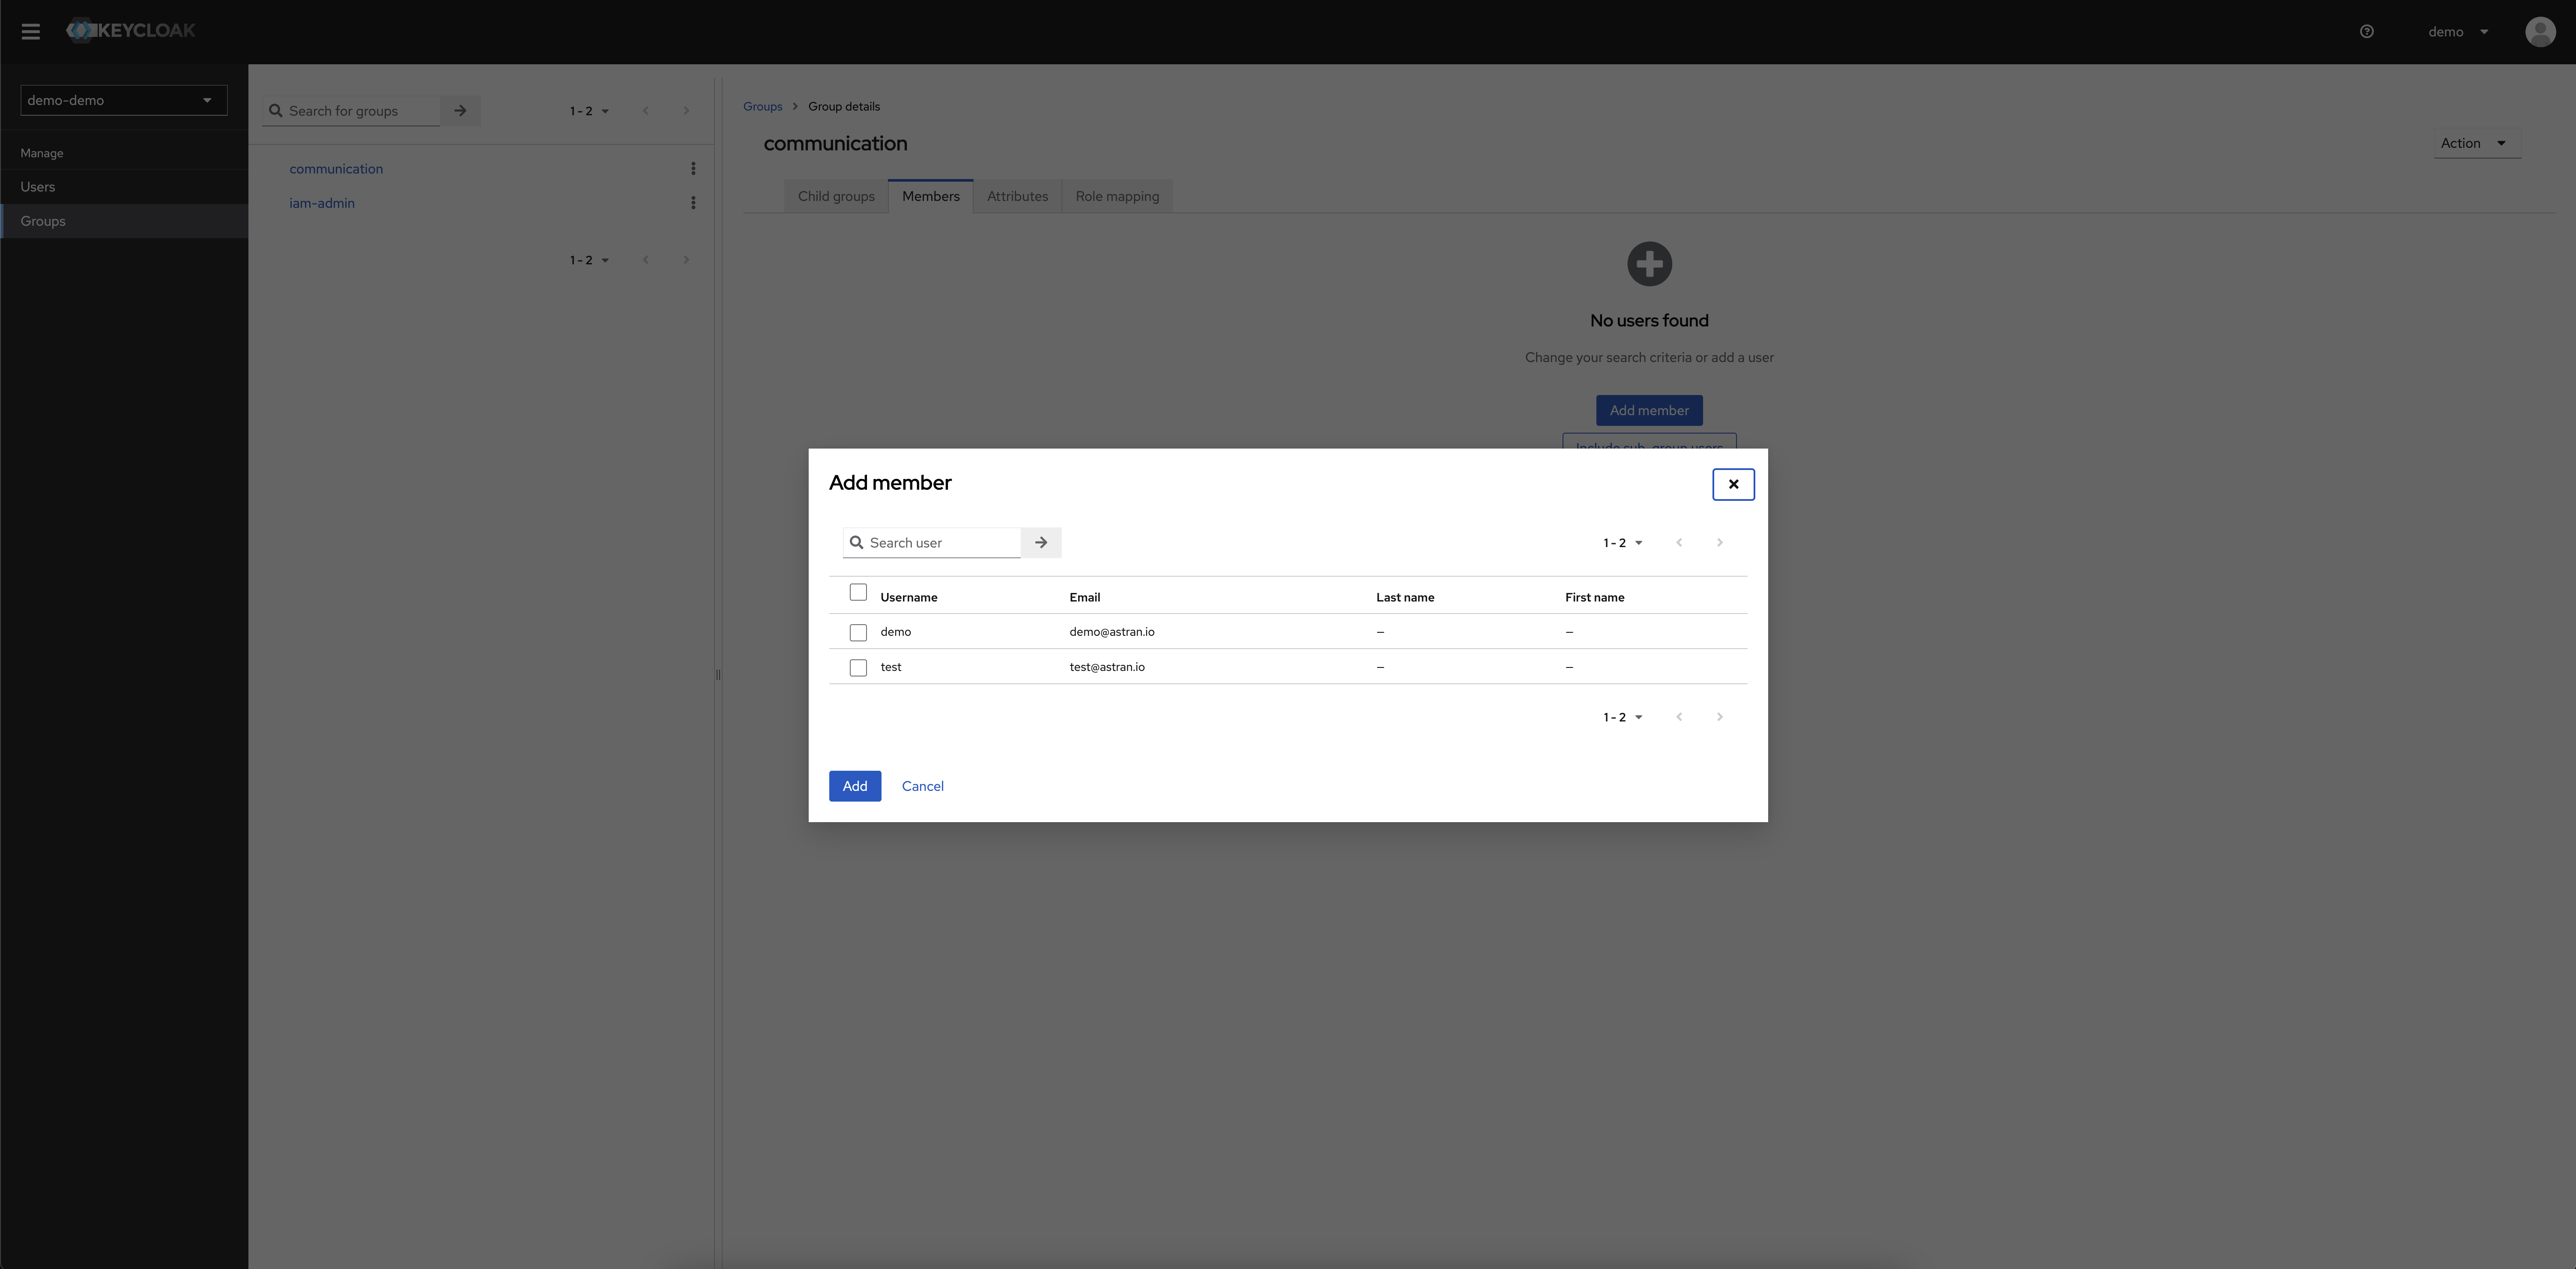
Select the users you want to add to the group by clicking on their respective checkbox and click on the Add button.