Managing your kits
Listing your kits
- In the left menu, click on
Continuity kits(represented by the Astran logo) - You'll see the list of continuity kits existing on your account and interactive graph to filter your kits by their status and data state.
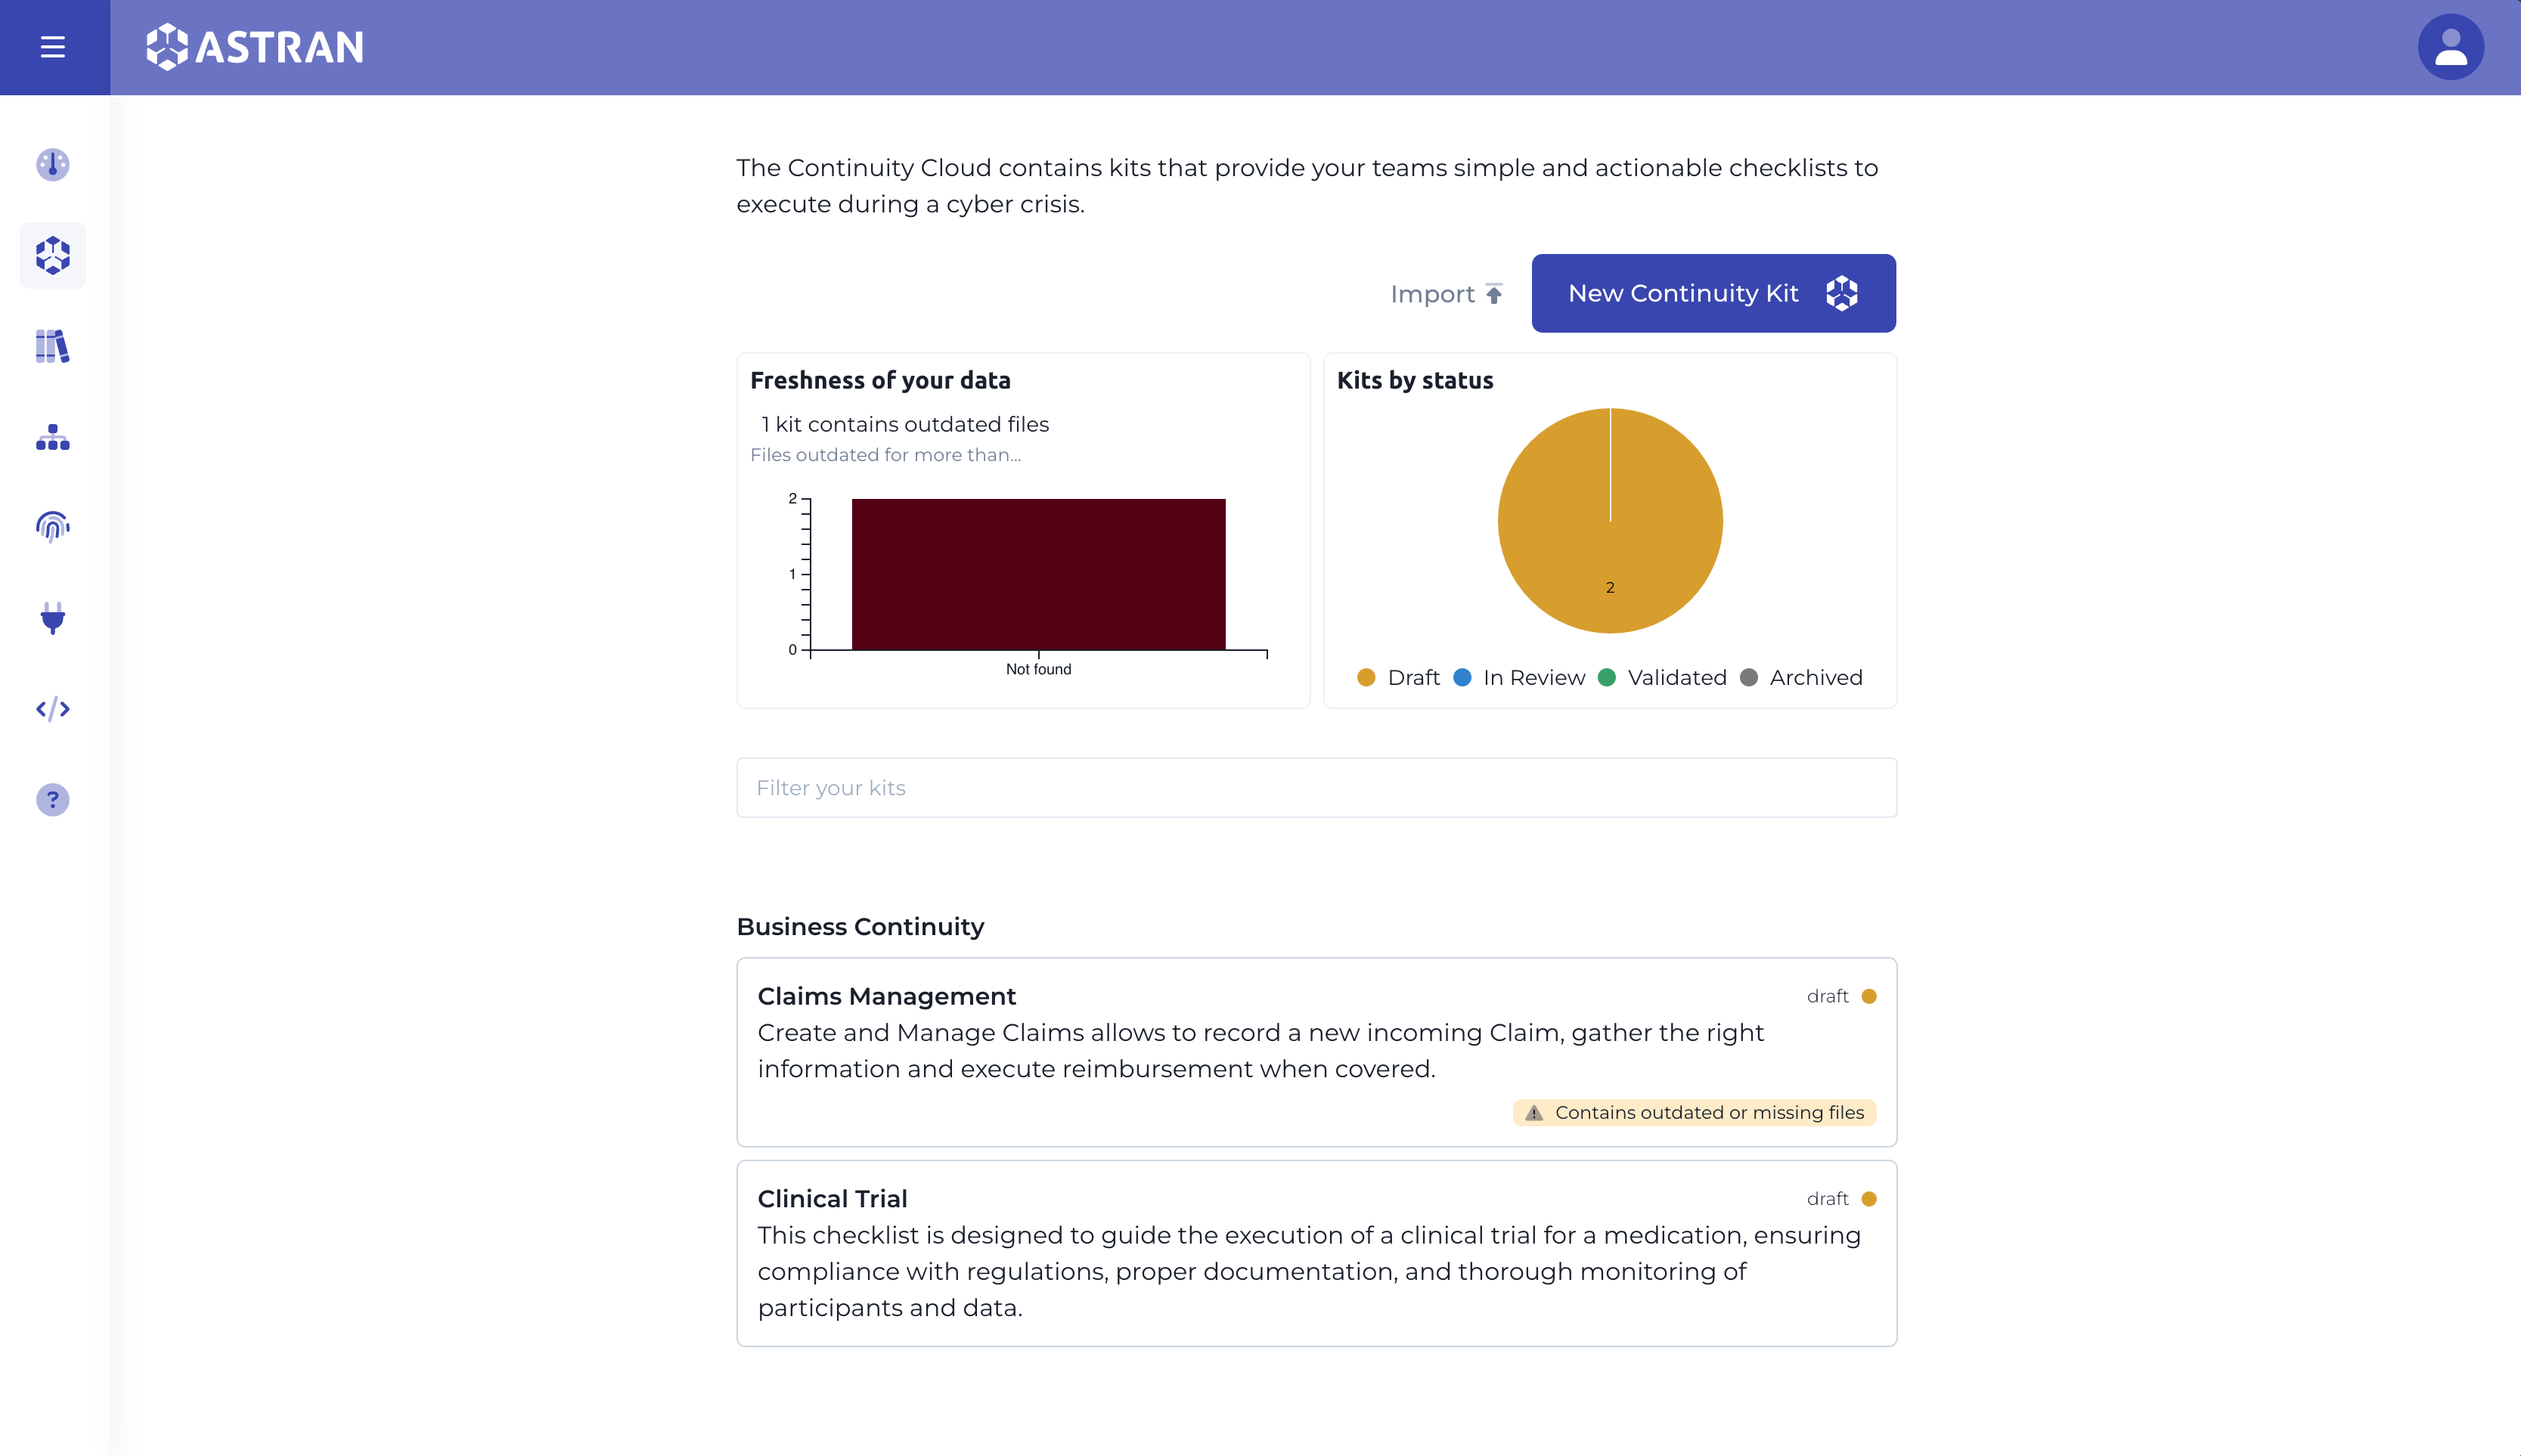
- You can filter kits by their status and the freshness of the data they contain. How to configure the data freshness indicators is described below.
Create a kit
From scratch
- Click on
New continuity kit Create from scratchis the default option selected
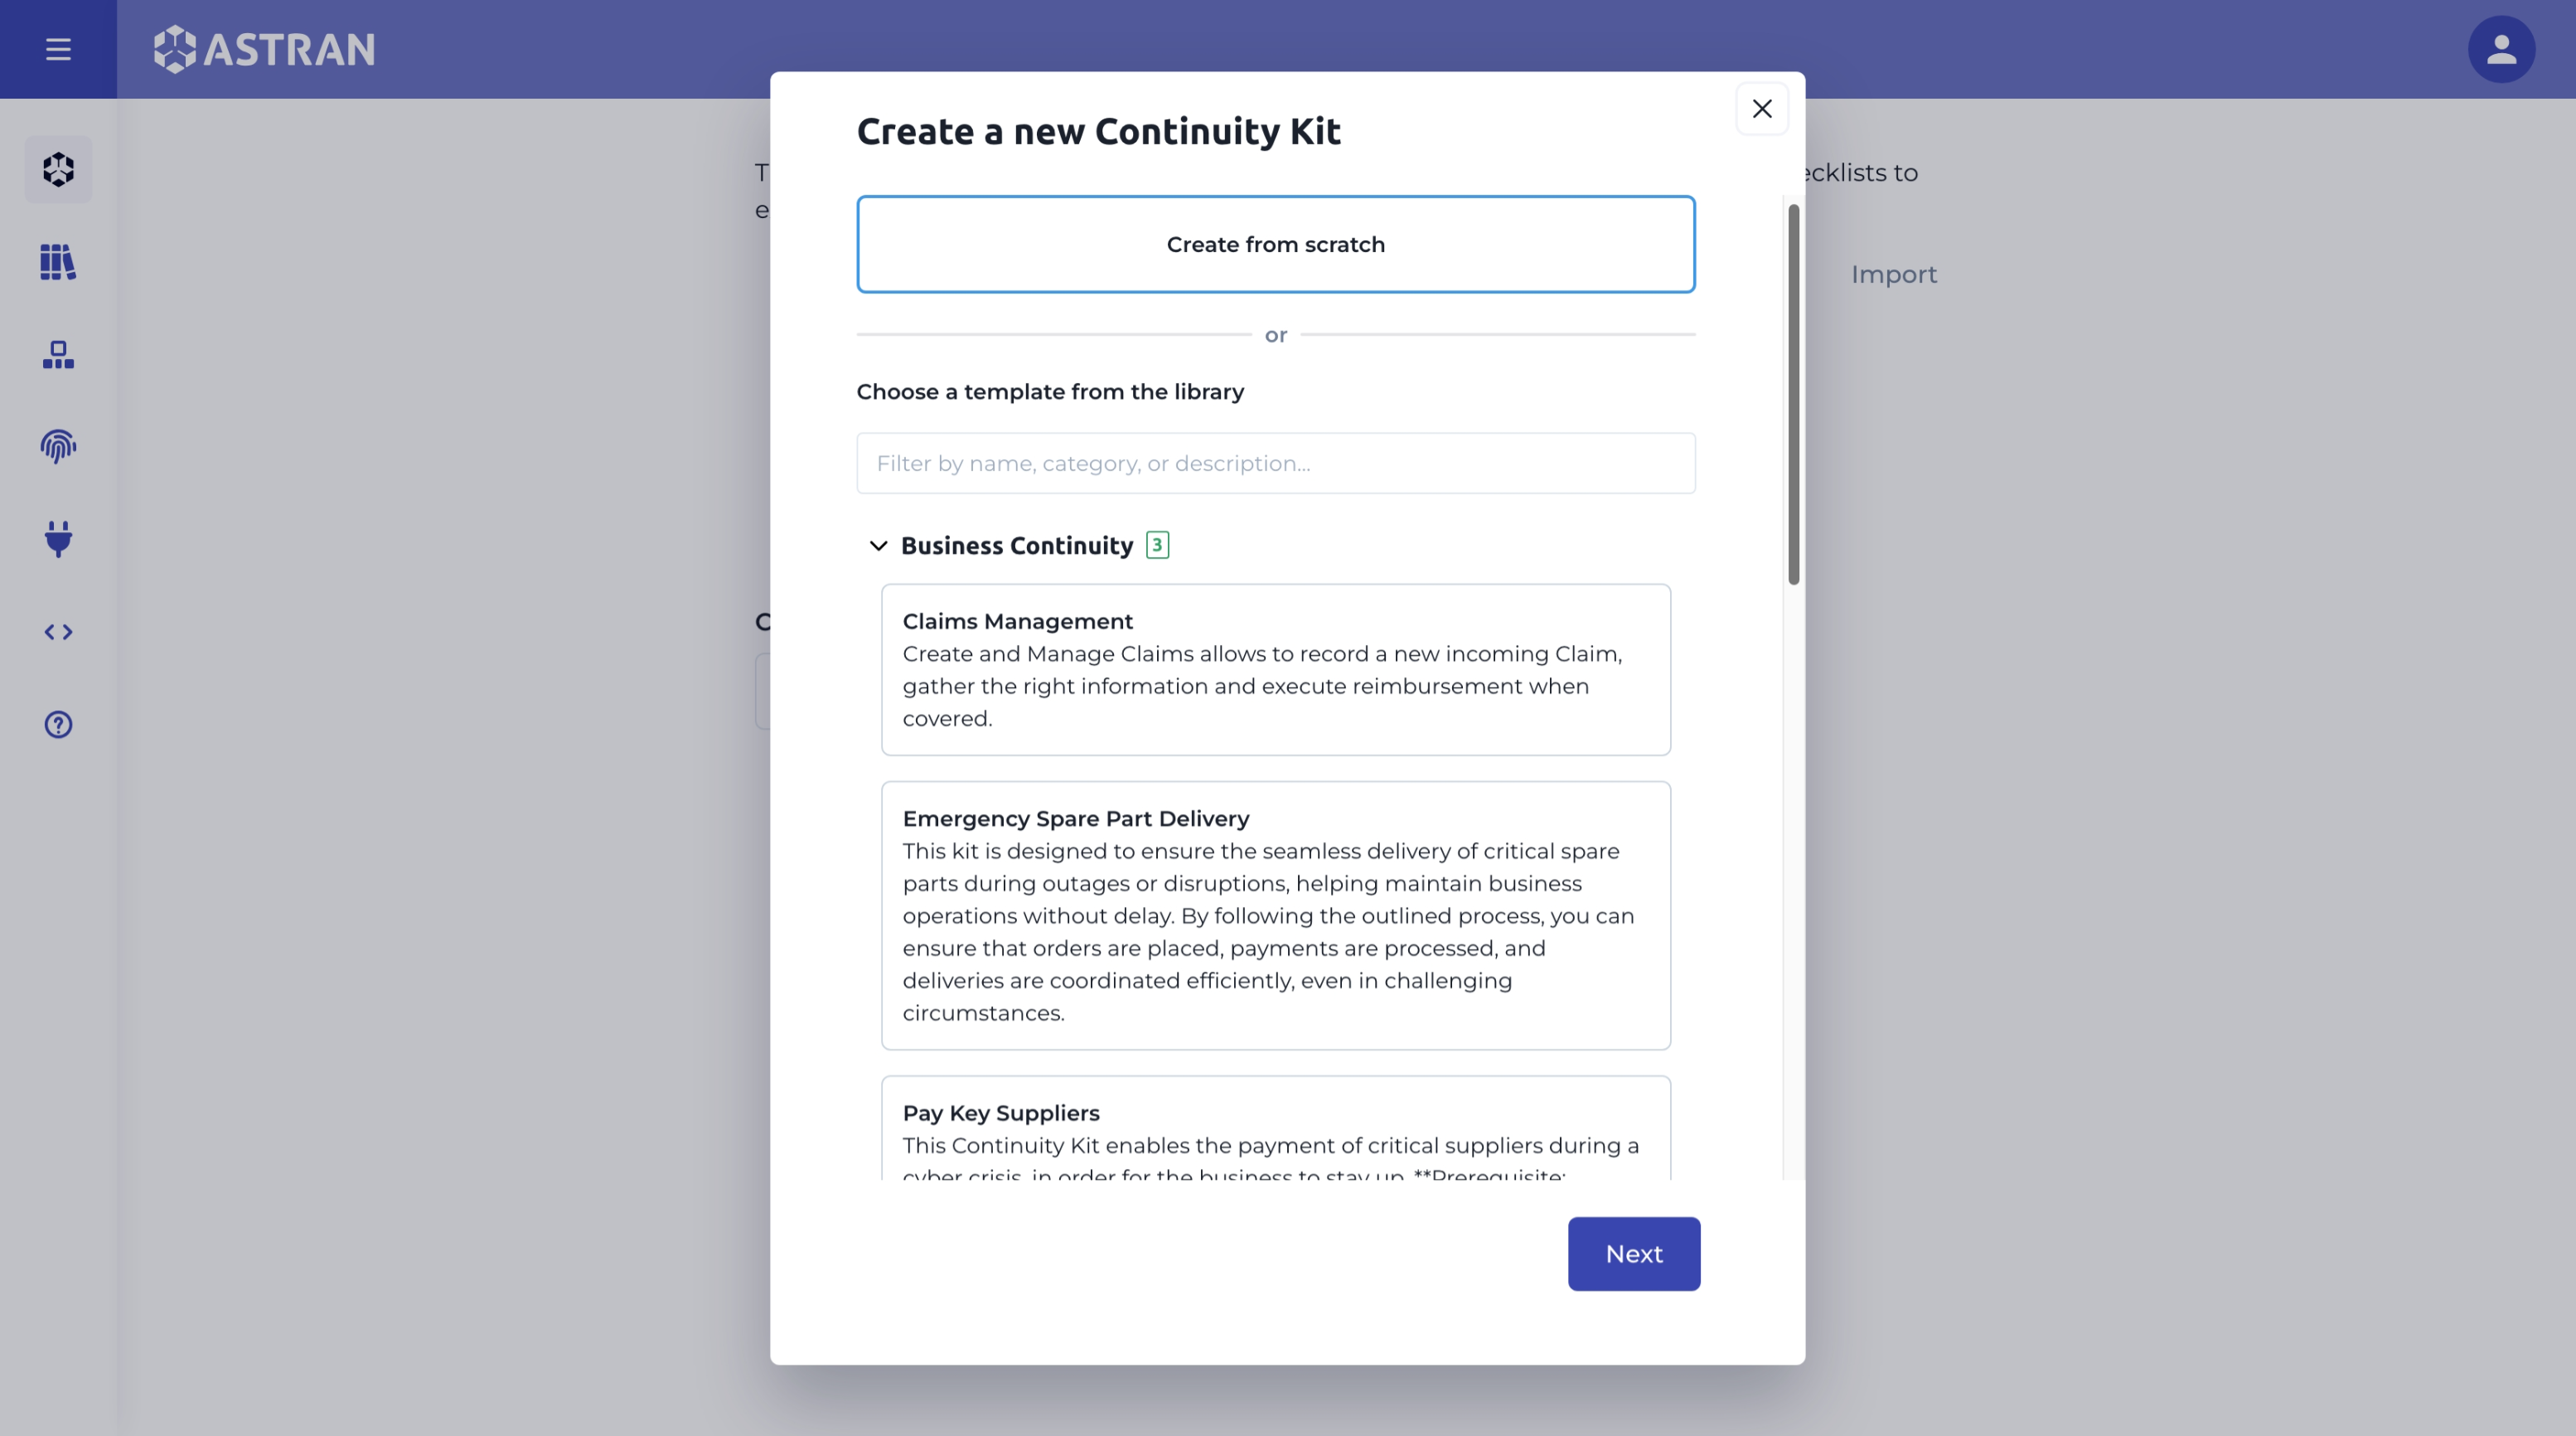
- Click on
Next - Enter a name and category for your kit
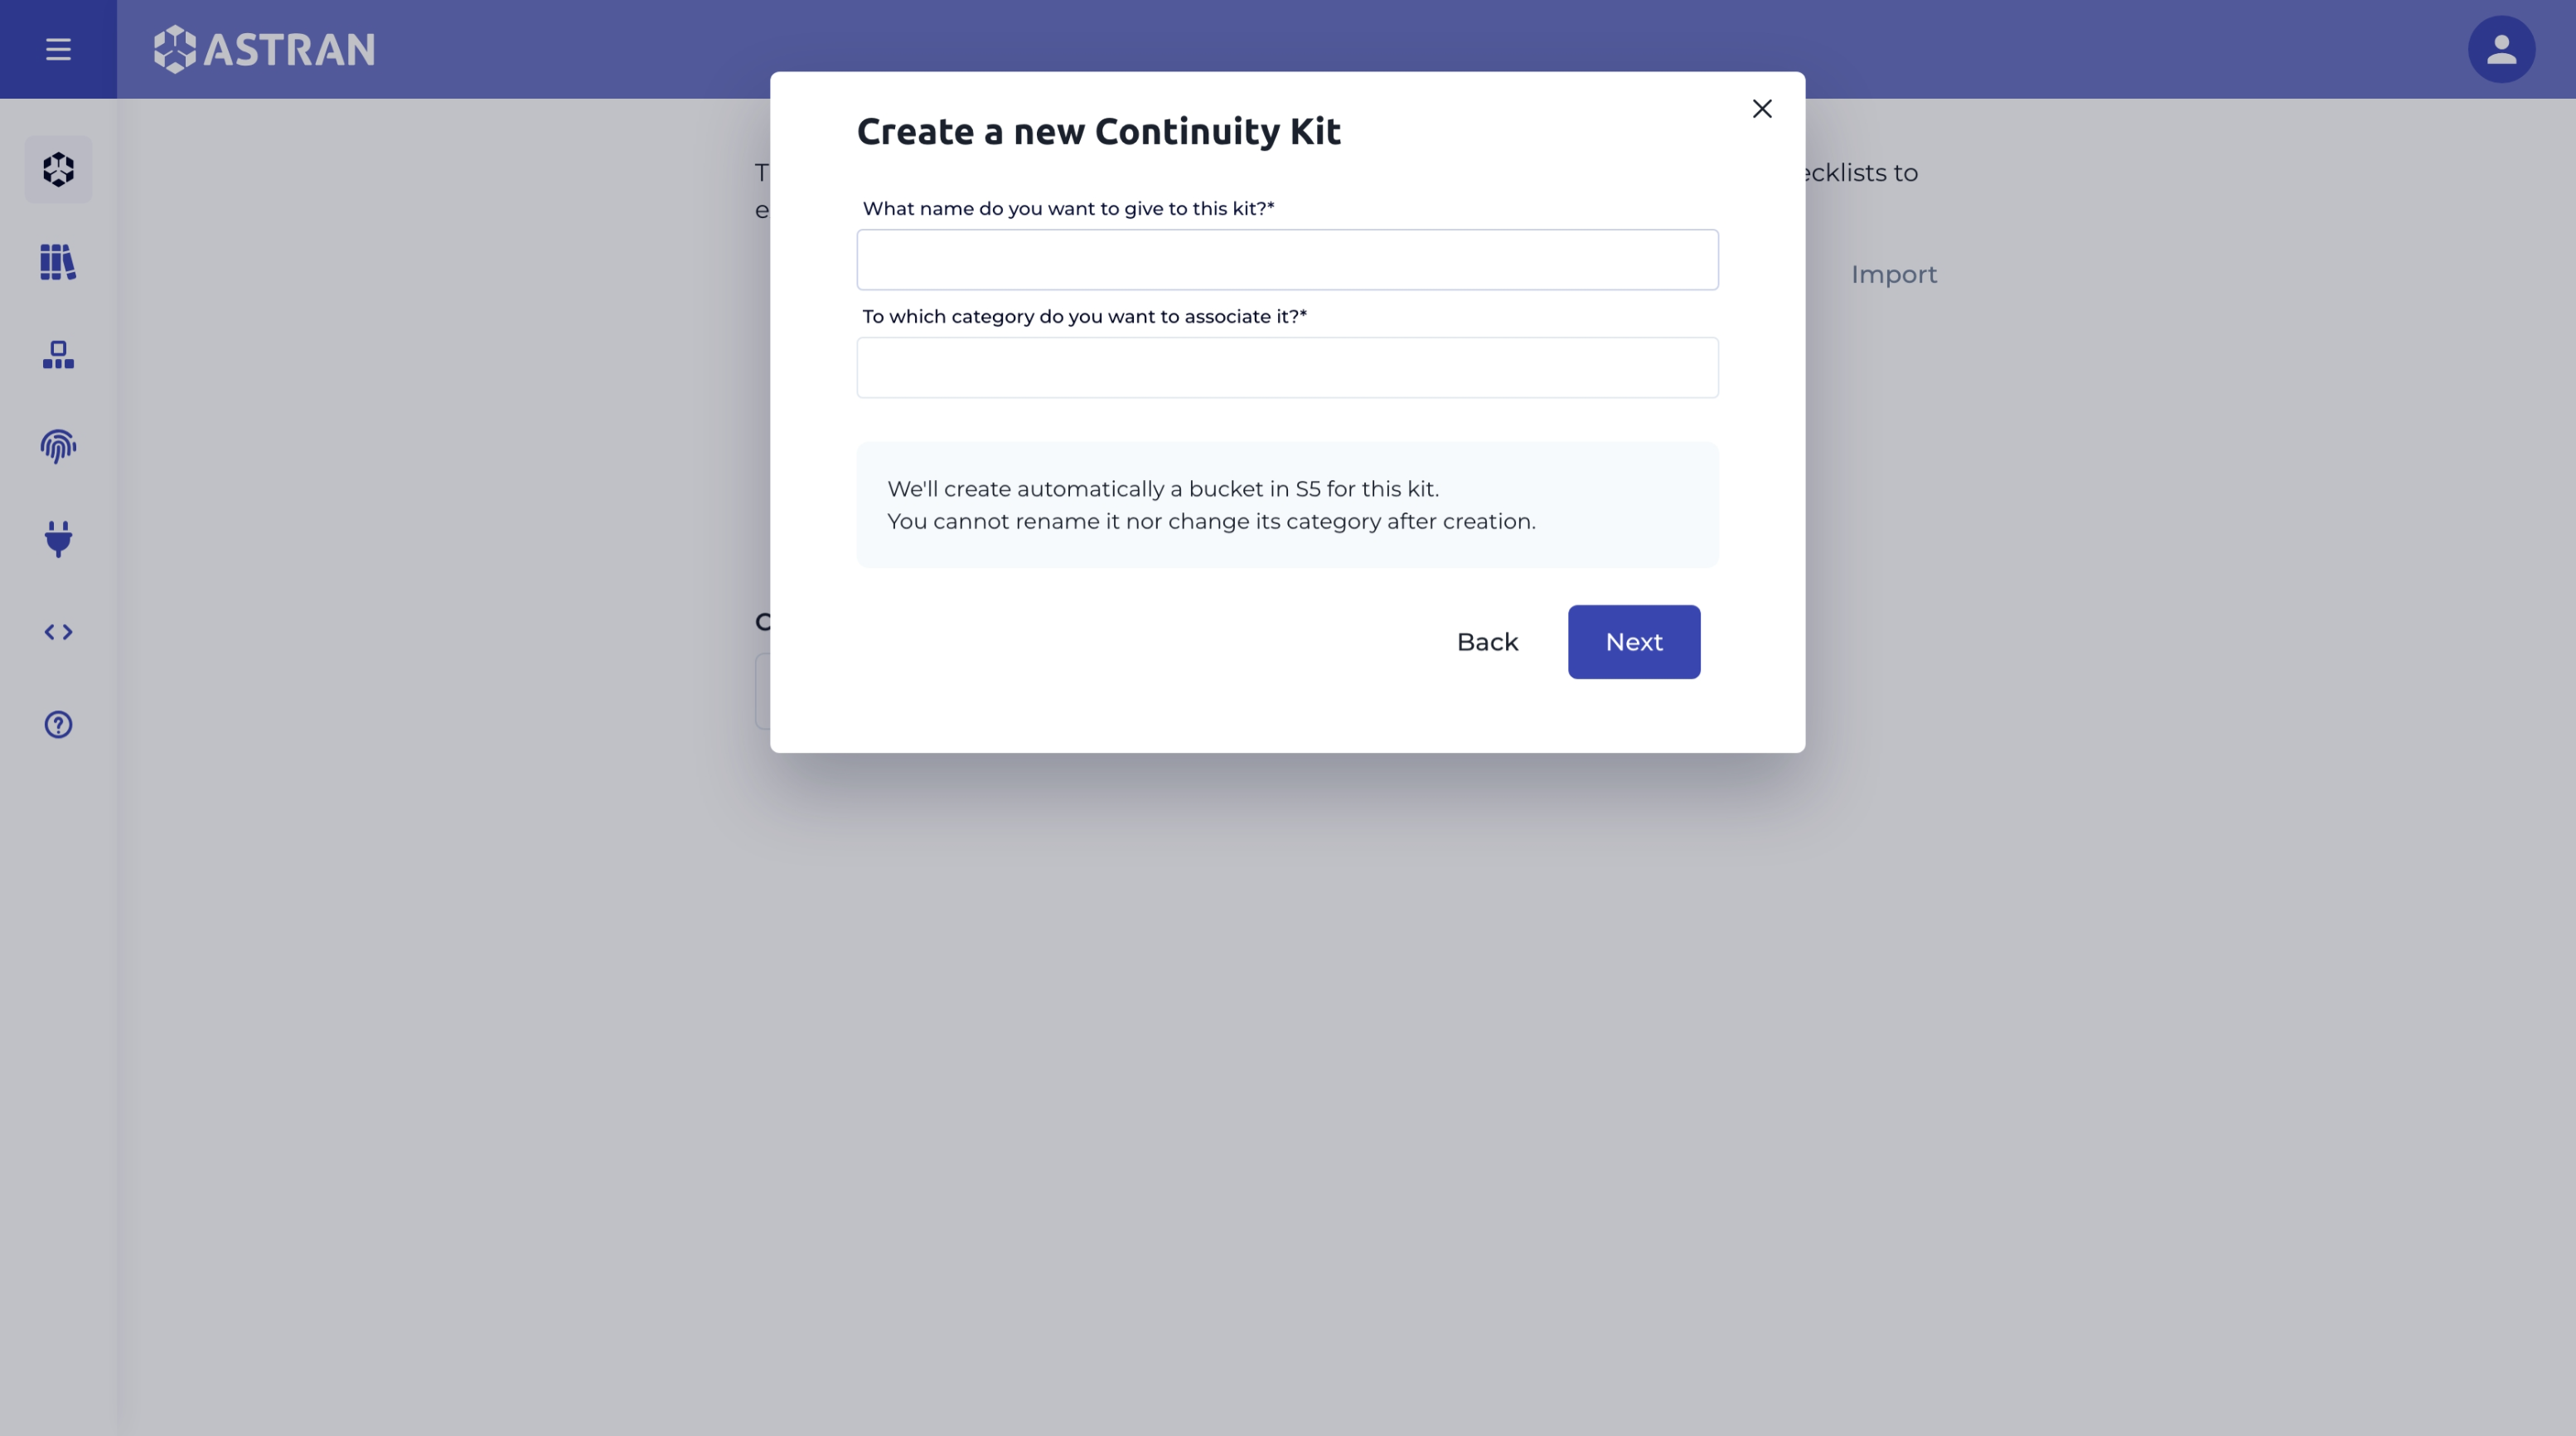
The kits are stored in S3 compatible buckets.
The bucket name created for the kit is generated by our API in the format kit-${SOME_RANDOM_UUID}.
Deleting the kit will delete both the checklist you'll create along with this bucket.
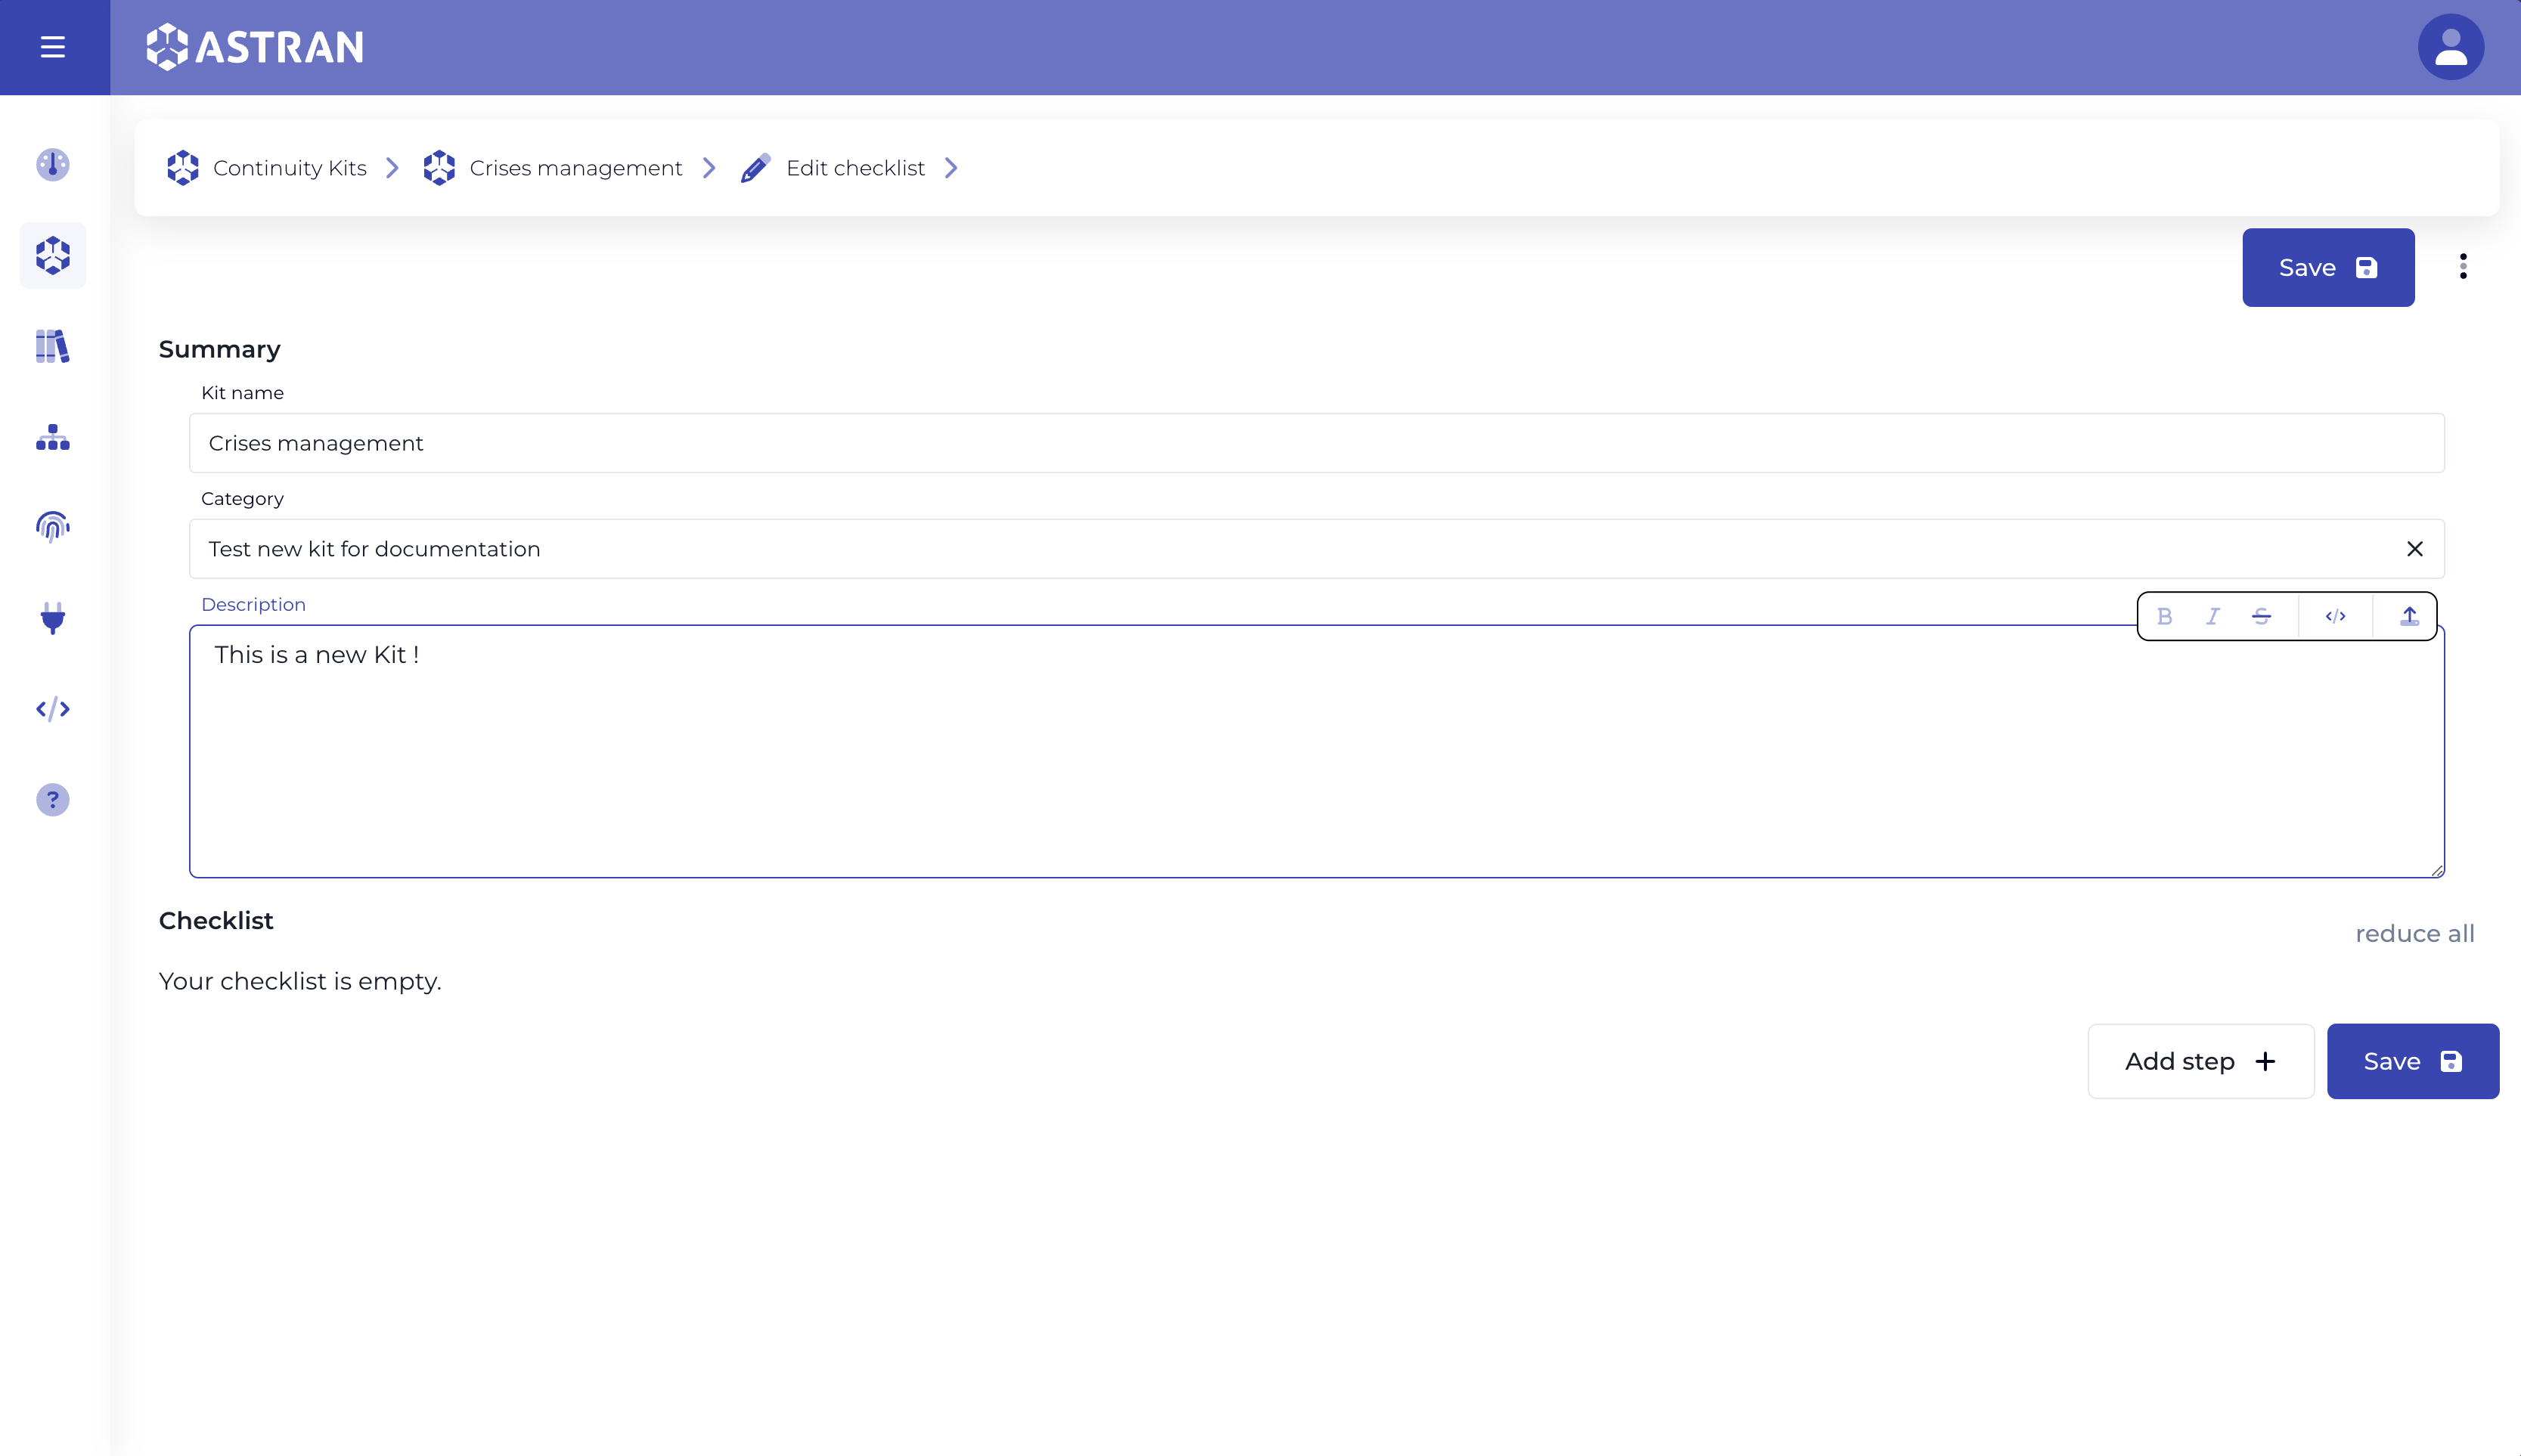
- Enter a summary. It's optional and you'll be able to modify it after.

- Click on
Next - Once your kit is created, you'll be redirected to the
Editpage of its associated checklist.
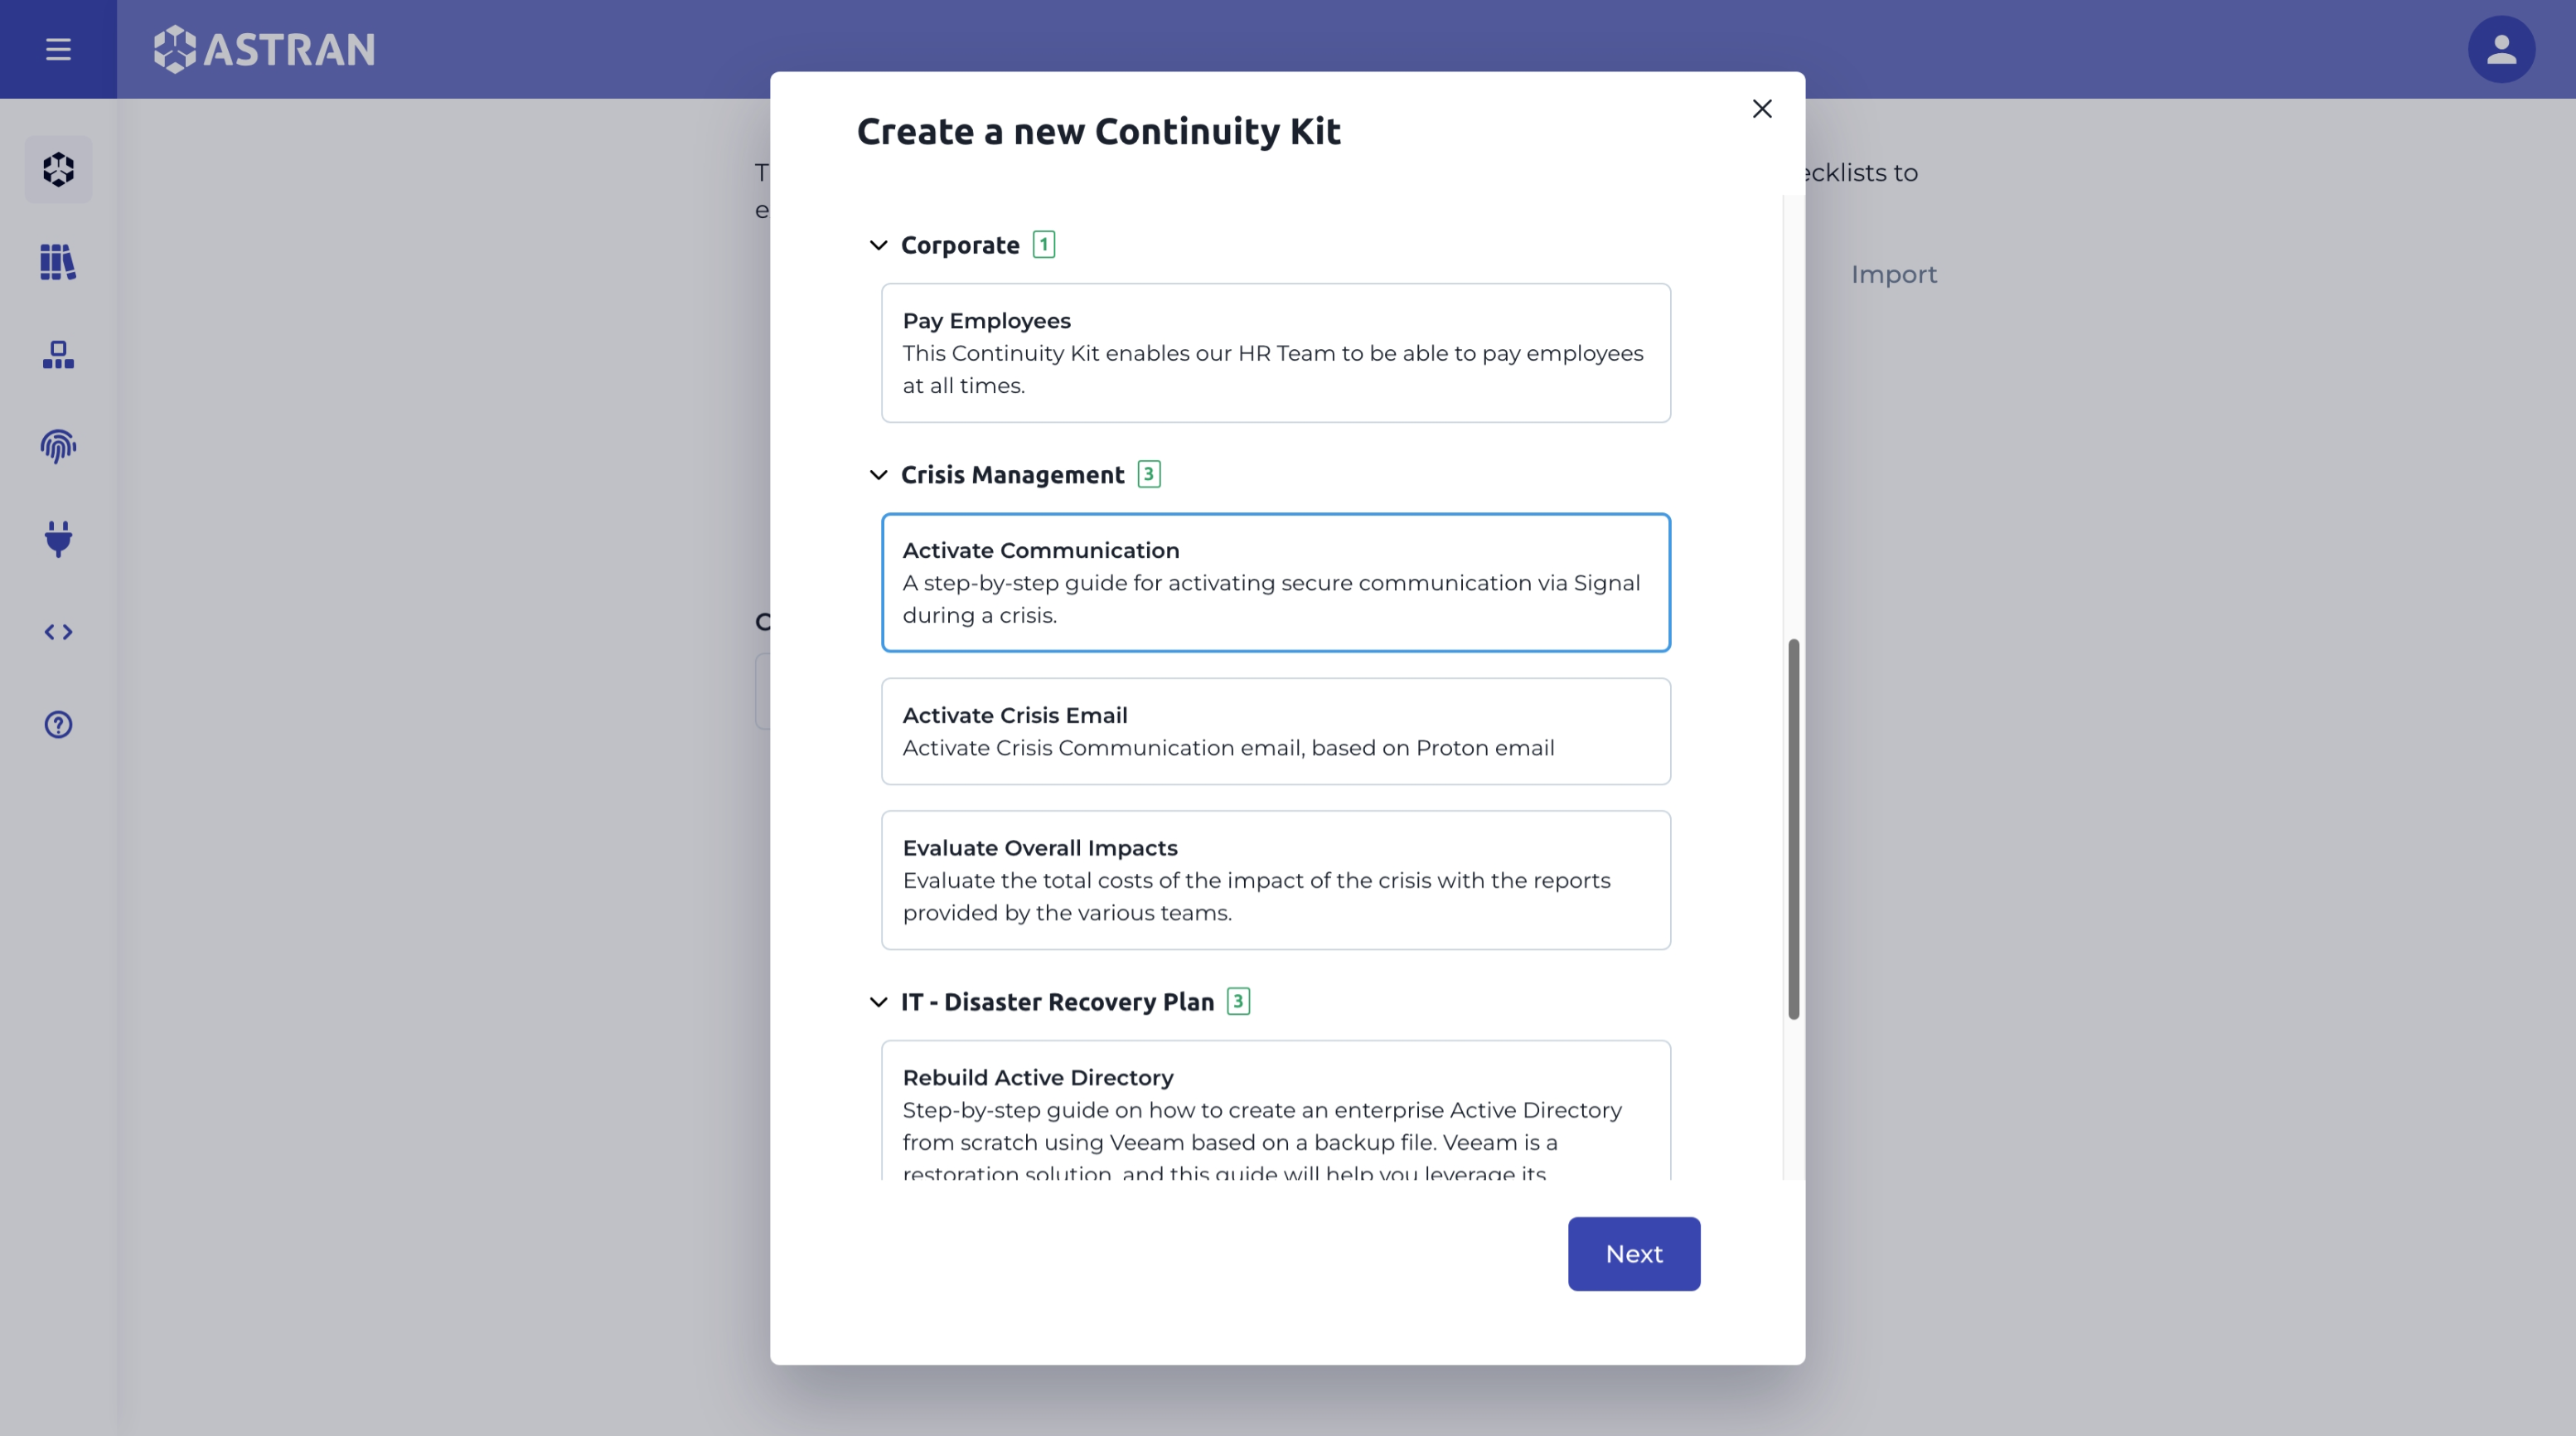
From a template
- Click on
New continuity kit - Browse the list of templates (you can filter them by typing in the filter bar)
- Select one and click on
Next
- You'll see a preview of the steps in this template, choose
Nextto continue with it or go back.
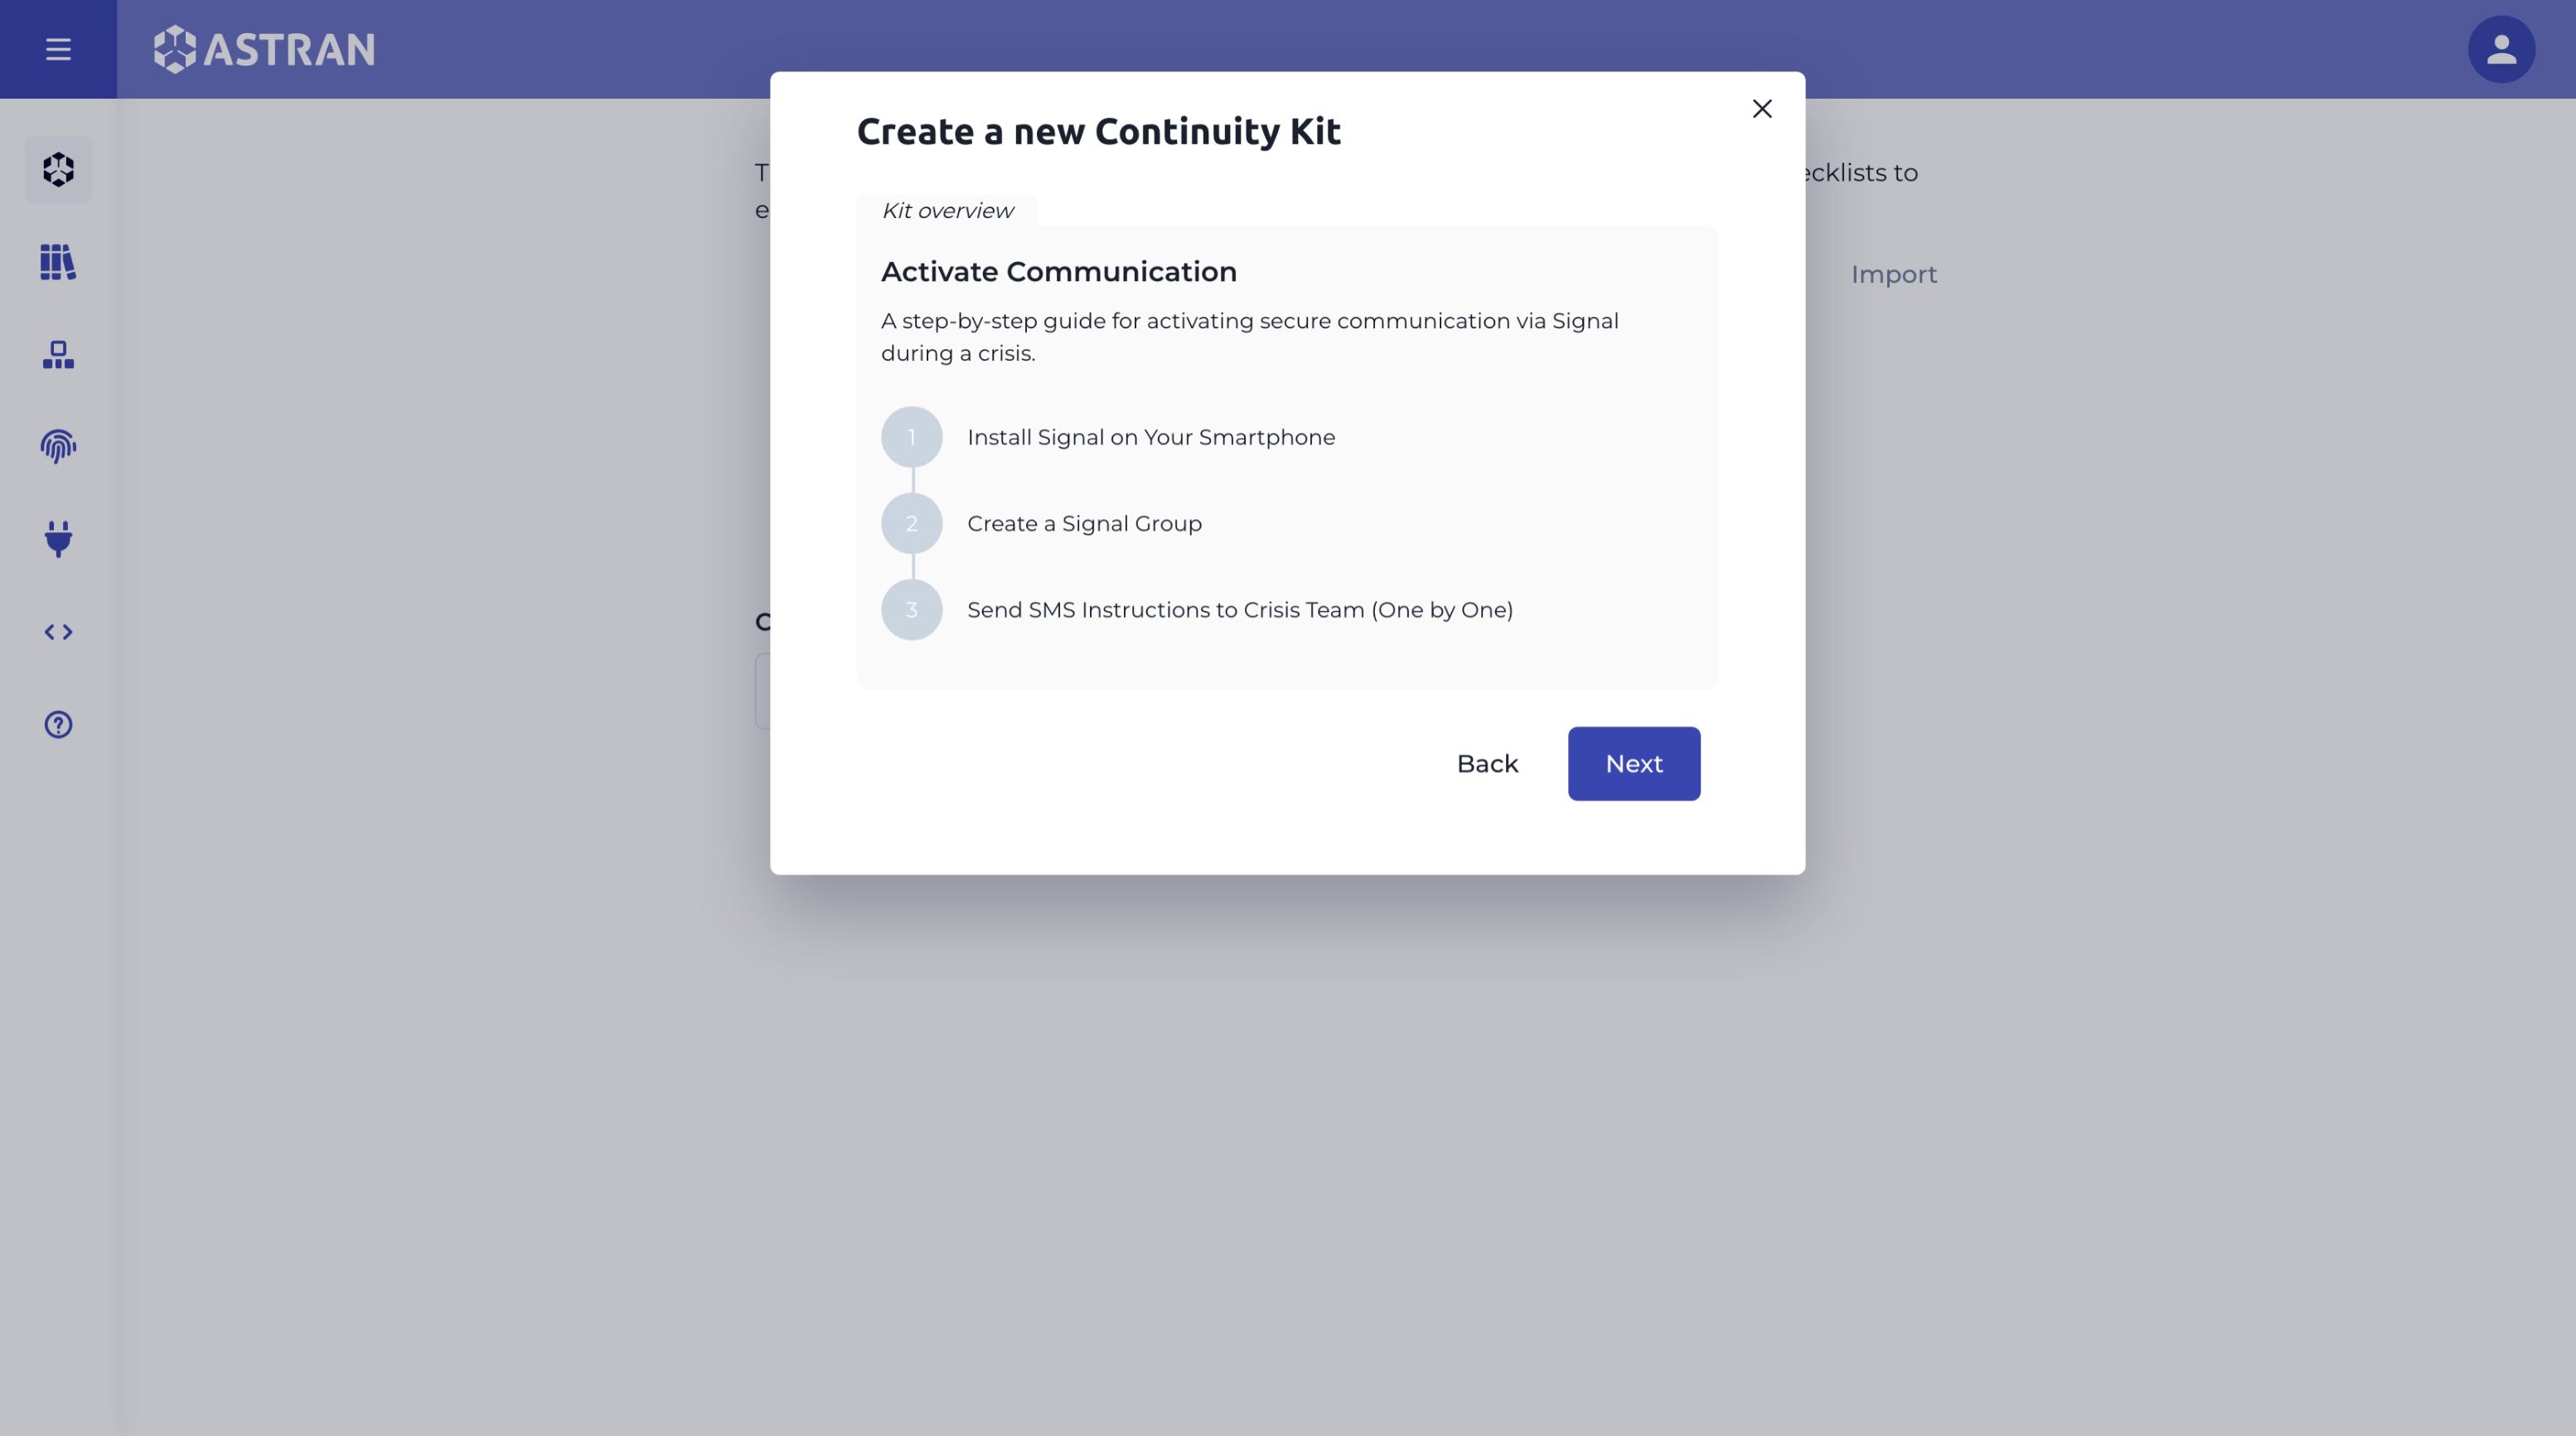
- Change the name and category to your will
- Click on
Nextto create your kit - Once your kit is created, you'll be redirected to the
Editpage of its associated checklist.
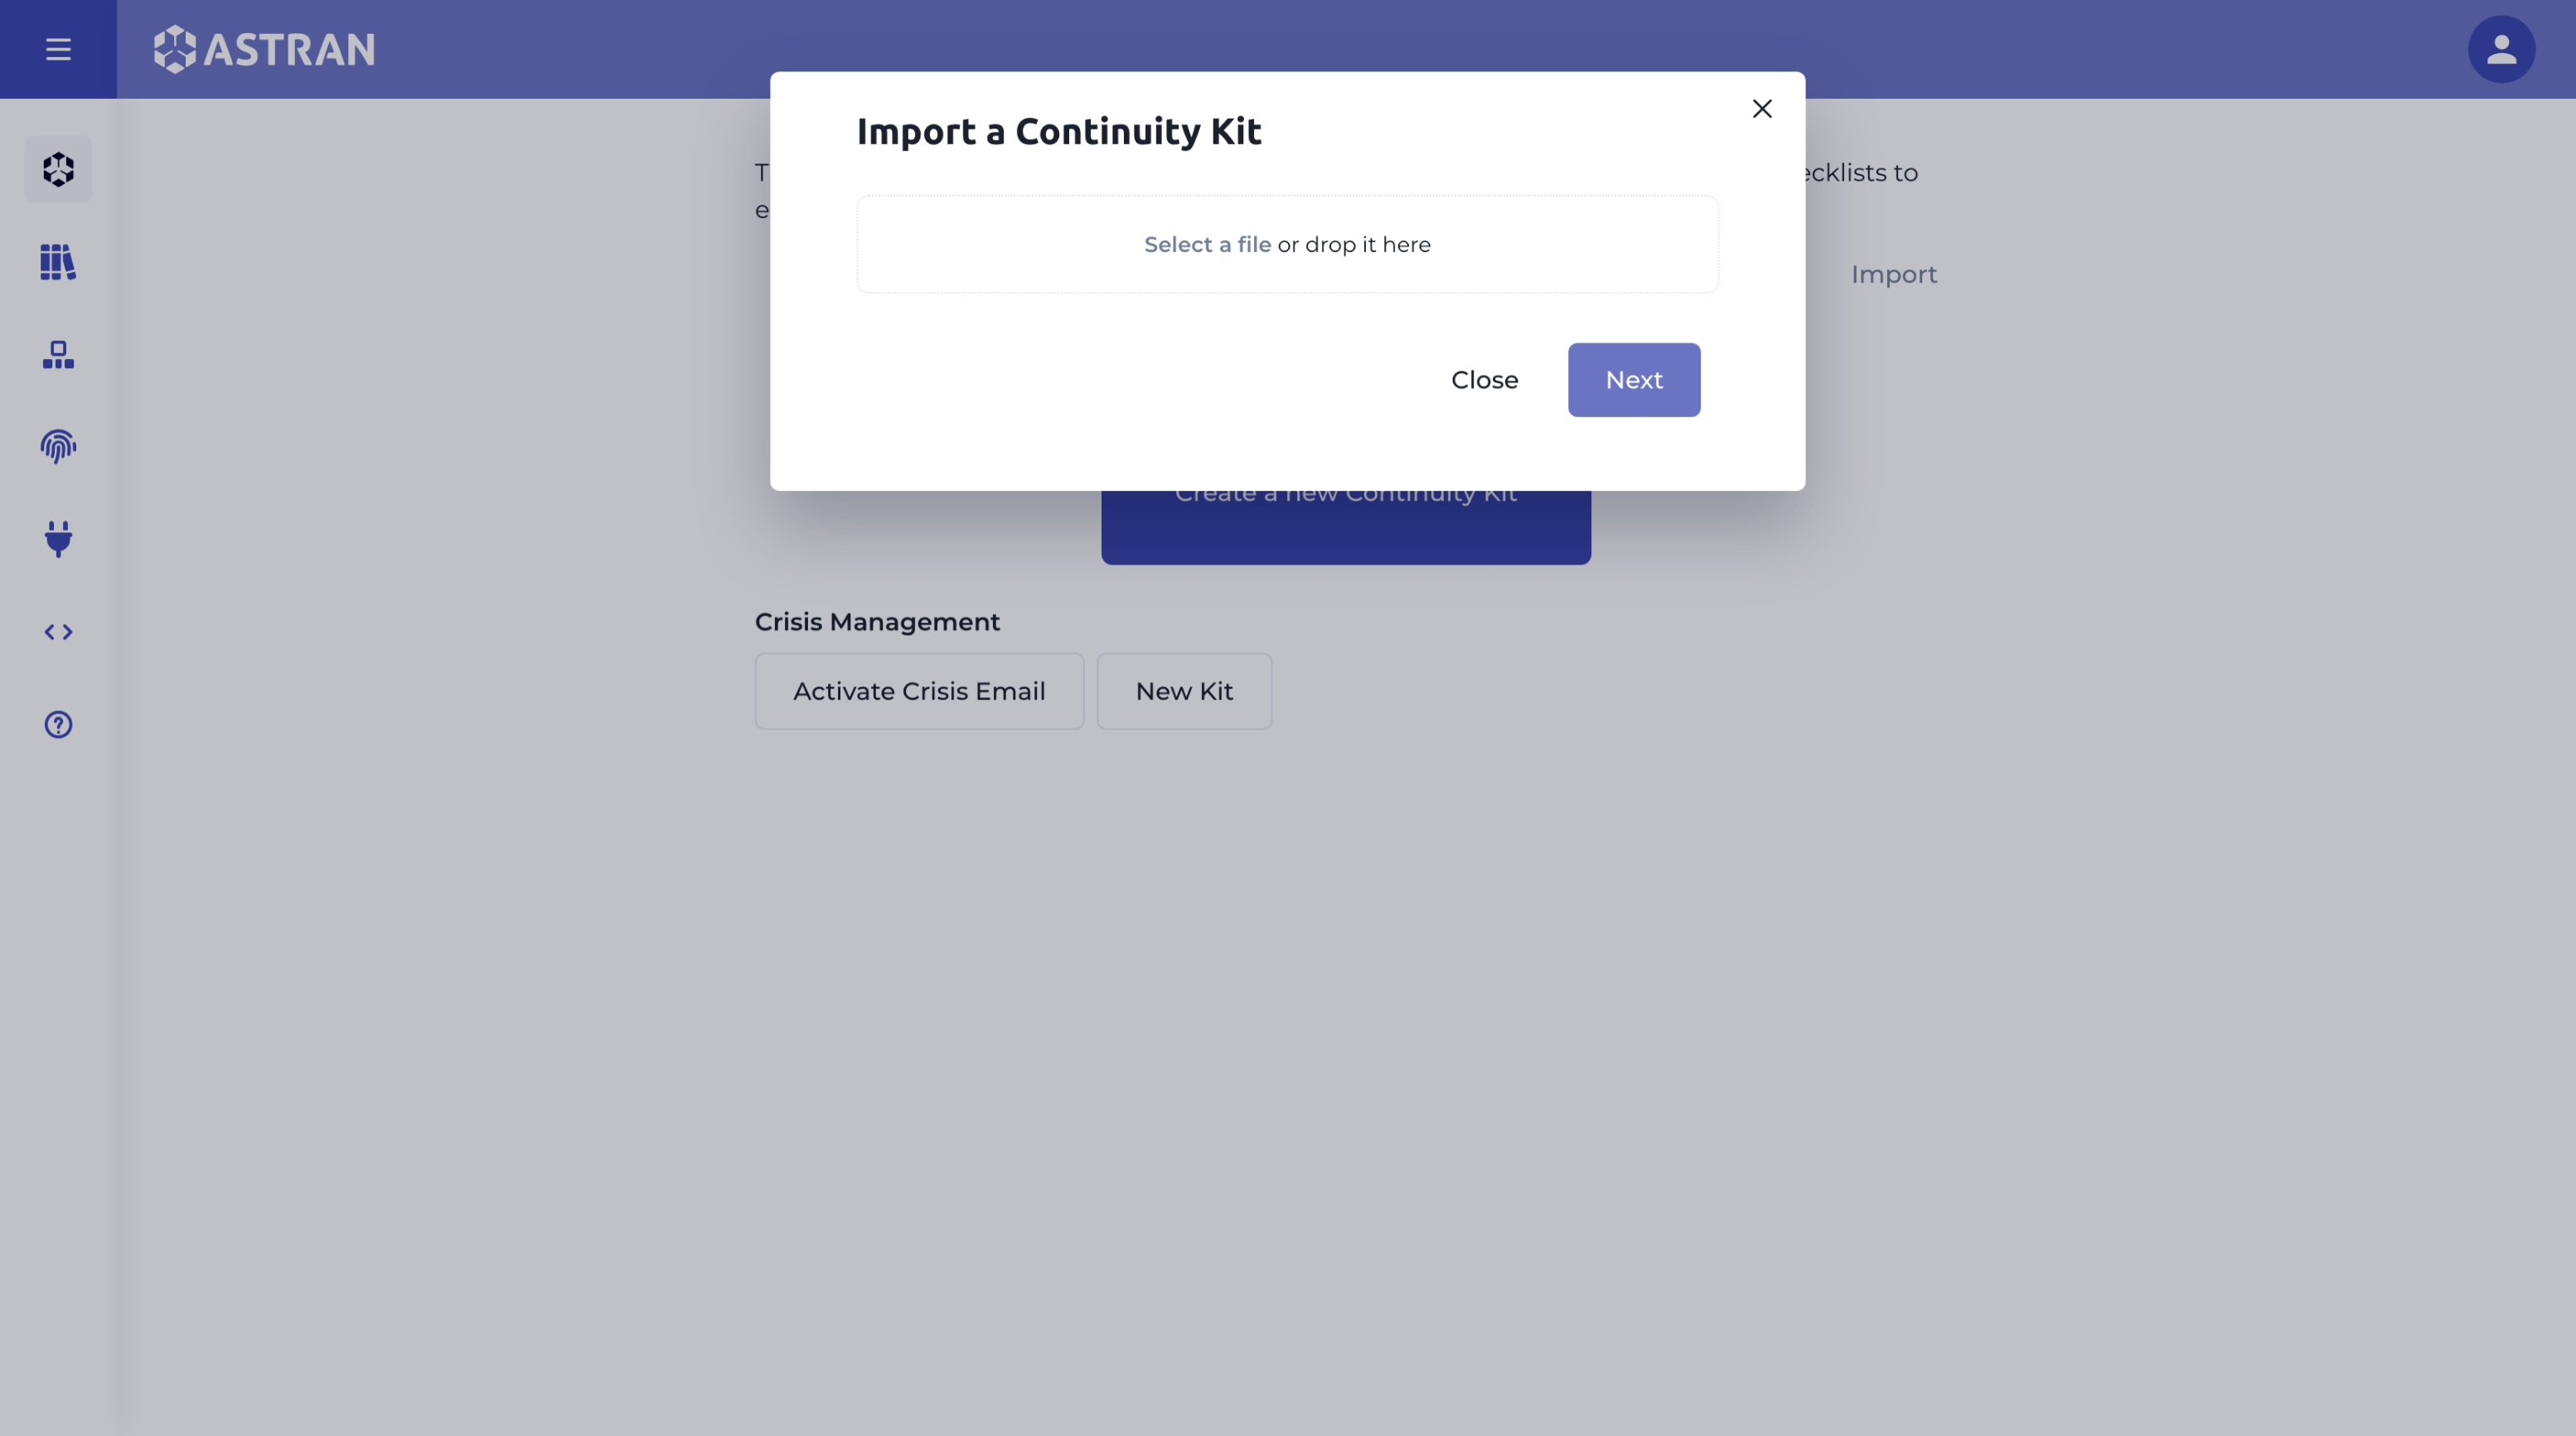
Import from an existing one
- Click on
Import - Select the file resulting from a previous export of a kit or drag and drop it in the indicated area
- The overview will appear in case the kit is valid
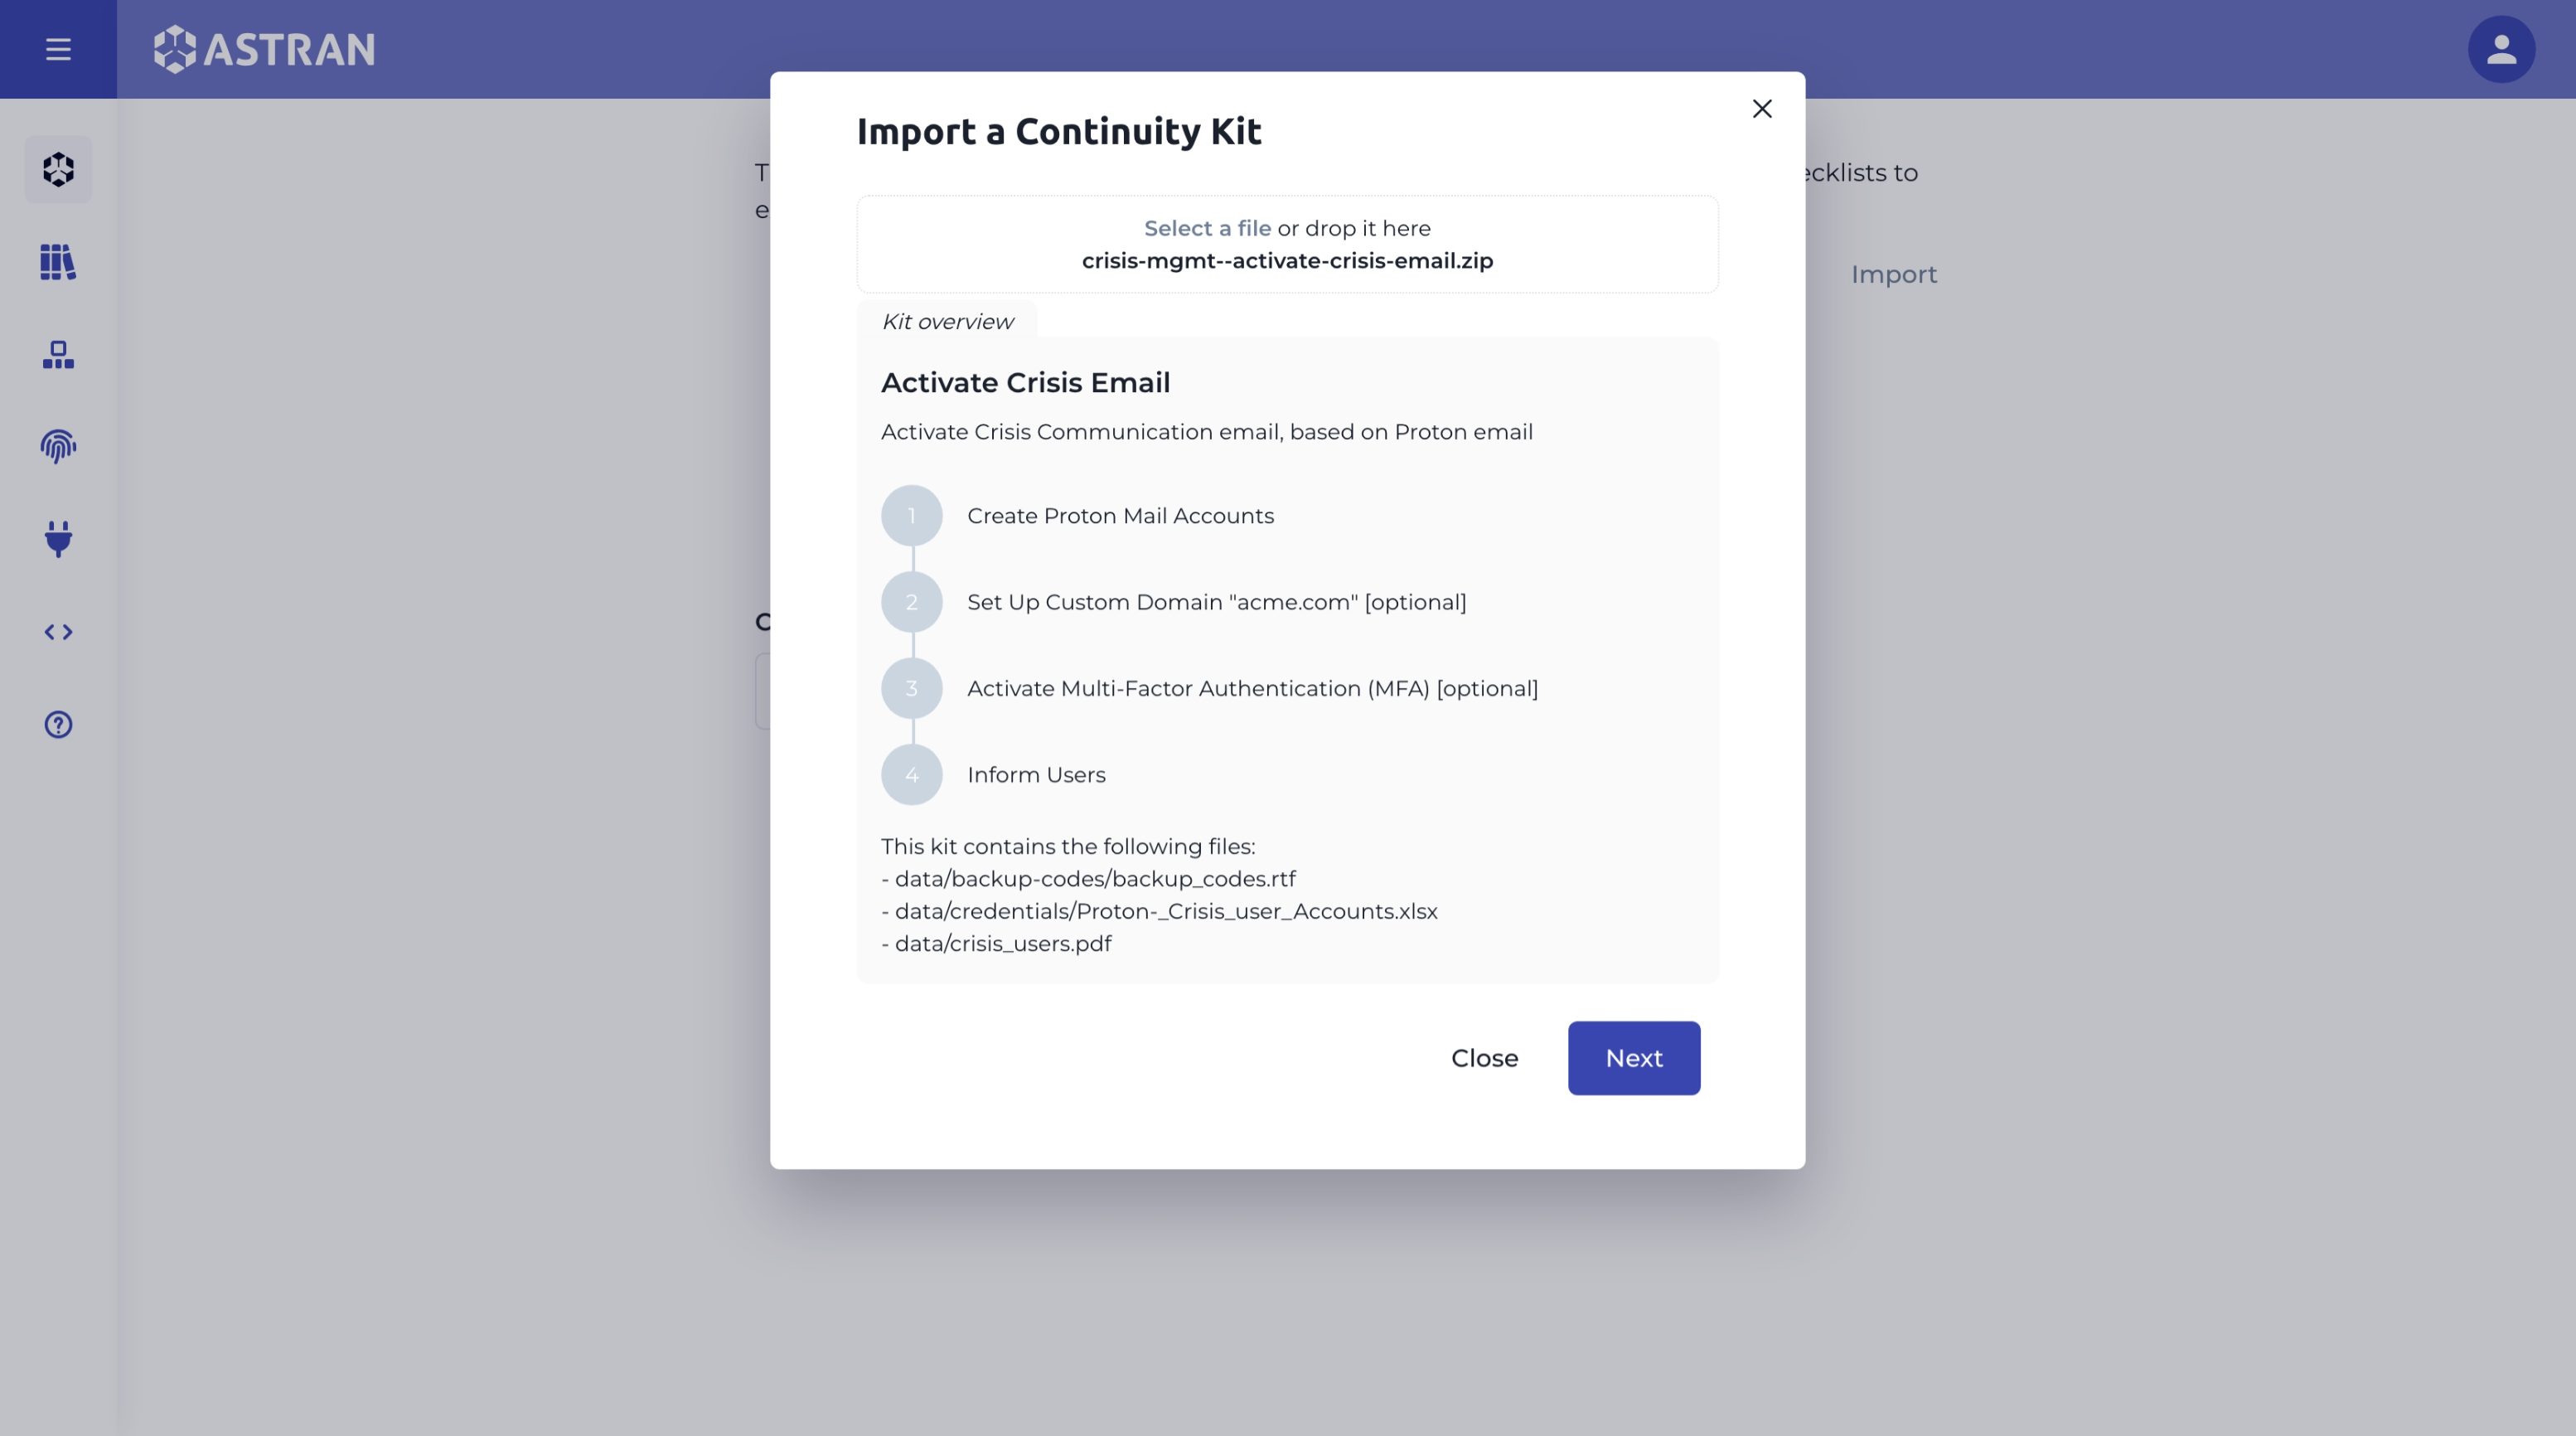
- Click on Next
- Change the name and category to your will
- Click on
Nextto import your kit - Click on
Closeonce the creation is complete - You'll be redirected to the summary of your kit
Export a kit
- Click on an existing kit
- Click on the more actions button (
three dots button, located next to theExecute)
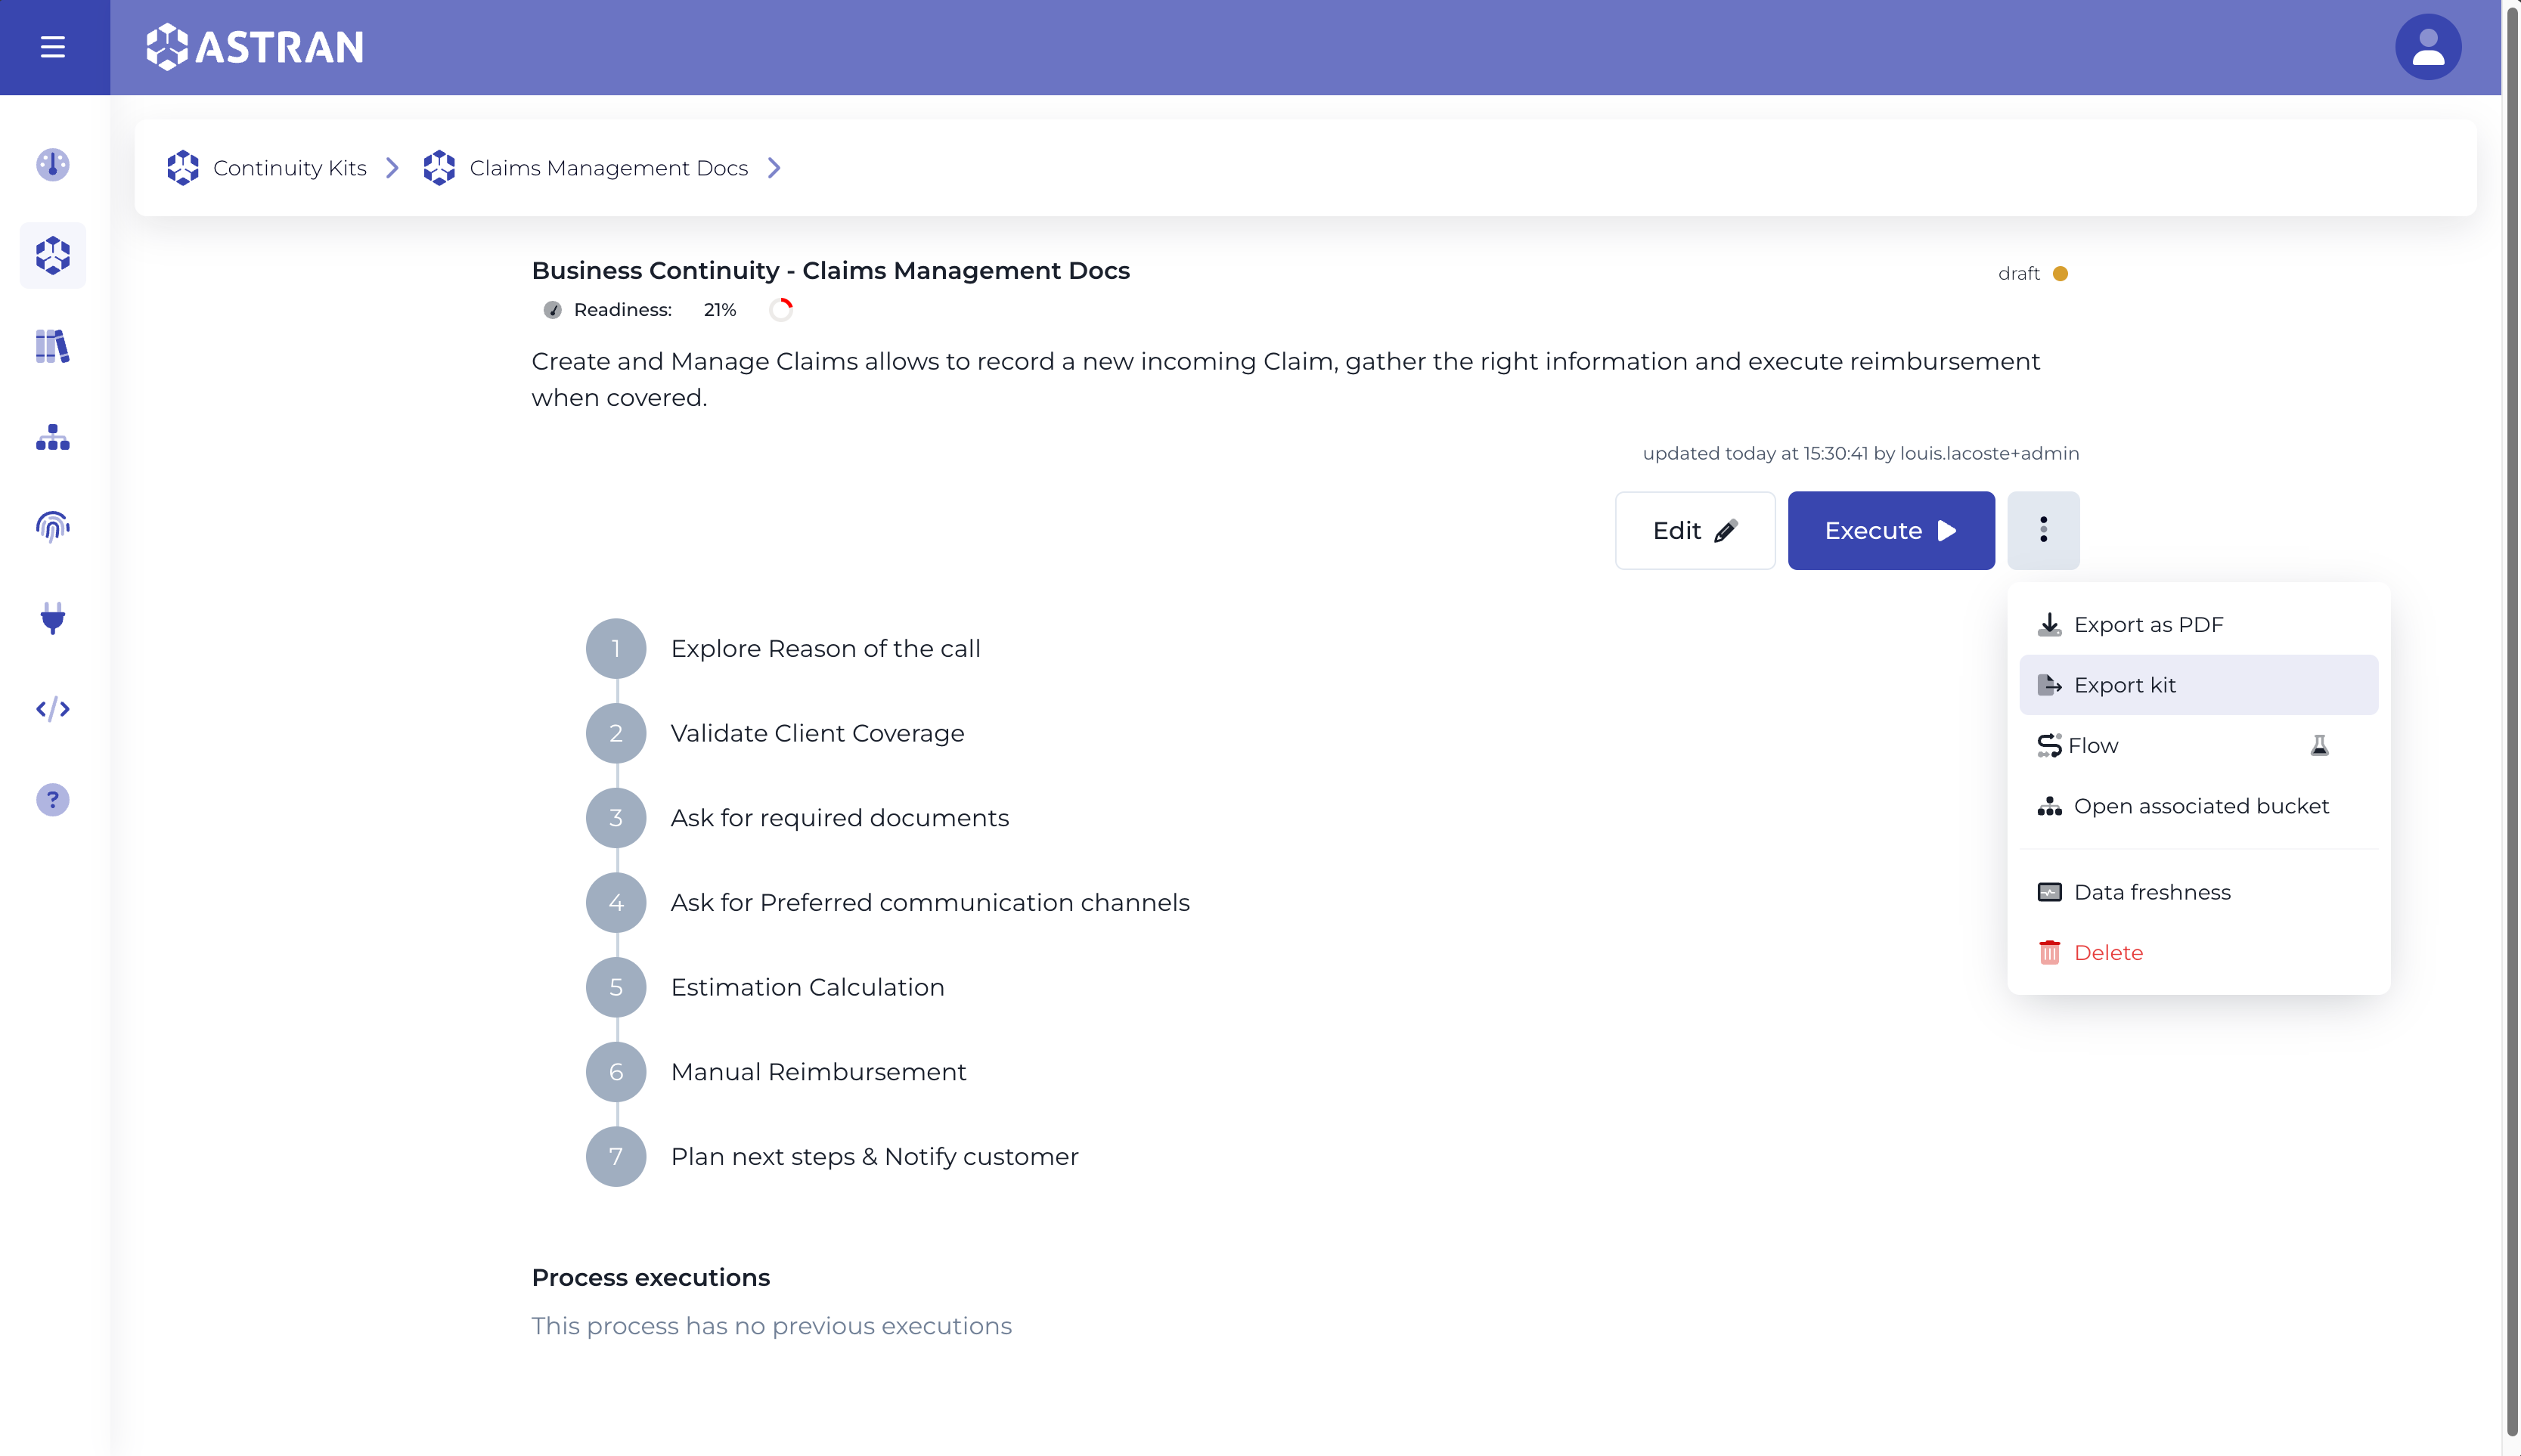
- Click on
Export kit - The checklist and files will be retrieved and a
.zip archivecontaining the kit will be saved on your computer Note that this may take a few minutes
We recommend you do not change the name of this archive, since it will be used to prepopulate the name and category in case of an import.
Export a kit as PDF
You can export a kit as PDF.
- Click on an existing kit
- Click on the more actions button (
three dots button, located next to theExecute) - Click on
Export to PDF
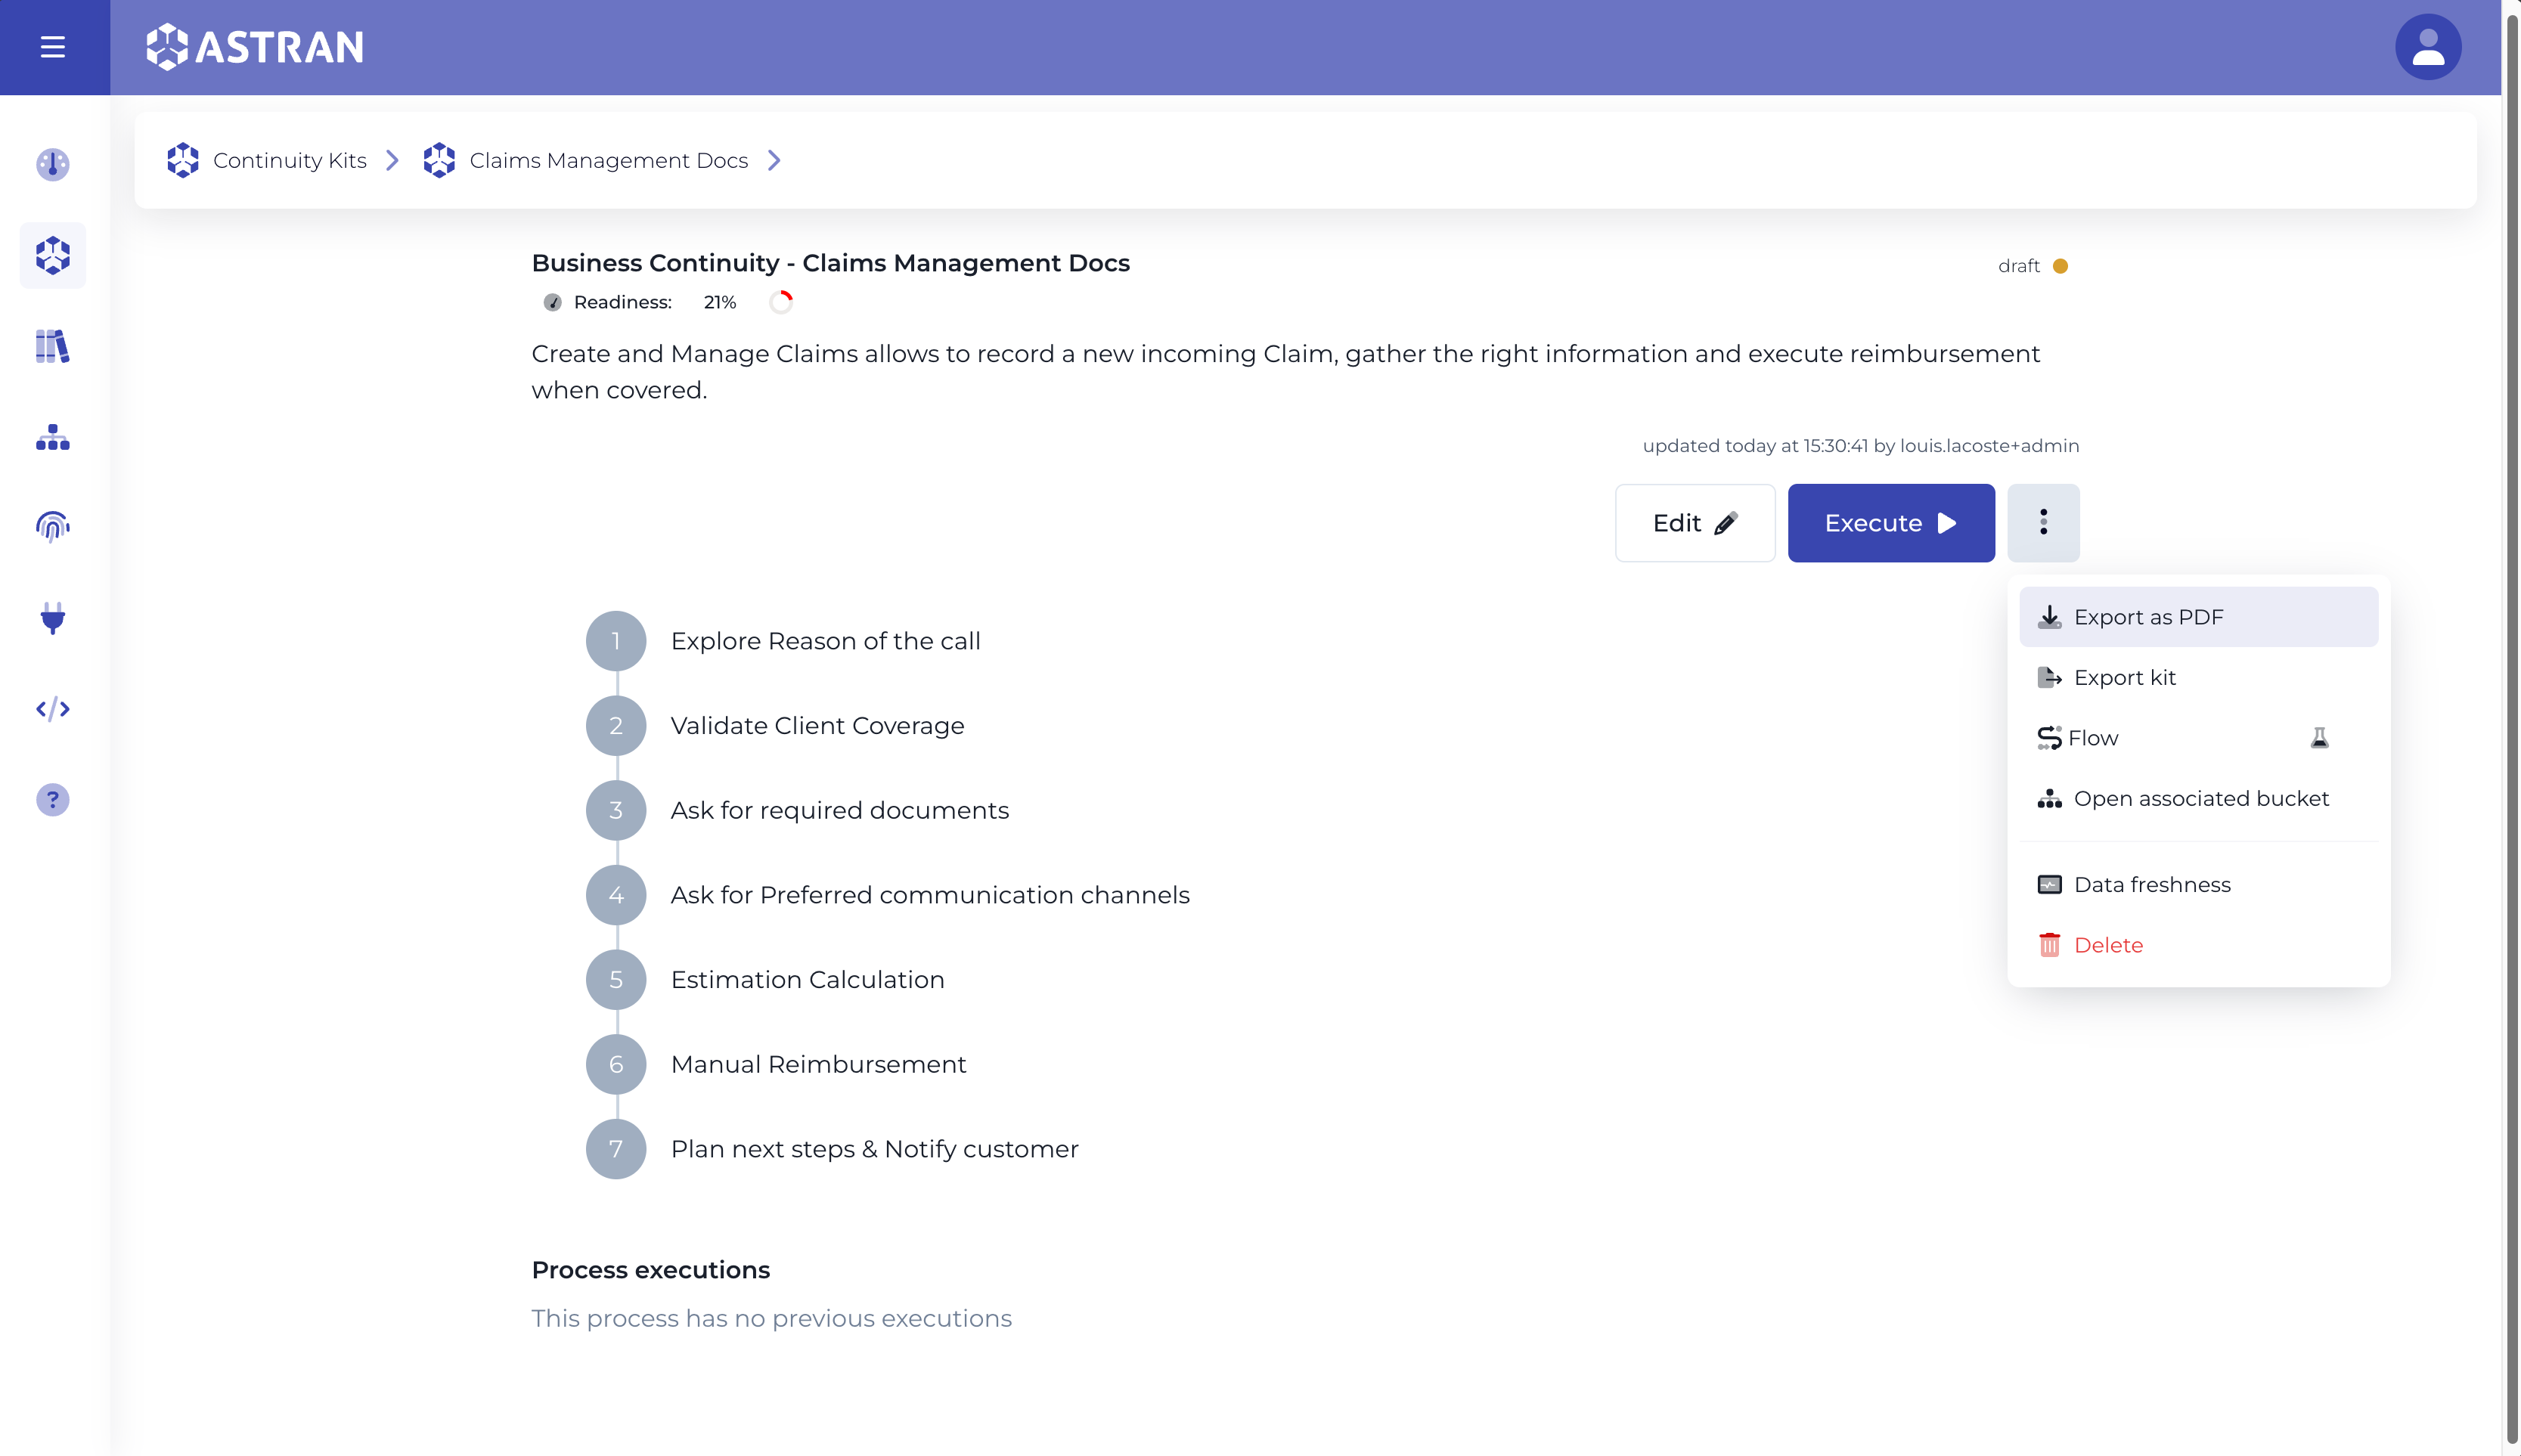
It will only export the checklist. The resulting file will be basic, without any rendering for formatting nor code blocks.
Configure data freshness indicators
You can easily configure the threshold for data freshess.
- Click on an existing kit
- Click on the more actions button (
three dots button, located next to theExecute) - Select
Data freshness

You will see a list of all the files (folder won't be included) that are referenced in the kit's checklist. Note that when a file is no longer referenced in the kit's checklist, the associated entry for data freshness will be removed.
- For each file you can select the expected refresh rate (daily, weekly, monthly or yearly)
- Save your changes by clicking on the
Savebutton
Delete a kit
- Click on an existing kit
- Click on the more actions button (
three dots button, located next to theExecute)
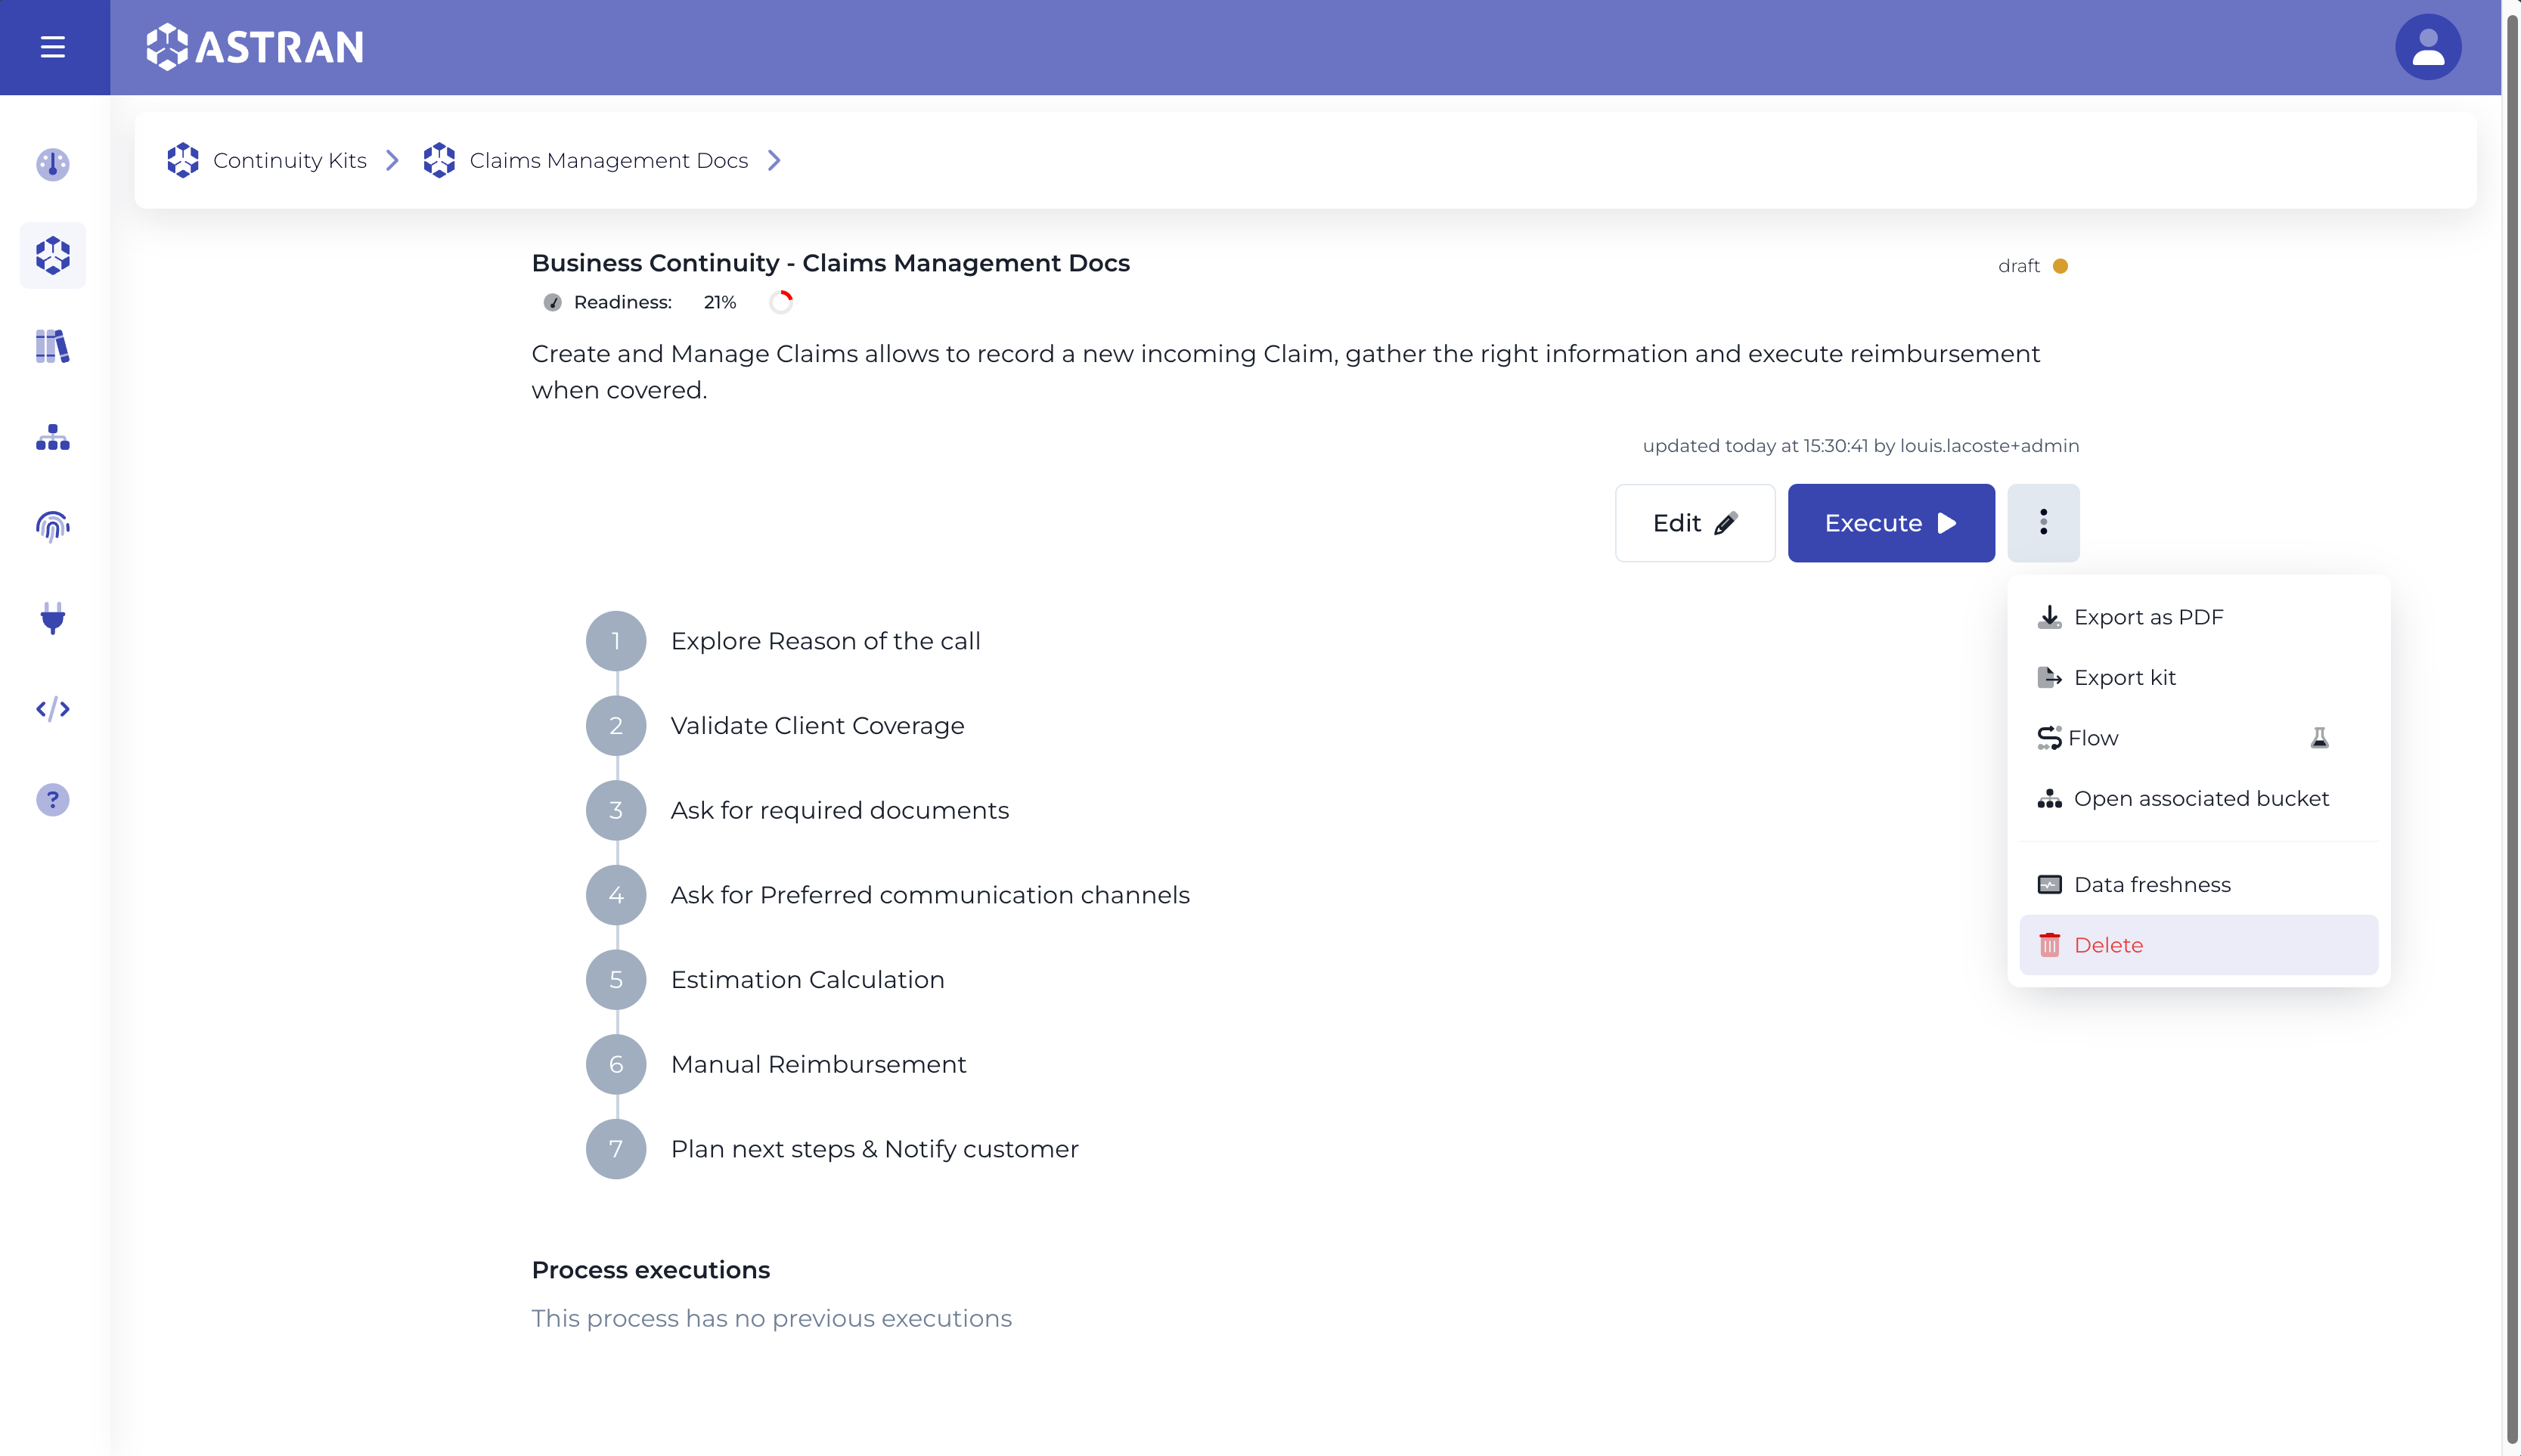
- Click on
Delete - A confirmation popup will appear, confirm your action if you wish to continue
- Upon succesful deletion, you'll be redirected to the list of Continuity Kits